

Quick Start Tips to Evaluate Gilly / EduBrite for Confluence Cloud
Note: Read this alternate article instead, if you are using Gilly in Confluence Server (your privately installed Confluence) rather than in Confluence Cloud.
Continue with this article if you are using Confluence Cloud
Step 1: Open Find new Add On page in Confluence, and search for EduBrite or Gilly, and Install the add on
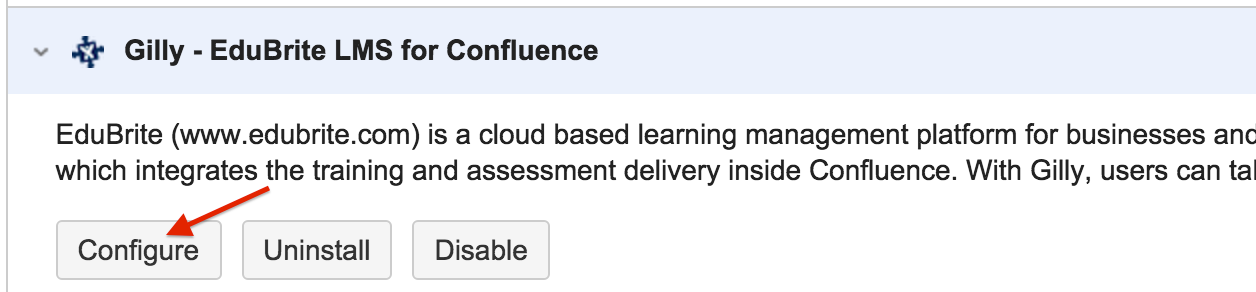
Step 2: Once you see Gilly is successfully installed, click on Configure button to begin the integration with EduBrite.
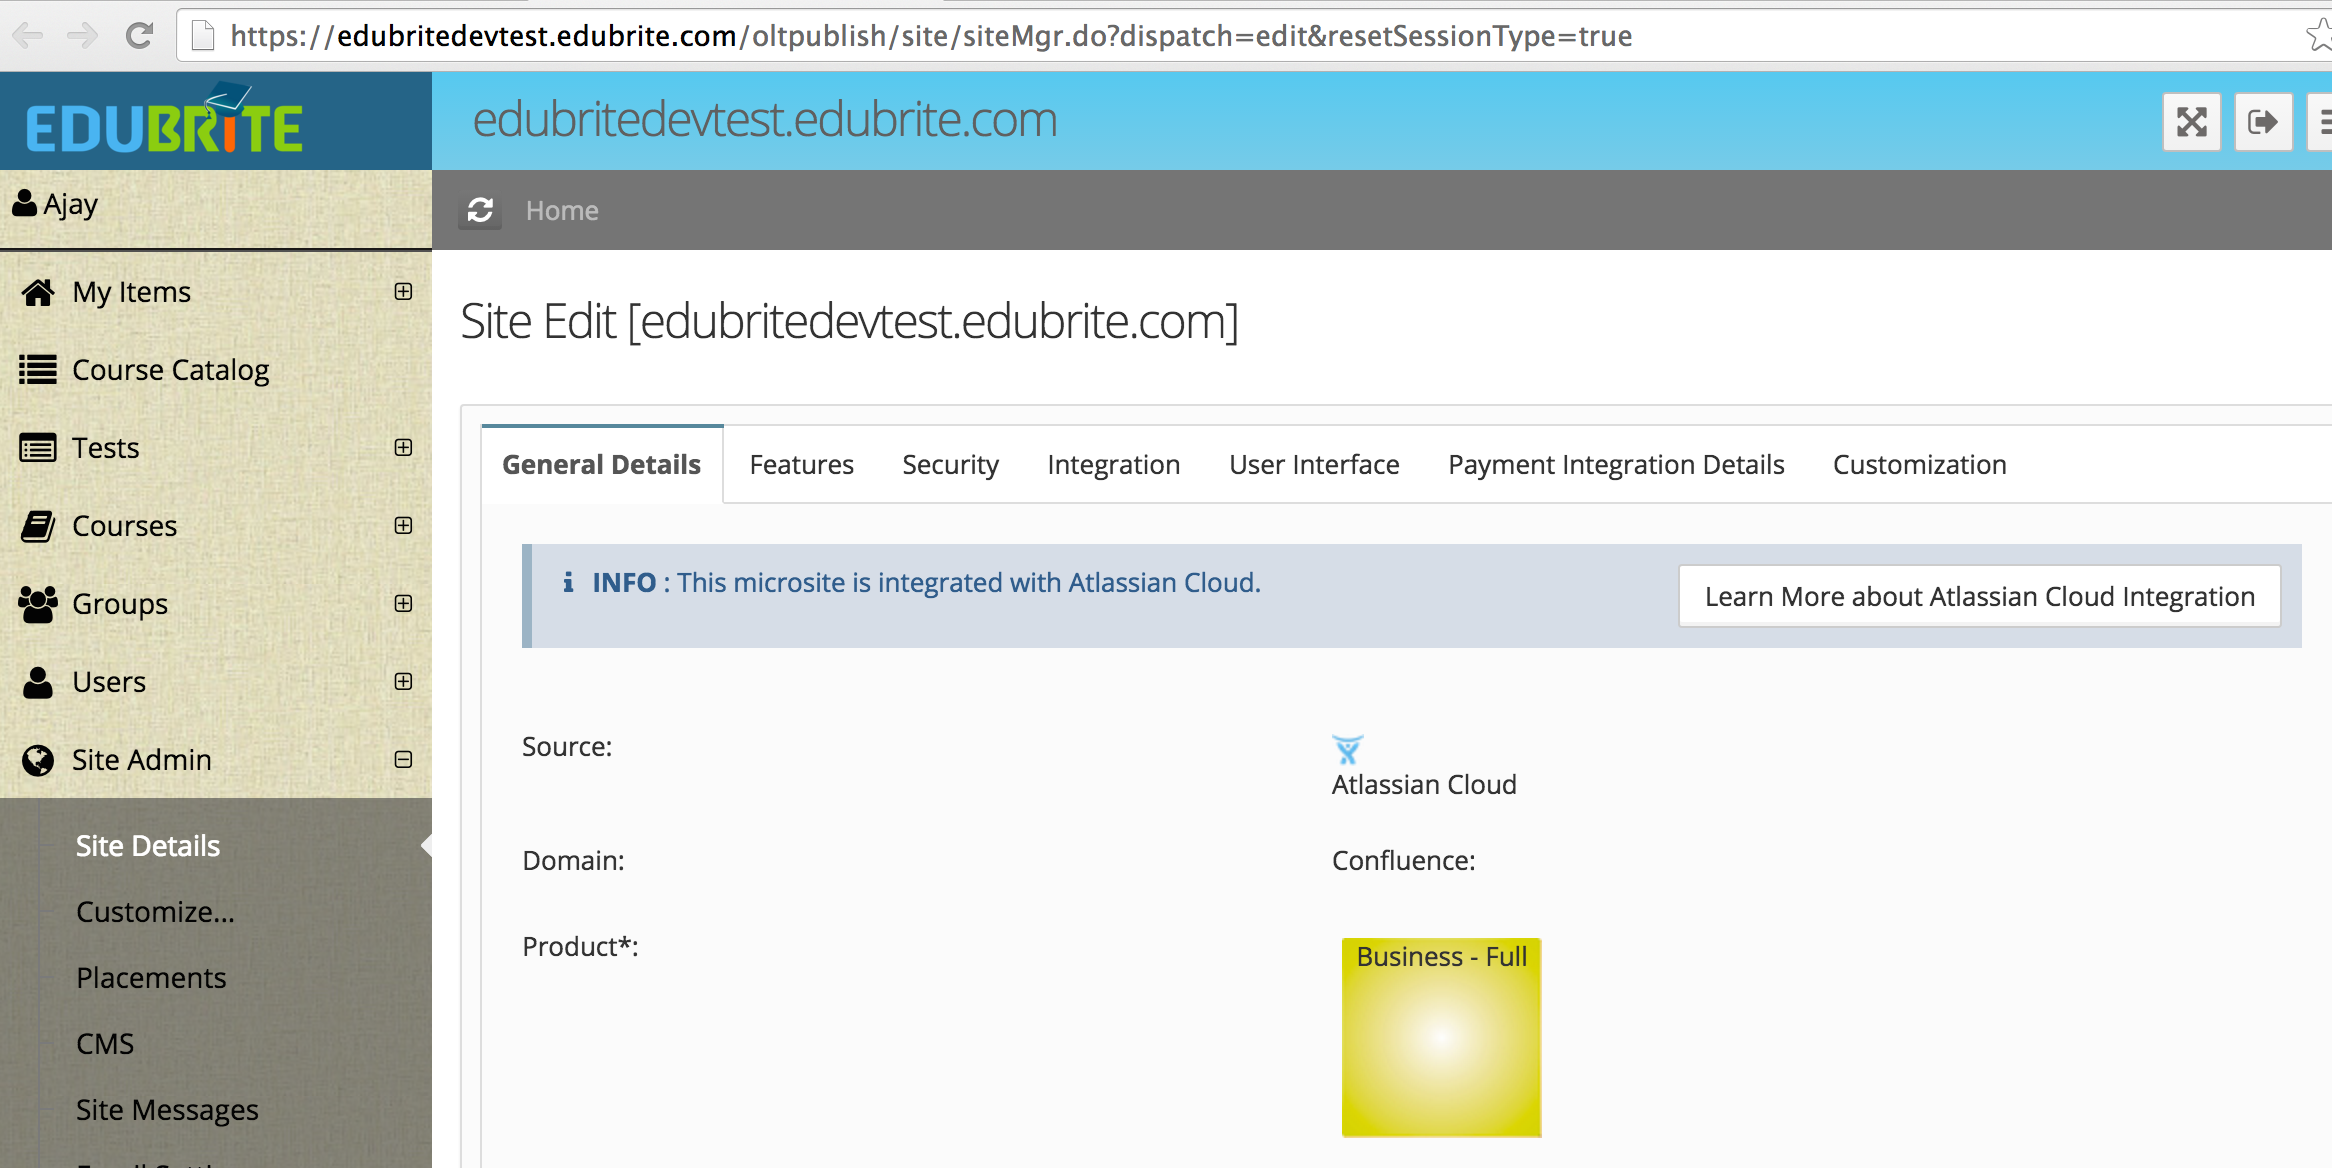
Step 3: When you click this button, a new microsite will be created for you and it will get linked with your Confluence instance. It will take few seconds to complete this step, and then you will see your microsite configuration screen. This will show your Confluence tenant id and also the EduBrite microsite url. You will also receive a welcome email from EduBrite that will have your account details.
Note: If you had already created a microsite before, by signing up from accounts.edubrite.com or from Google Apps marketplace or from Yammer marketplace, contact support@edubrite.com after this step, to have your previous microsite get linked to your Confluence Cloud environment, instead of using the newly created microsite.

Step 4: You can also refresh the browser and check a new menu item "Training Dashboard" is added in the confluence help menu in the header. Click on Training Dashboard to check it.
To quickly try the system you can follow the remaining steps.
Step 4: Click on the Open in New Window button to open your microsite in full view (without confluence). You will not be asked for a password, because Gilly provides the single sign on functionality. You will see full interface of EduBrite LMS in new window.
Check out the User Interface tab from the site configuration and you can choose a color-theme and upload logo for your site
For administering the LMS, or for building courses, you will have to access the LMS microsite directly as Gilly only provides Learner's view inside confluence. You can have any number of admin or instructors in microsite that can access it directly. Any user you create in LMS (or that is auto created from Gilly) can be assigned a password to directly login as well besides having access from Confluence.
Step 5: EduBrite by default creates a Training group, Check out these groups from the Groups menu. For avoiding manual enrollment to course sessions, you can edit the Training group's setting and enable auto enroll all users to all course sessions (this is only for quick testing purpose, although you can do manual enrollment instead as well).
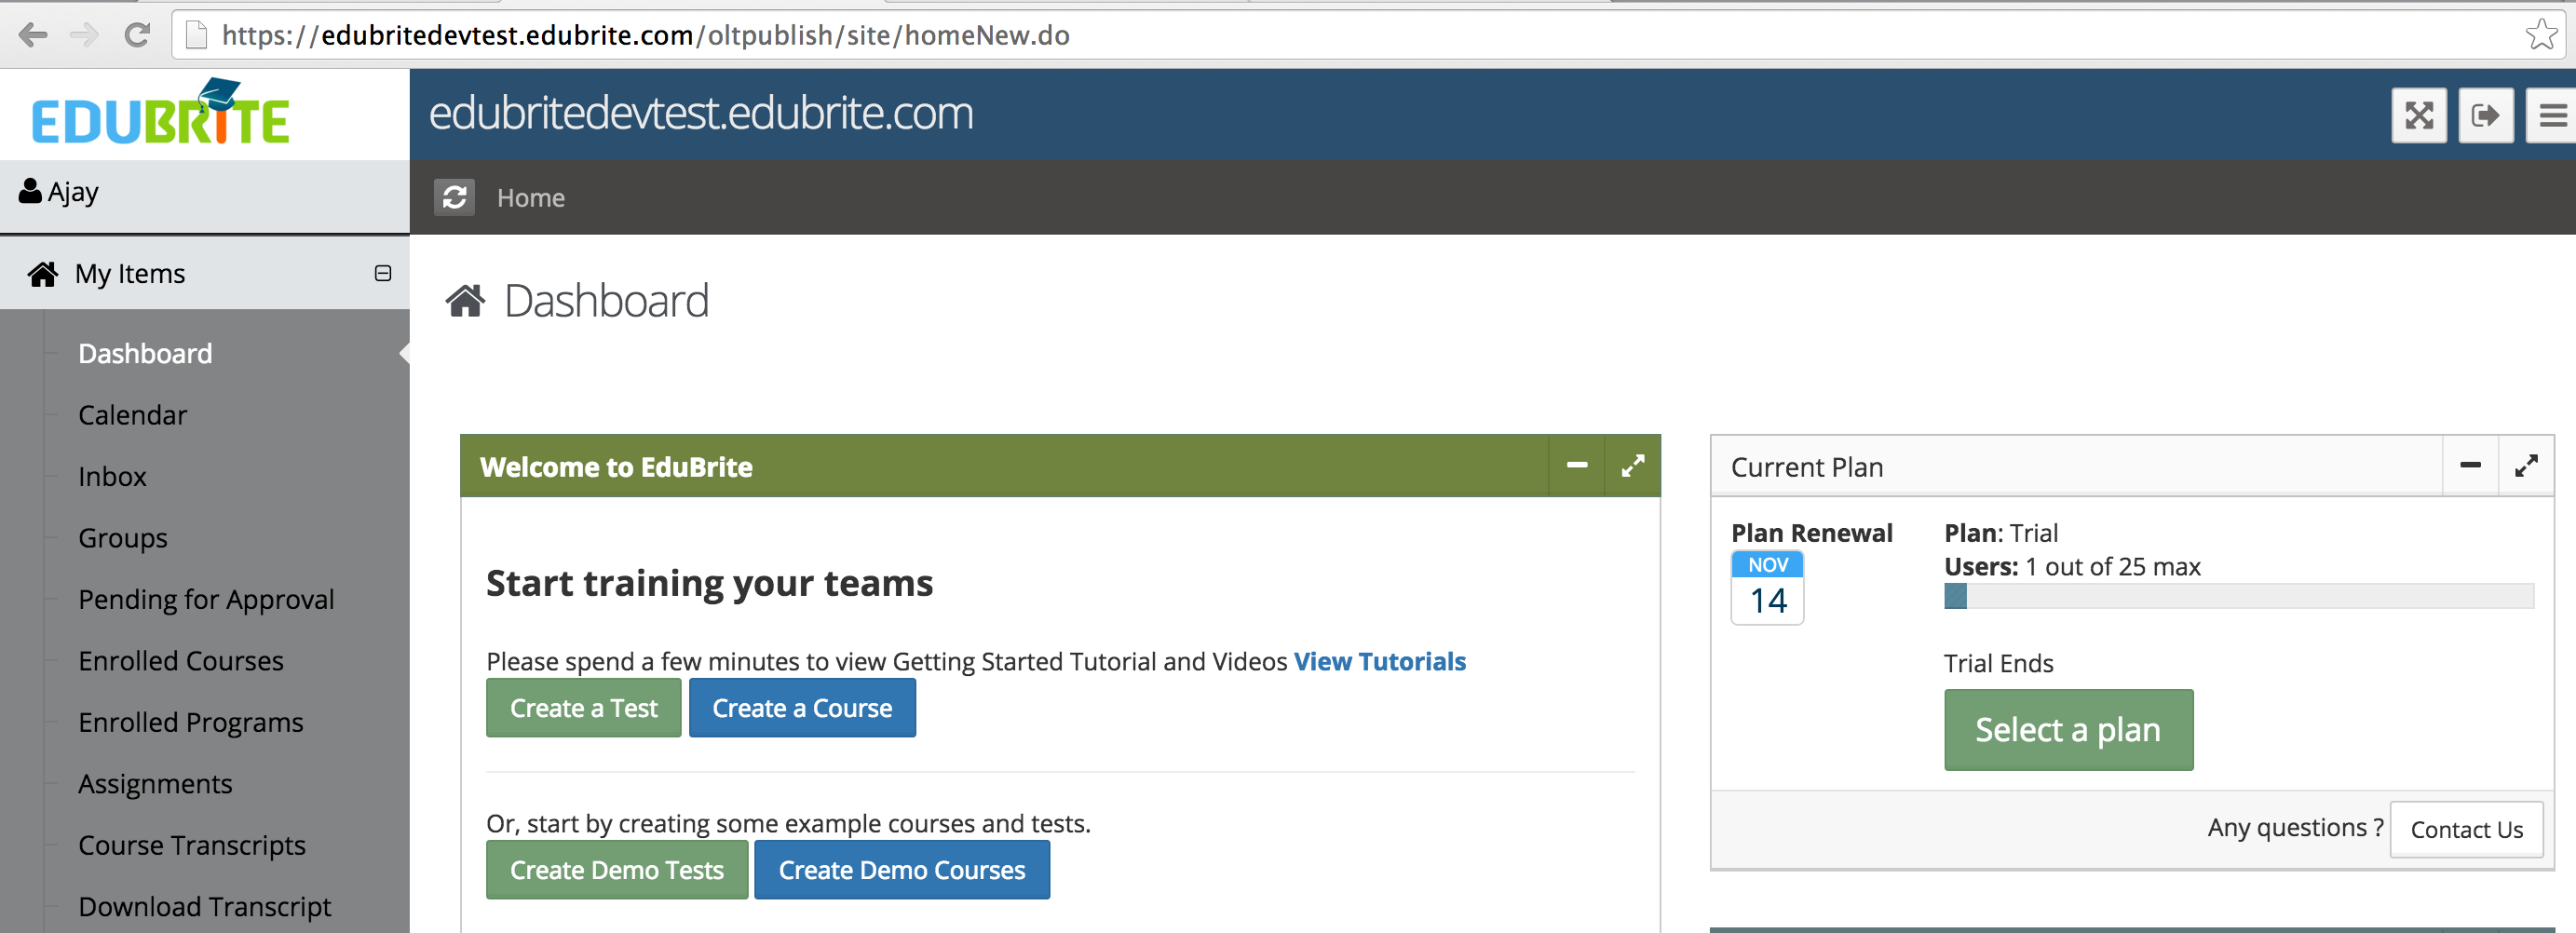
Step 6: Try creating demo courses and tests first, by going to the Dashboard (My Items->Dashboard) link.
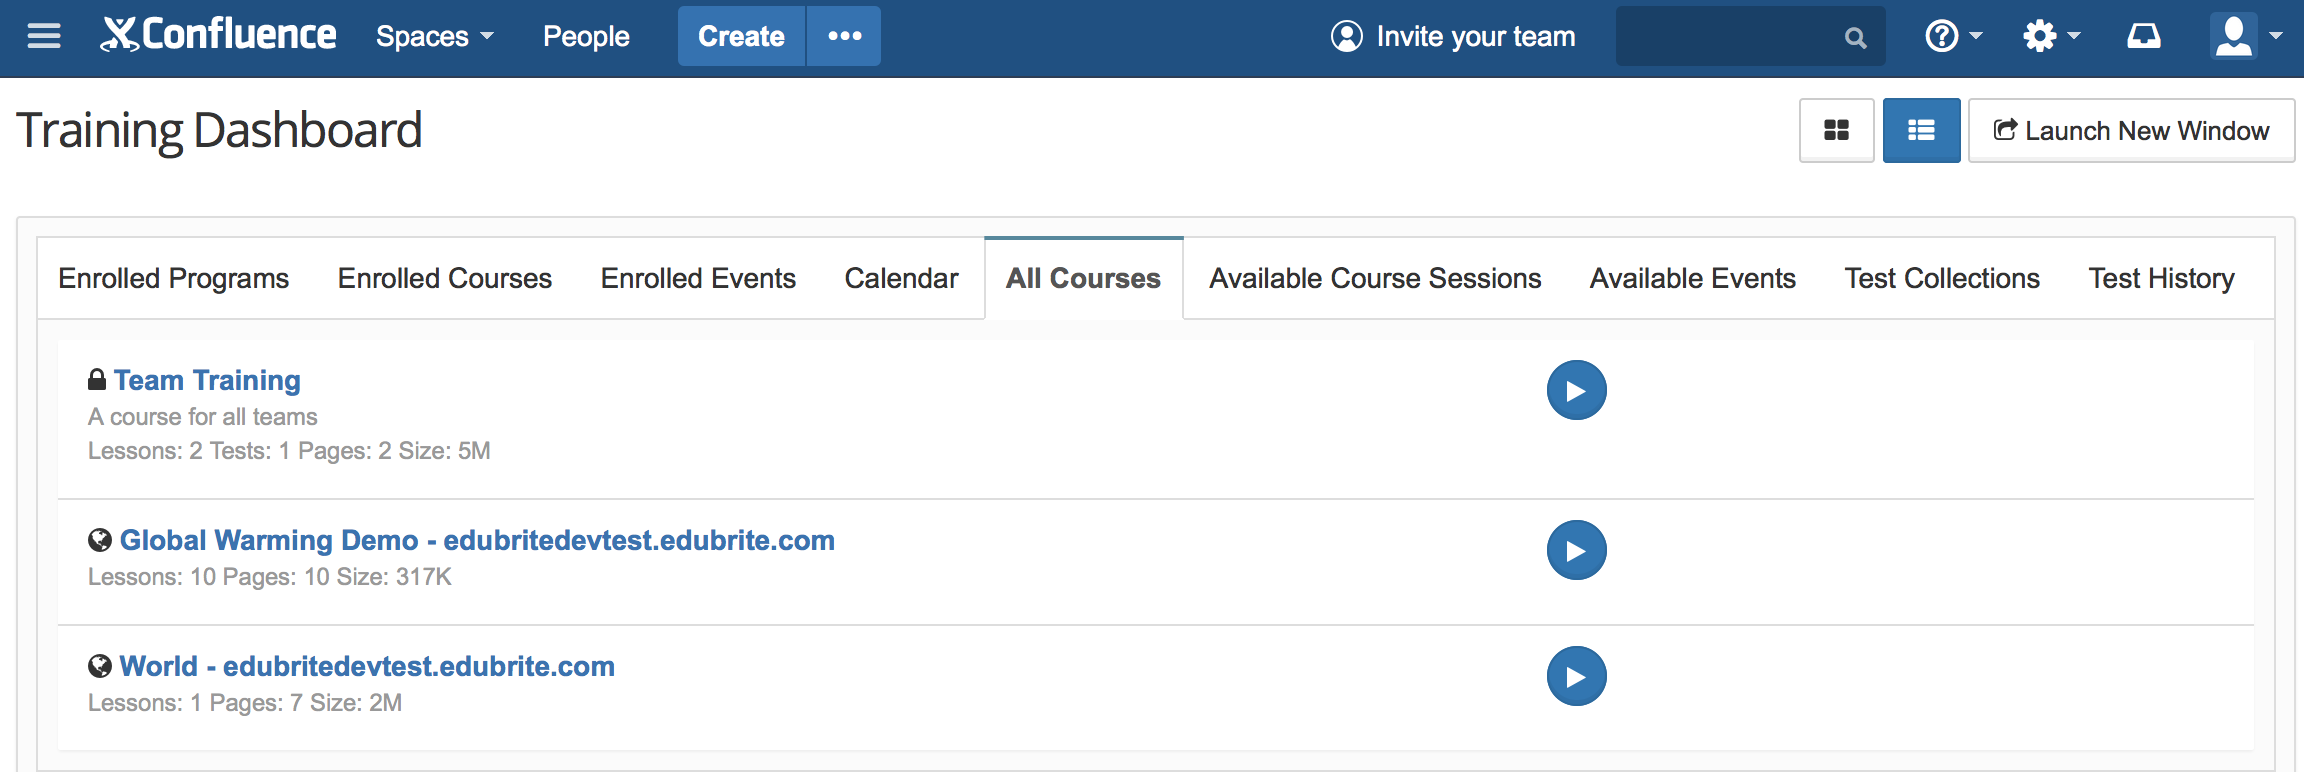
Step 7: You can then check the Training Dashboard in Confluence and open the All Courses tab and Test Collections tab, you should be able to see the demo courses and tests from there too.

Step 7: Back to microsite, you can create a course and publish it. Then create course session by clicking on the Schedule button in course editor. While creating the course session, choose Training Group and Access Type = Open (if you have not enabled auto enrollment). By having access type Open, learners will be able to self enroll in them from Confluence. Create more courses and schedule them if you like.
Step 7: Now login to Confluence as a non admin user, and access the Training Dashboard. Once you access it first time, your user account will automatically get created in EduBrite LMS and you will get enrolled in the course session (if auto enrollment is enabled in Training group). The assigned course session will appear in the Enrolled Courses tab. If auto enrollment is not enabled, then check out the Available Course Sessions tab and you should be able to see the Open course sessions and a button to Self Enroll.
When new user is automatically created on accessing training dashboard, based on user's group membership in confluence, user is added in corresponding groups in lms (if corresponding group exist in lms.)
Group-User sync from Confluence
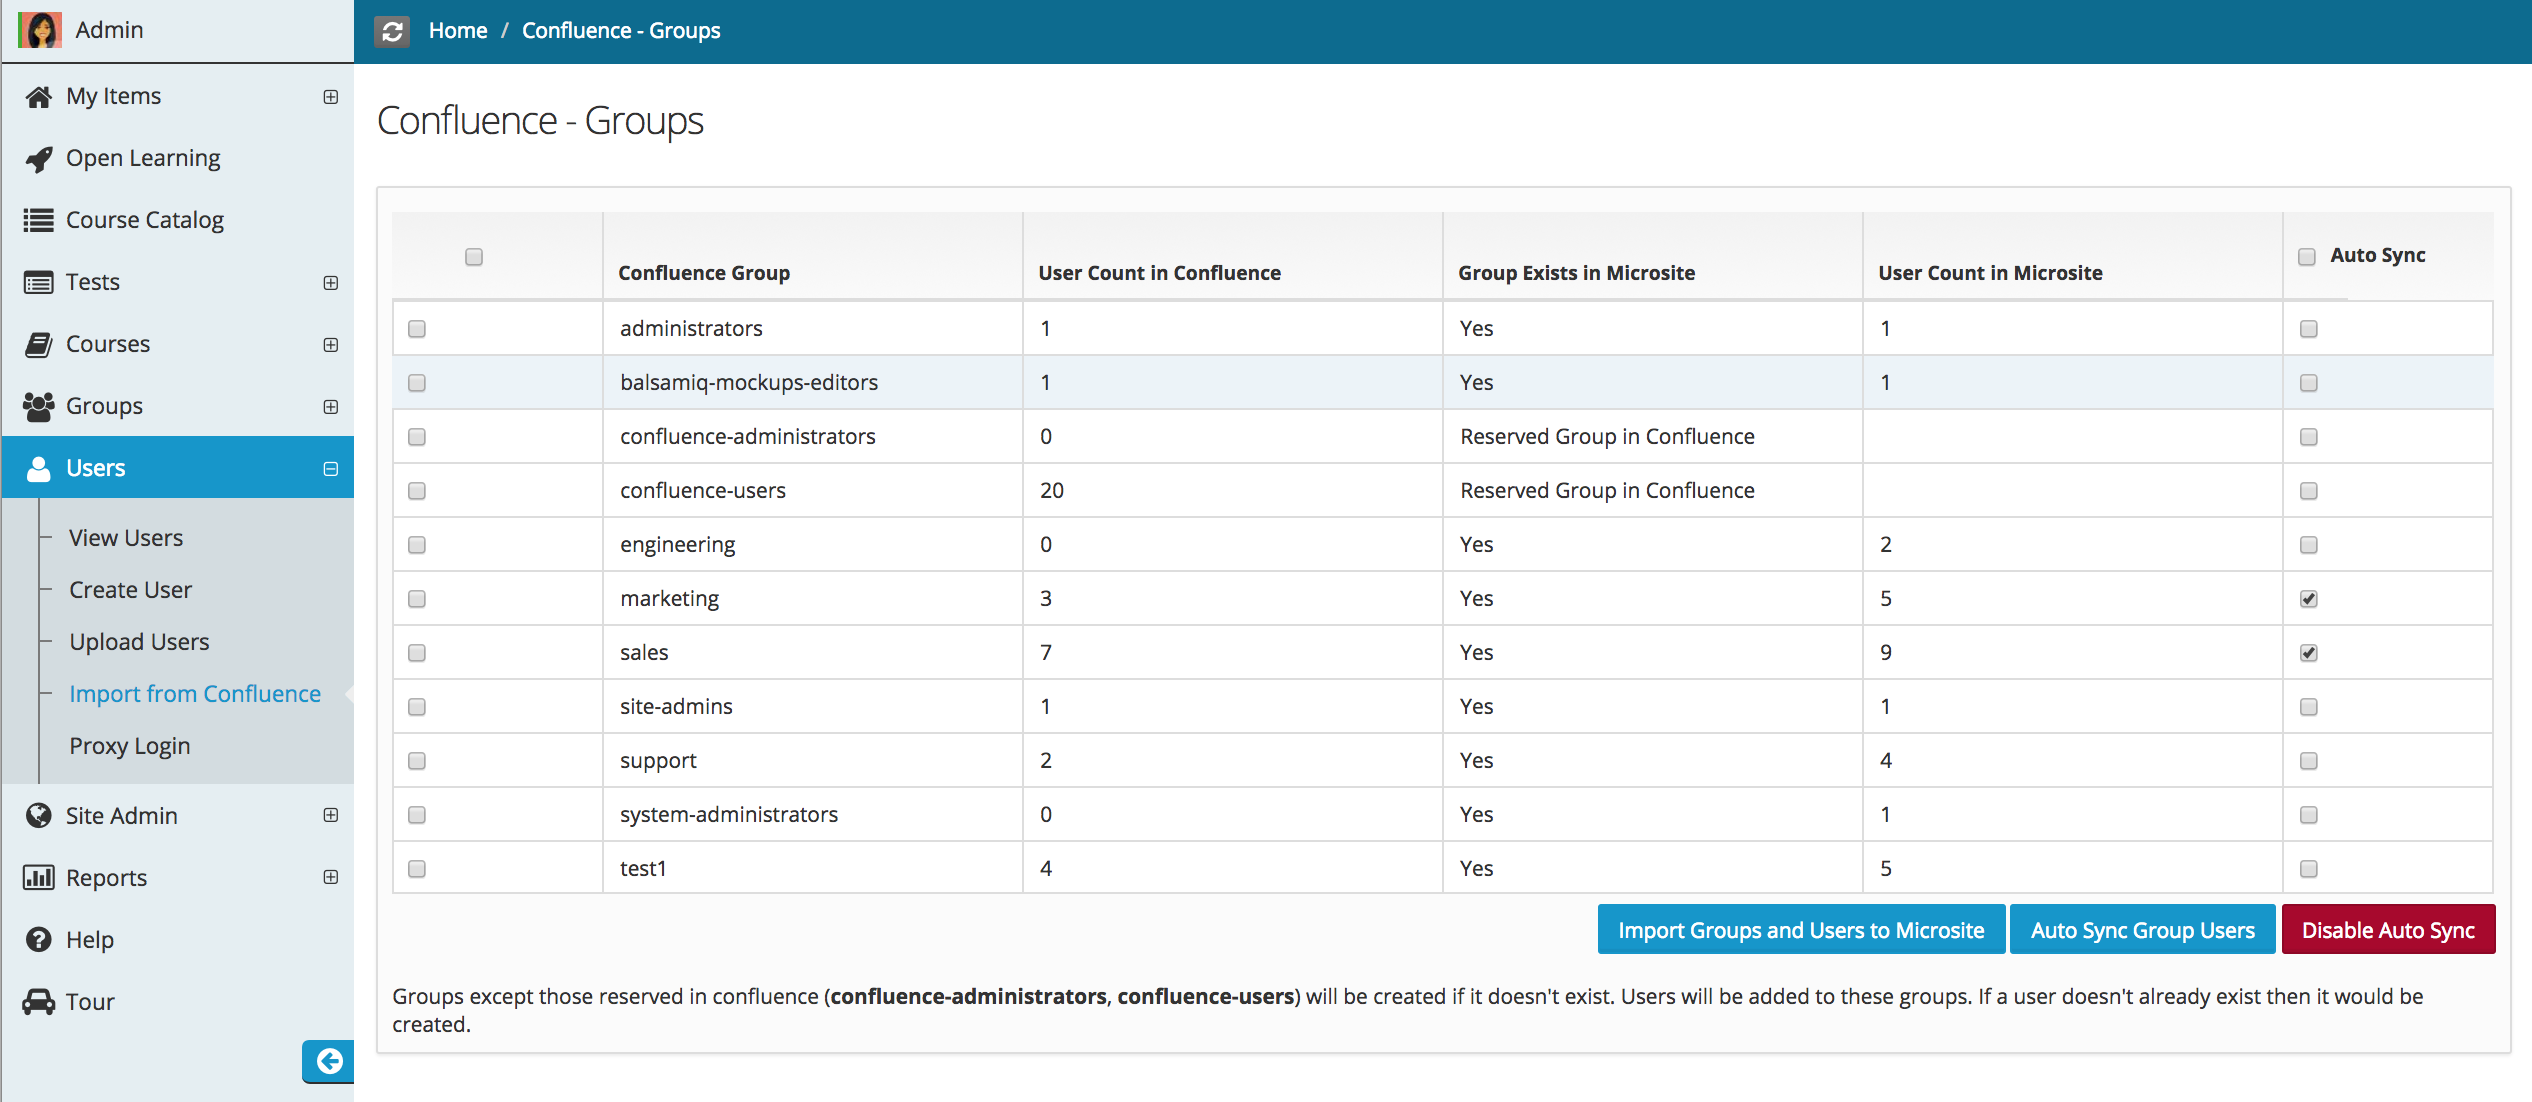
Confluence groups and group members can be synchronized with the corresponding microsite groups and their members by site administrator. If site is integrated with Gilly (confluence cloud), site admin will find a menu option 'Import from Confluence' under Users menu.
Click 'Import from Confluence', It will list all confluence groups and members count in these groups. You can select groups to import that group and group members. [Note confluence reserved groups can't be imported)
Automatic group users sync option is also available, If auto sync is enabled for a selected group, system will automatically sync group members periodically.
Automatic user creation
If auto provisioning is ON in microsite (from Site Admin->Site Details->Integration->Auto create users by API) then upon accessing any confluence page (e.g. training dashboard) of Gilly or any page where a macro (like Training Dashboard, Course player ... ) have been embedded, gilly would auto sync current user's information in LMS.
- User's groups in confluence will be retrieved and if group with same name (or code) exists in LMS, and user is not yet a member of it in lms, then he/she will be added to that group. Note that, sync behavior is limited to adding user to group(s) and doesn't removes user from any group in lms
Helpful Links
- Webinar Recording - EduBrite Gilly for Confluence
- Check more videos from Tutorials link.
- Knowledgebase articles
Features not yet available in Gilly for Confluence Cloud
Following features are not yet available (that are available in Confluence server version)
- Full Screen view in course player is not available, due to limitation imposed by confluence on add-ons in the cloud environment.
- User profile custom tabs are not yet available due to a open bug in Confluence, we are awaiting for Atlassian to fix this and we will provide this feature right away.
Gilly Articles
- Quick Start with Default Settings
- Getting Started
- Gilly for Confluence Cloud
- Gilly's Architecture
- Proxy Setting
- User Management inside Microsite
- User Management inside Gilly
- Access Control and UI Configuration
- Caching of Items
- Training Dashboard
- Managing default Training Dashboard
- User Profile Extension (Custom tabs)
- Visibility Control and UI configuration
- Course Player Macro
- Quiz / Survey Macro
- Creating Exams
- Survey Delivery
- Test Attempts Report
- Test Statistics Report
- Survey Report
- Upgrading Gilly to a new version
- Monitoring
- Logging in Gilly
- Gilly Releases & Downloads
Gilly Webinars
Gilly Demo
URL: http://gillydemo.edubrite.com
Username: demo1, demo2
Password: password
EduBrite Platform Demo
URL: http://learnzone.edubrite.com
