To use EduBrite LMS integration with Webex oAuth based integration, you can use EduBrite's published app in the App Hub.
Using EduBrite's App
Installation
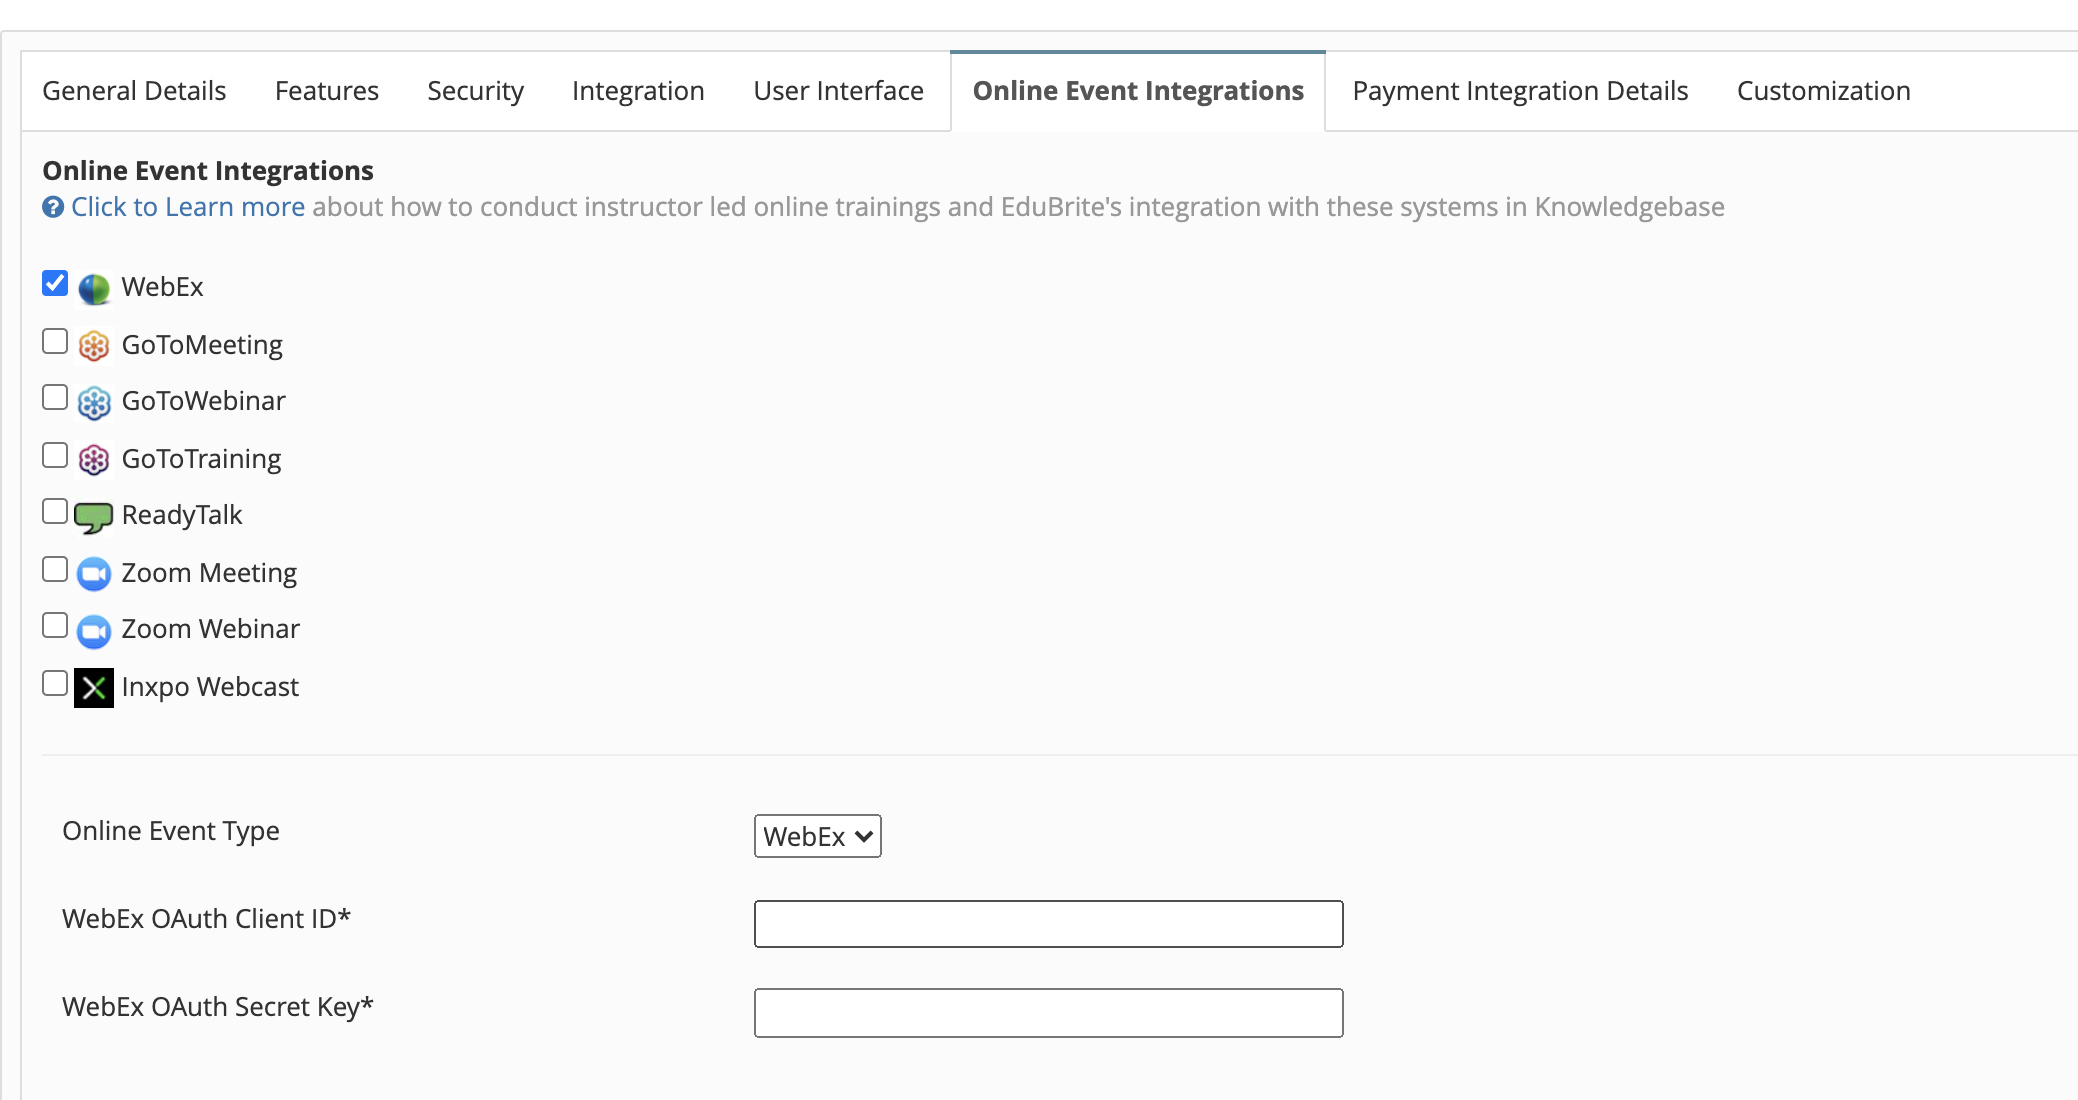
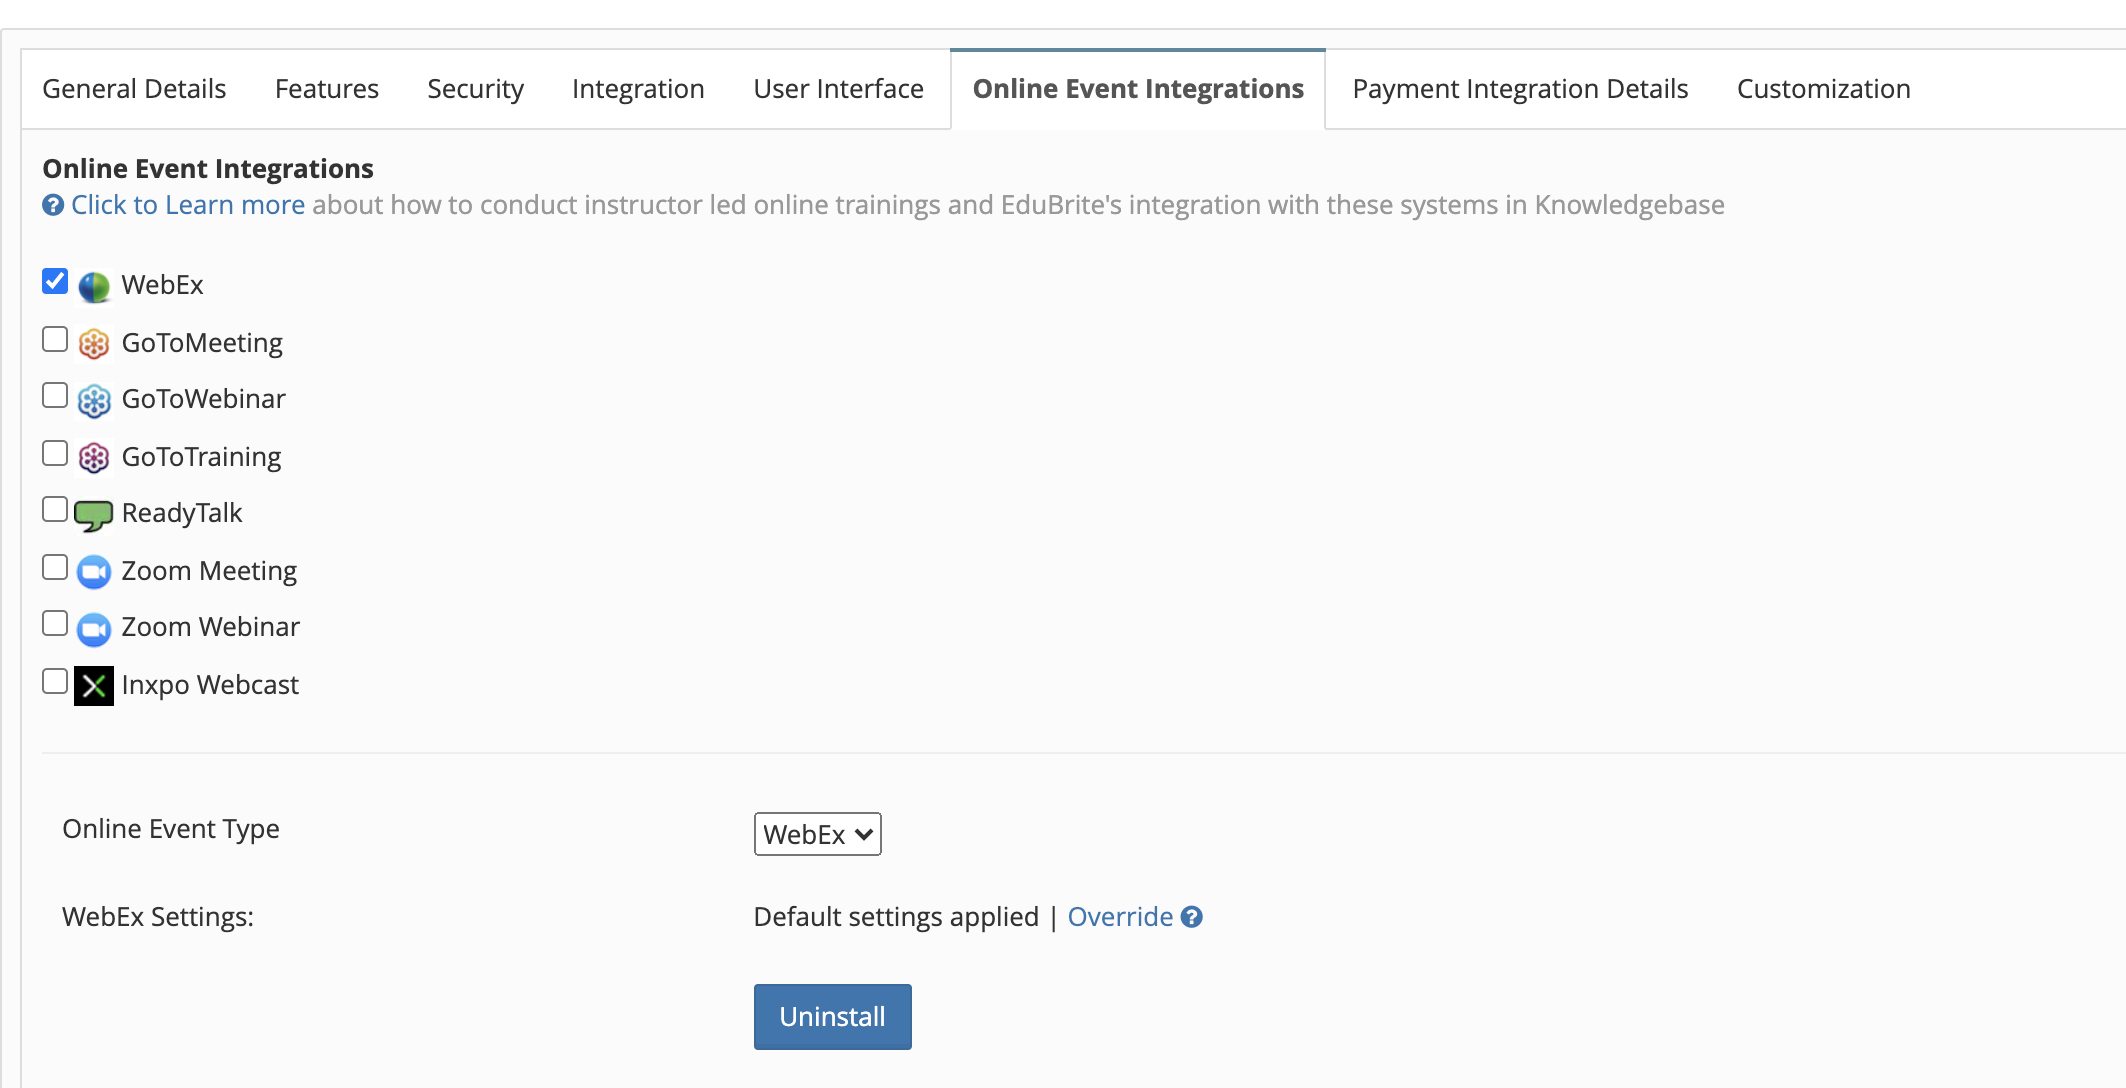
Step1: Go to Site Admin->Site Details and open the Online Event Integrations tab. Enable Webex Meetings. By default, EduBrite supports XML api based integration with Webex which requires you to enter site id, and url. But to use the EduBrite app, we don't need to configure those settings, you can enter any values in these fields, as they are mandatory.

Step2.1: To use the Webex OAuth Integration, go to the customization tab and add the property WEBEX_OAUTH_ENABLE=true.
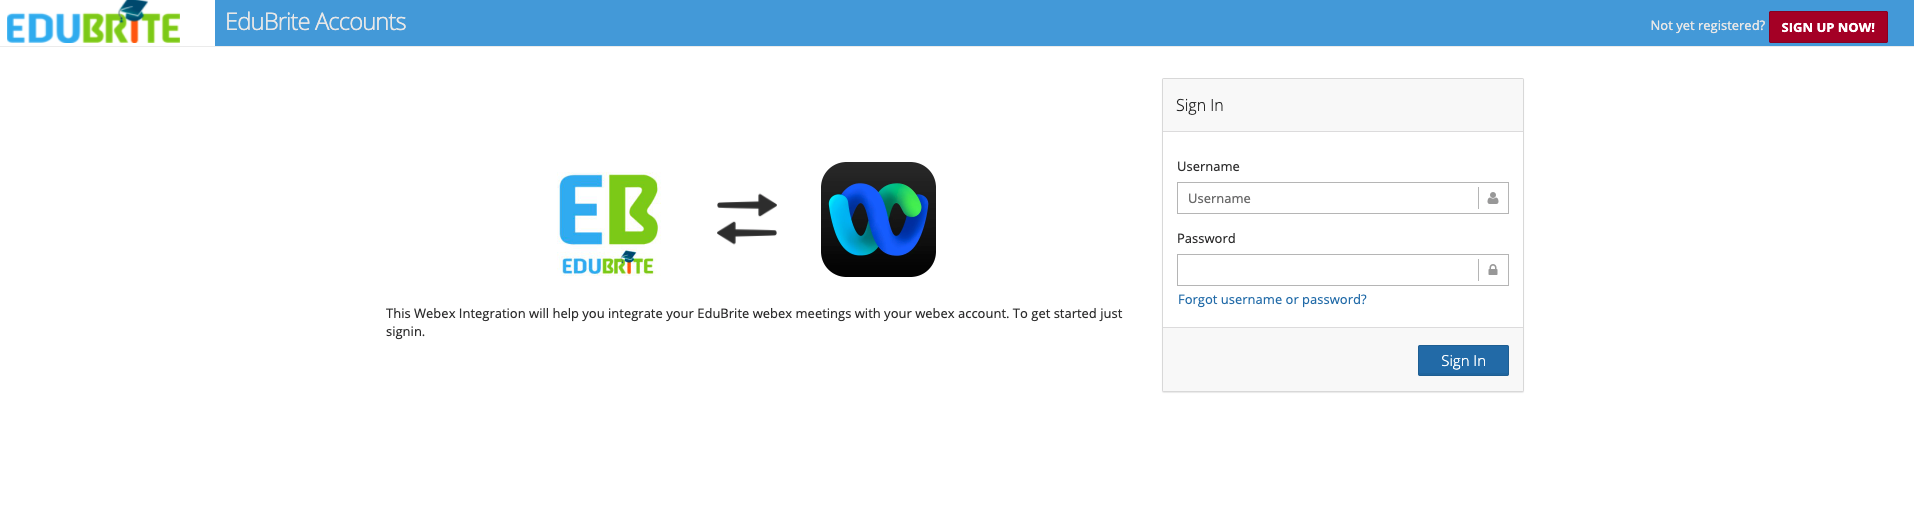
Step2.2: Install the EduBrite Webex App from app hub by clicking the install button. It redirects you to the Webex login. Please login with the account you wish to create meetings with. EduBrite App requests you to give access to use your information.
Step2.3: Click on Authorize to allow EduBrite App to use your information in accordance with the privacy policy defined in the App.
Step2.4: After authorizing, it redirects you to accounts.edubrite.com, where you would need to log in as microsite owner.
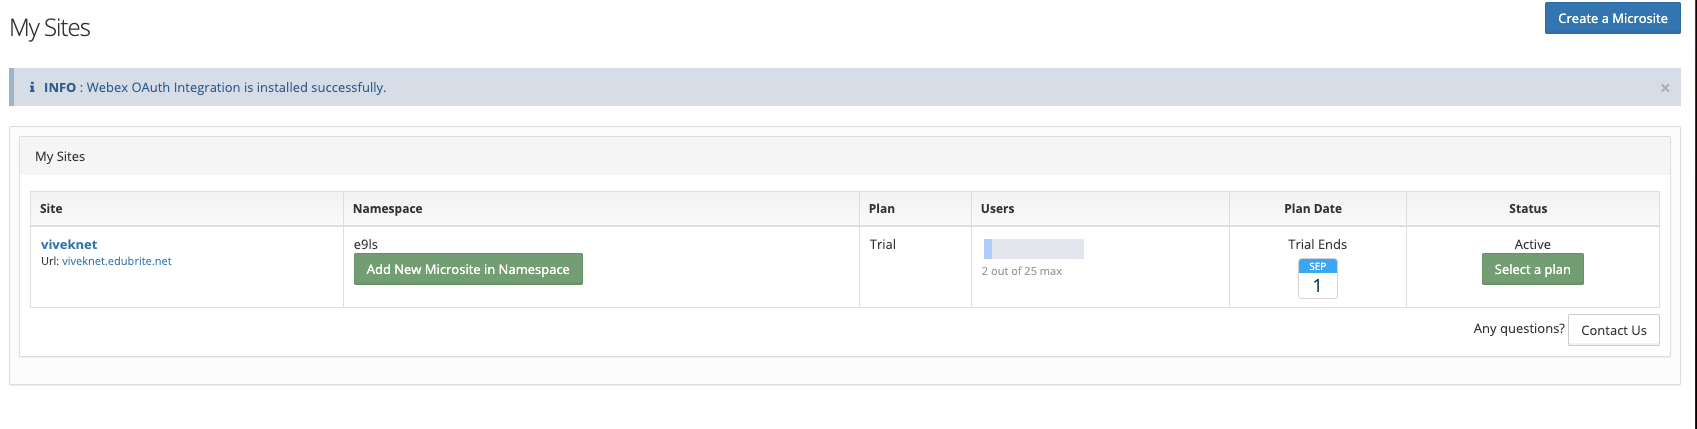
Step2.5: After log in, select the microsite in which you want to install the EduBrite Webex OAuth App. If there is only one microsite, then it installs the app automatically in that microsite.
Step2.6: After selecting the microsite, the Webex oAuth app will be installed. You will see the confirmation message like Webex OAuth App is successfully installed.
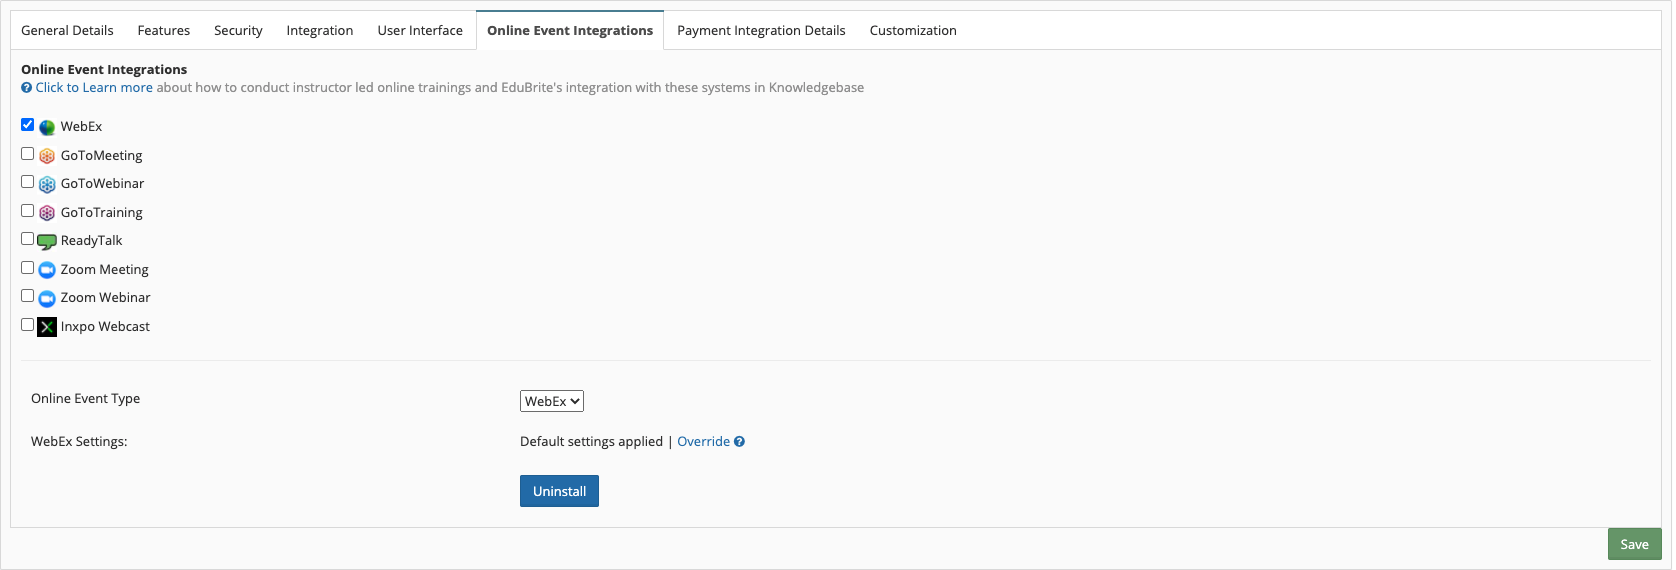
Step2.8: Log on to the microsite in which you have installed the app. You will see the Uninstall button instead of the install button.
Using the app
Once you have installed the app, you can start using the integration.
Step 3: Create an event
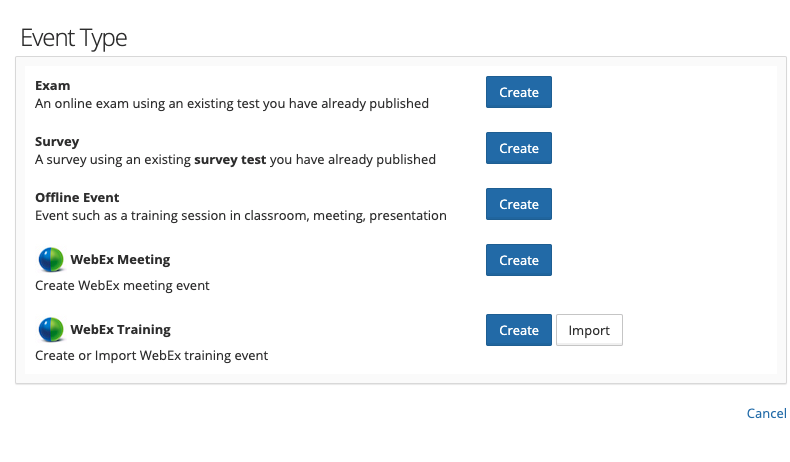
Step 3.1: Open the events tab in any course session, and click on Create Event menu.
Step 3.2: Click Webex meeting -> Create from the dialog.
Step 3.3: Enter event name, Date time, duration, password (optional), enable registration (optional), and select the save meeting option. Once an event is saved, a meeting will be created in your webex site and the Webex meeting id will be assigned to the event's meeting Id in LMS.

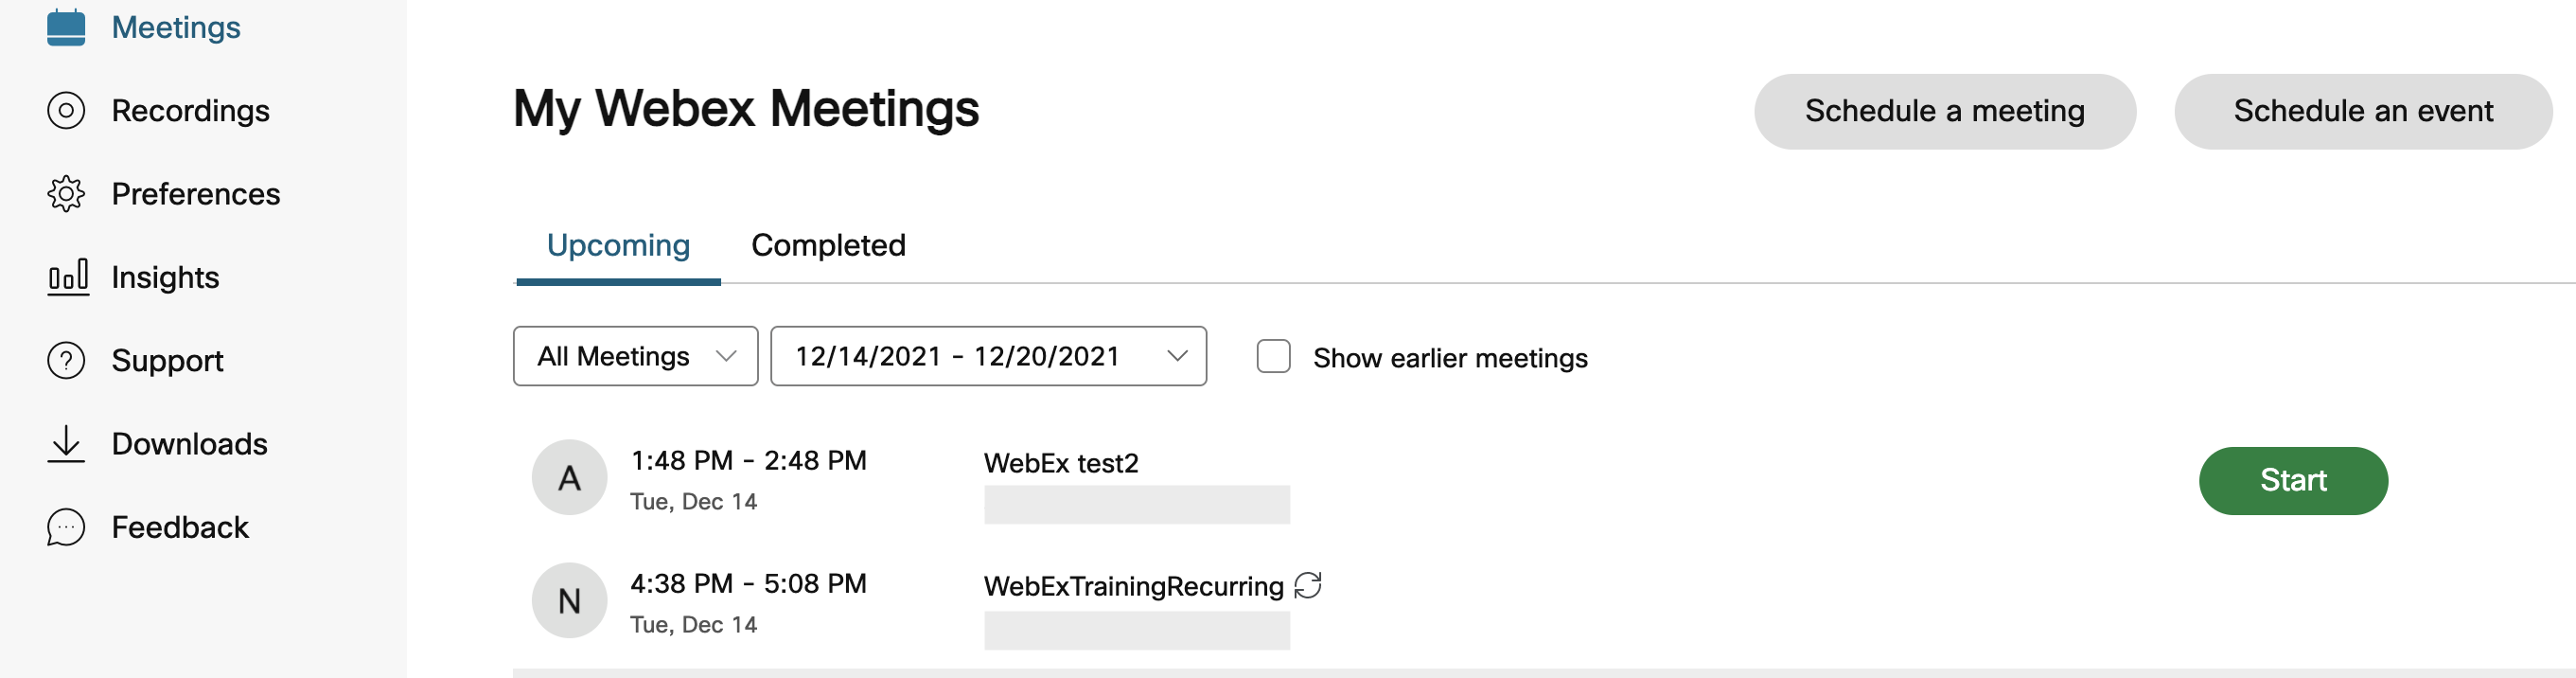
Step 3.4: You can check the meeting is created in your webex account.
Note: To keep your meetings unlisted in your company's webex account, you can set WEBEX_LISTING_PRIVATE=true in microsite customization tab under Site Admin->Site Details. Unlisted meetings won't show up in the webex site, unless you are added as a cohost or participant in it.
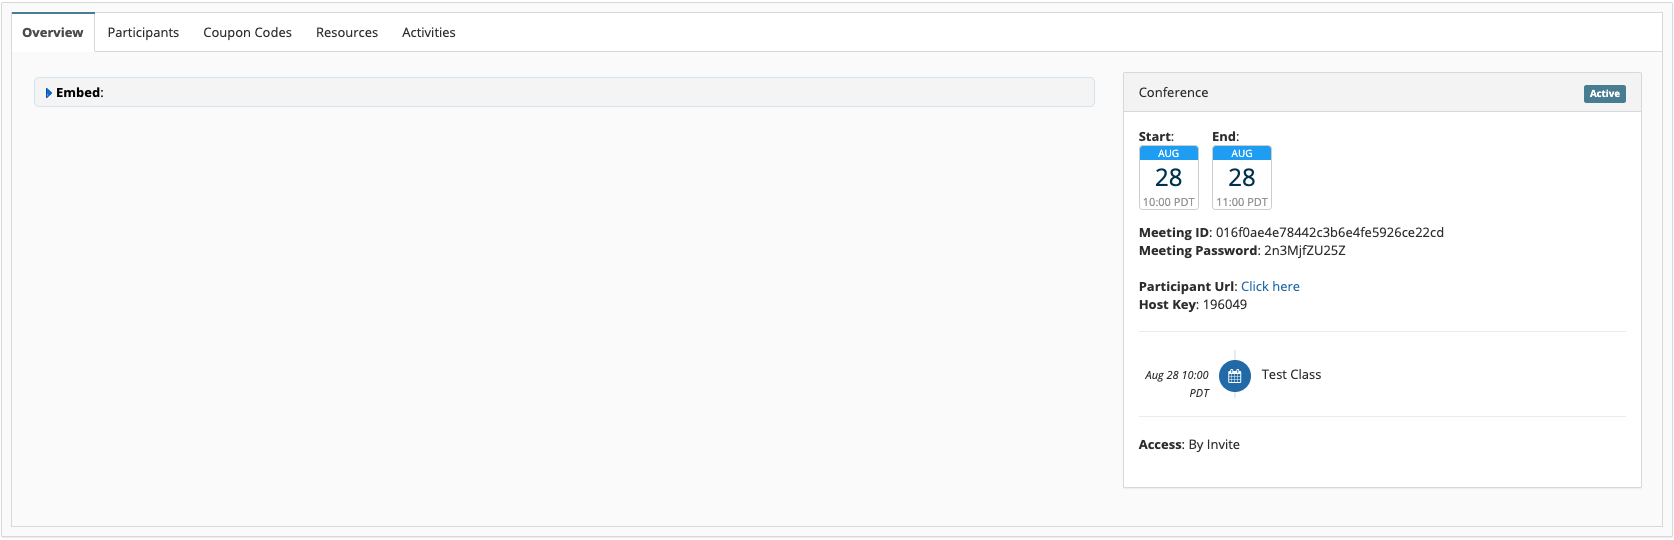
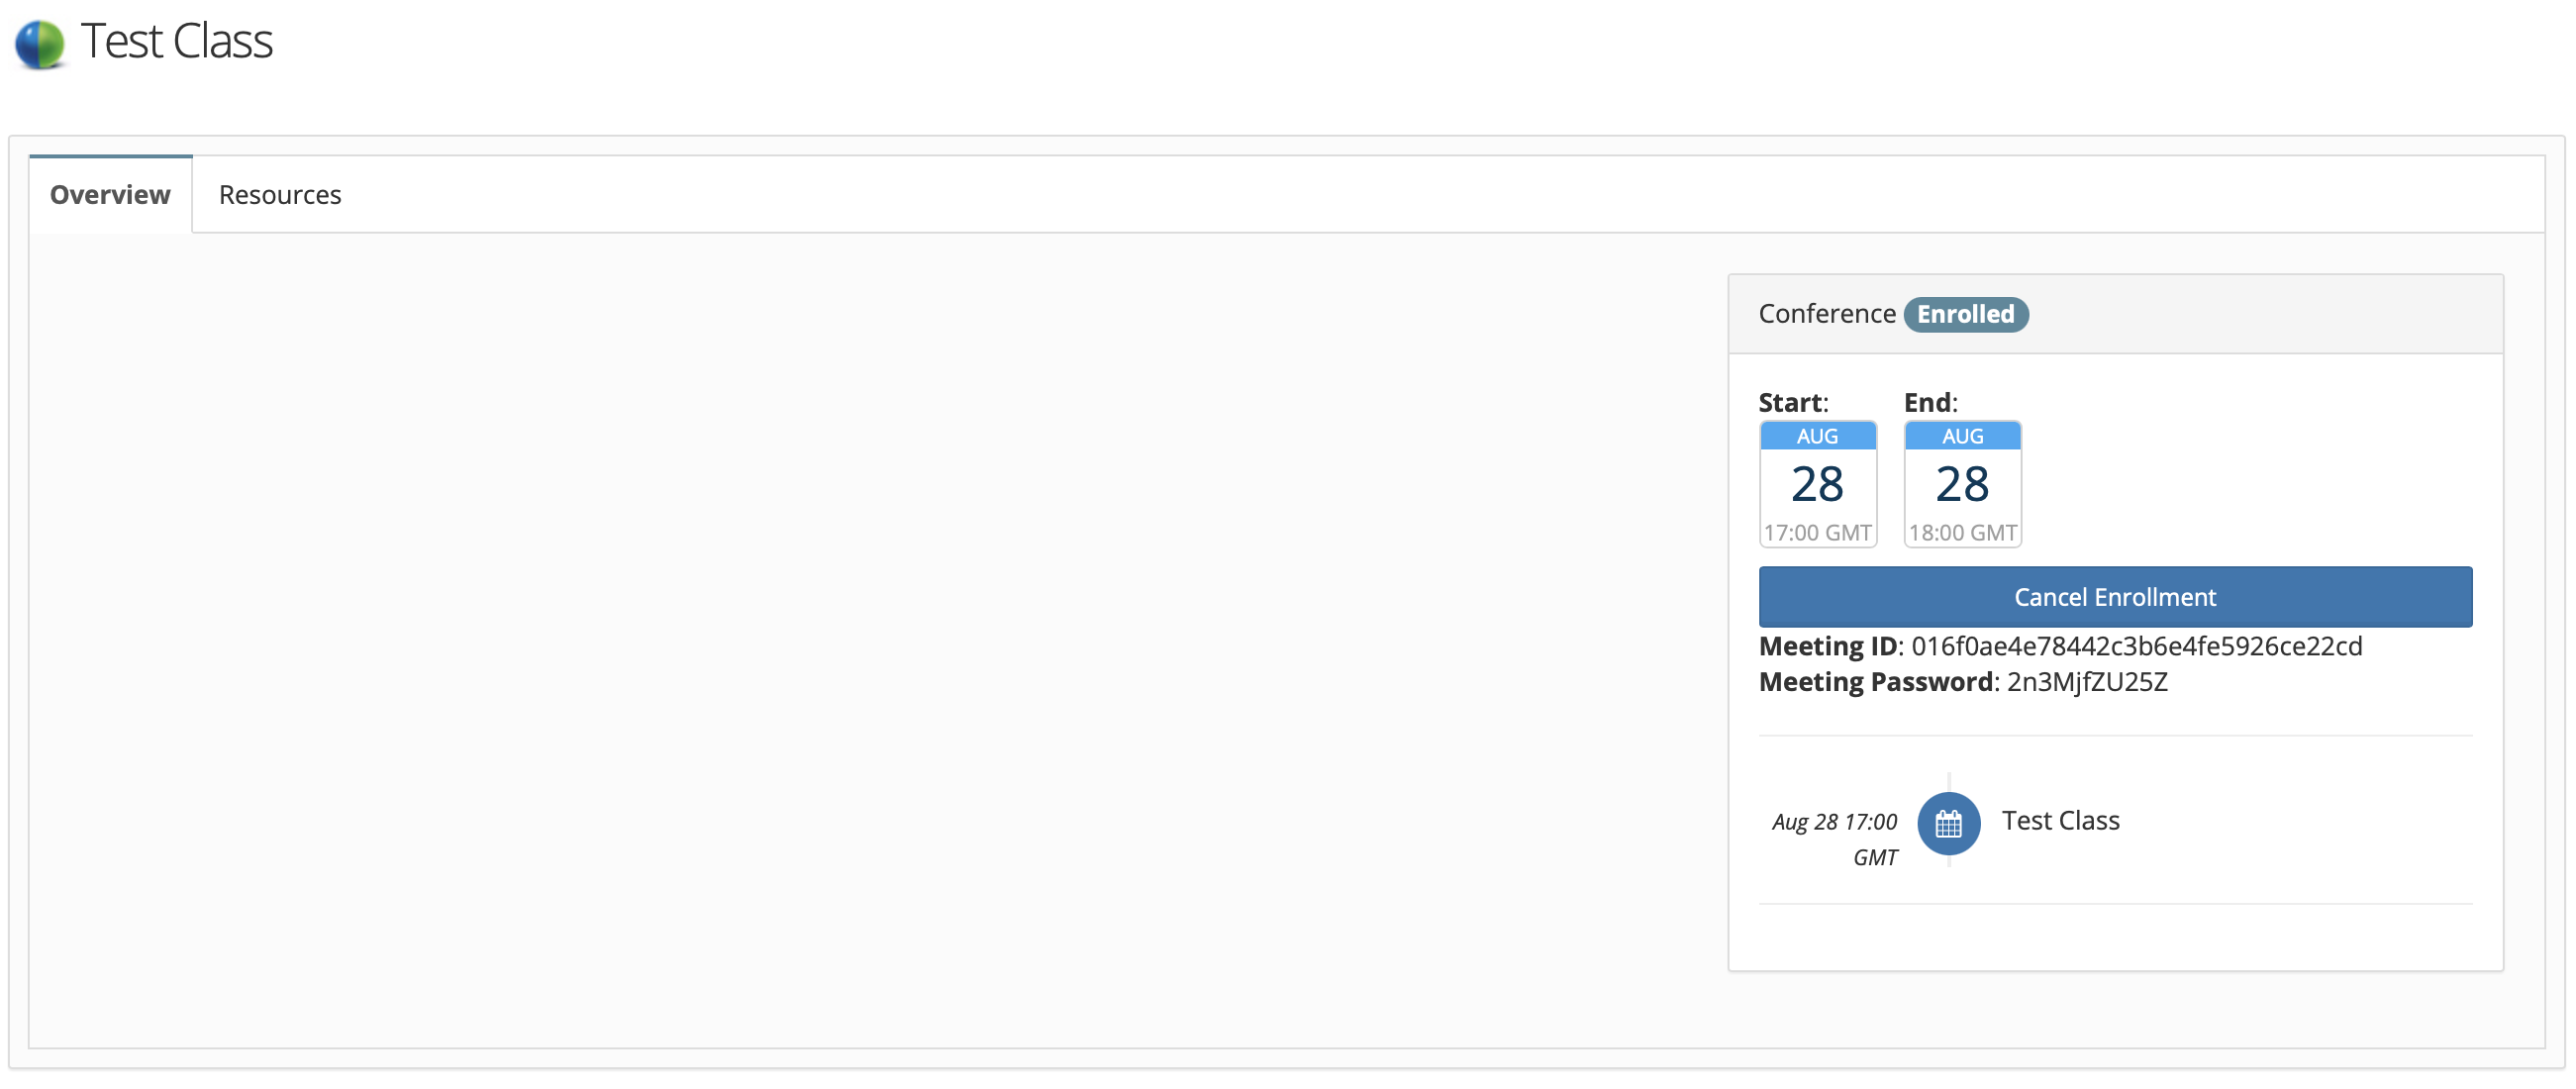
Step 3.5: You can verify the Events is created in LMS, and on the overview tab, meeting details are shown.
Step 4: Add participants
Participants can be added to the event and event subscription mail can be sent at the time of subscription.
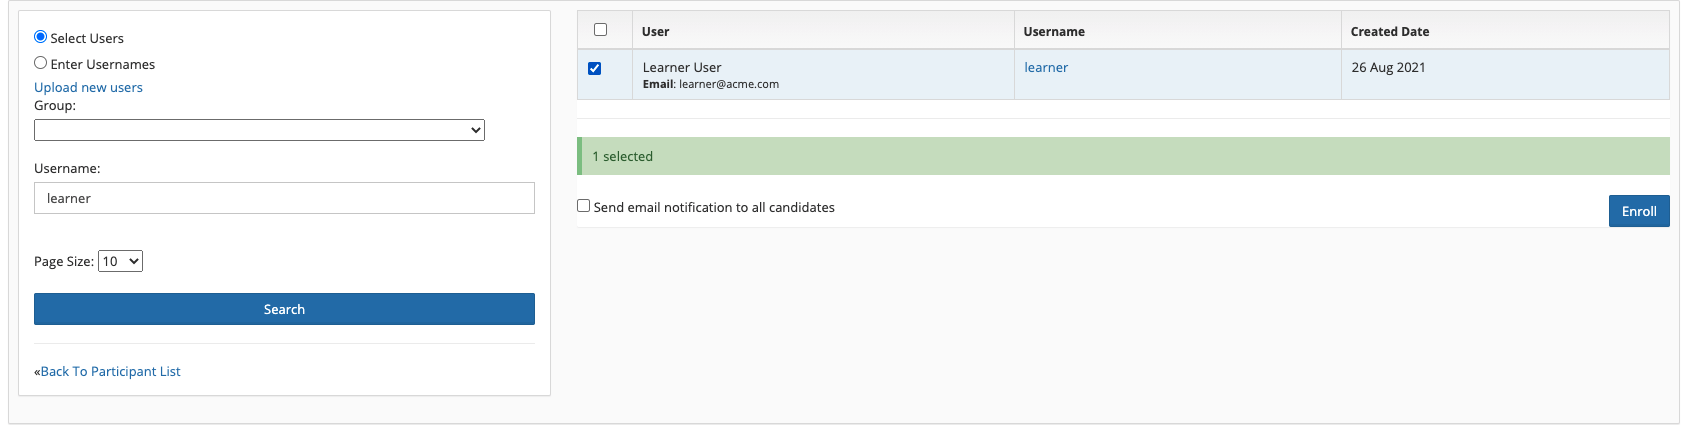
After enrolling, the participant gets an email from Webex with meeting details, if registration is enabled a registration mail followed by meeting details will be received by participant.

Step 5: Host view

Step 6: Learners View to join the event
Step 7: Adding co host
You can edit the event in LMS, and change event's owner and pick any other user. If the event already has a meeting created in Webex, LMS would add the new event owner as a co host in the Webex meeting.

Creating your own App
You can also create your own webex oauth app, and configure it in EduBrite LMS. Use following settings while creating your app
App Type: Integration
Redirect URI: https://accounts.edubrite.com/oltpublish/site/signin.do?fromWebex=true
oAuth Scopes: Configure following scopes for the app
-
meeting:schedules_read
-
meeting:schedules_write
-
meeting:preferences_write
-
meeting:participants_read
-
meeting:participants_write
-
meeting:admin_schedule_write
Get the following fields for you app during the webex app creation steps
Client Id, Client Secret
Configure the custom settings
Go to the Site Admin->Site Details->Online Event Integrations
click on Override, and enter the new values for client id and client secret, and save.