

You can use EduBrite's pre-formatted Word templates to create tests and questions in an offline manner. We recommend this approach if you like to create questions with equations. Word has a built-in equation editor which can be very handy in using this approach to create your questions. Another approach for adding equations is to use Math Type's online service
The word document follows a tabular structure. The first table defines the basic information of a test and the remaining document contains one table each for each question.
Sample Word Templates
Here are a few sample test templates in MS Word format:
- Template for Single and Multiple Choice questions
- Template for Fill in Blank and Short numeric response questions
- Template with all supported question types with SR, MR, Matching, Fill in the blank, Grid question types and inlined images
- Example Math Test with Equations
- Template for uploading survey
Steps to Create Questions in a Word Document
Test Details -
- The document must have a special table (1st table) at the beginning which captures information about the test. You can leave all columns blank except the ones filled in the example template.
- Test Name, Test Metadata values.
- Total Questions - x/y where x is the number of questions to deliver and y is the total questions in the test. If the value specified in x/y format, Test properties Randomize questions and Randomize in all attempts will be enabled.
- Marks per question
- Negative marks
- Duration
- Total Marks - x/y where x is passing marks and y is total test marks.
Question Details -
- Each question has to be entered in a table, with the first row of the table used for entering question text, and following rows for choices.
- Columns for Question
- Question number
- Question text
- Positive Marks
- Negative Marks
- Question Type
- Metadata type - Type (comma separated multiple values can be specified)
- Metadata type - Skill Level (comma separated multiple values can be specified)
- Metadata type - Subject (subject metadata values separated by comma), In this cell pool_id can also be specified using the format POOL_ID:pool_id, [Please note Id needs to be specified not pool name]
- For specifying subject metadata value only, simple comma separated metadata values can be specified. value1,value2
- For specifying a hierarchical value for a subject metadata value, use slash '/' separating each level.
- For specifying both poolId and subject use the format - POOL_ID:pool_id;SUBJECT_ID:value1,value2
- Bonus Marks
- A number of columns in each row has to strictly match the template, however, the number of choice rows can vary.
- Correct choice(s) are marked by entering Yes in the second column in choice rows.
- The last row in the question table is special, as it is used for entering a question-specific solution or explanation. Solutions are shown to the student after they finish the test.
- You can enter a passage (which is used for adding directions for multiple questions... e.g. a reading comprehension section) also, and it is shown in the example test document as well. Passage table has only 1 row, with a title, description, and number of questions in each column
- Once you have the test document ready with questions, you can upload it. In case you have any equations or special objects in the document, you need to convert the document to HTML first
- Save it as html in a separate folder using Word's Save As Web page option.
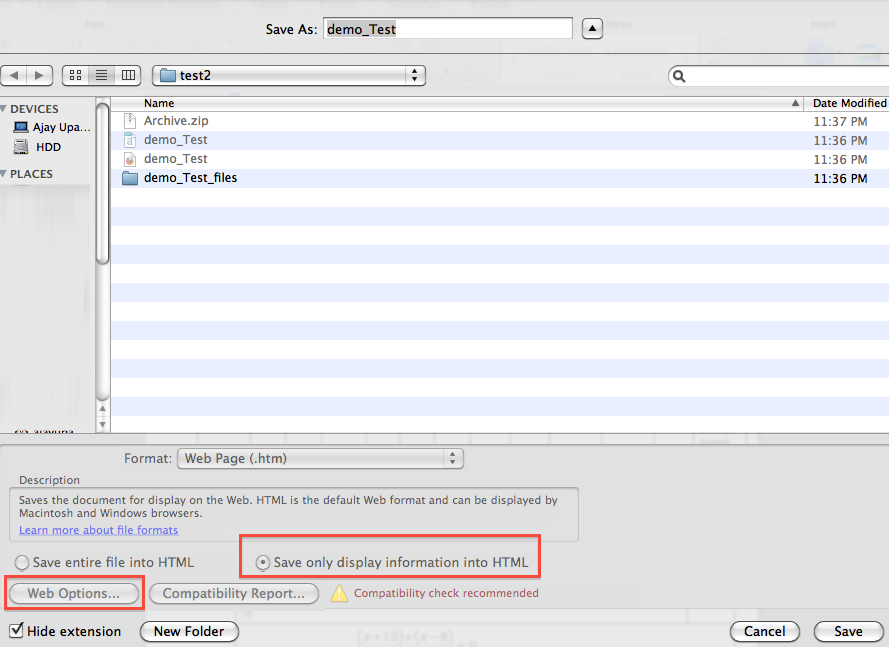
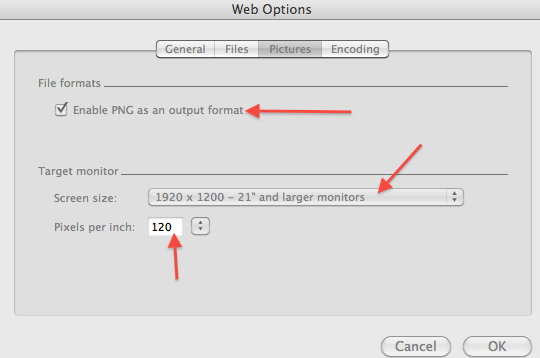
- You should change some settings while saving as html
- Pictures Tab -
- select - Enable PNG as an output format
- Pixel per inch - 120
- Encoding Tab - select Unicode UTF -8
- Formatting tips in Word - before you save the document as a web page, use the resizing (stretching) to make your embedded equations appear nice when viewing the document in 100% zoom (check the attached document with equations). The size of the generated images (PNGs) will be based on the equation's width and height.
- Zip the generated html and resulting images (including any folder for images) to a single zip file
- Upload this zip file as a new test by going to Test->Upload Test menu
- You can also upload this in an existing test from inside the test editor; click on the Word icon.
- Note that If you don't have equations in the word, you can directly upload it without going thru Save As and Zip steps
View Getting Started Tutorials
Test Authoring
- Test/Survey editor
- Editing Questions
- Basic Properties
- Scoring Options
- UI Options
- Sections
- Authorization
- Rules & Adaptive Testing
- Defining Objectives
- Using MS Word to create tests
- Test collection
- Test Creation Using Existing Questions
- Preventing Backward Navigation
- Updating an already published test
- Question Solutions
- Deliver N random questions from question pool
Reference
Adaptive Test Examples
- Random Questions Section wise
- Simple Branching
- Test with Section Timeouts
- Branching & Custom Objectives
Videos
