

Quick Start Tips to Evaluate Gilly / EduBrite for Confluence Server (private installed version)
Read this alternate article - for using Gilly in Confluence Cloud (Atlassian hosted on-demand version)
Continue with this article if you are using Confluence Server
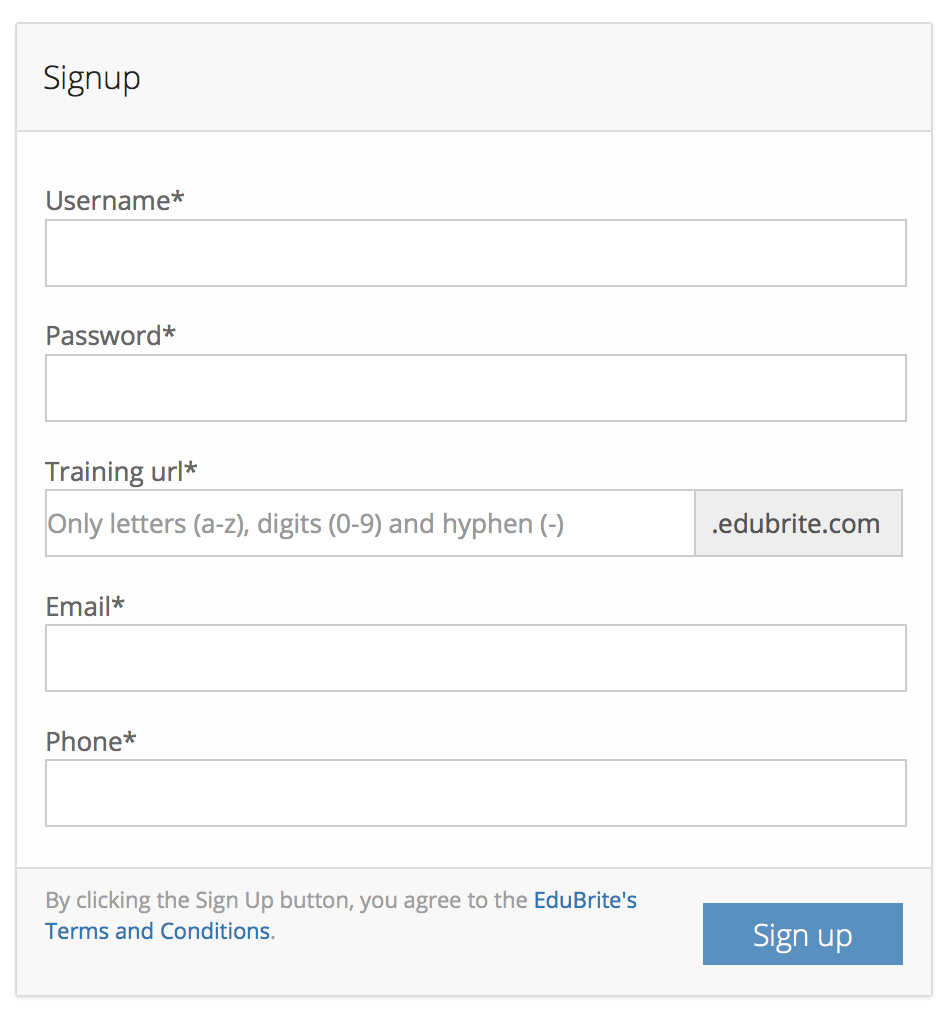
Step1: Signup for EduBrite business edition by going to https://accounts.edubrite.com . You will need to enter a preferred username (which would be the owner's username for the microsite), microsite url (e.g. mycompany.edubrite.com) , email, phone and password. If you have signed up on personal edition, then you can use the Signup for Business Edition button after you login to your personal edition account. Your account details will stay the same.
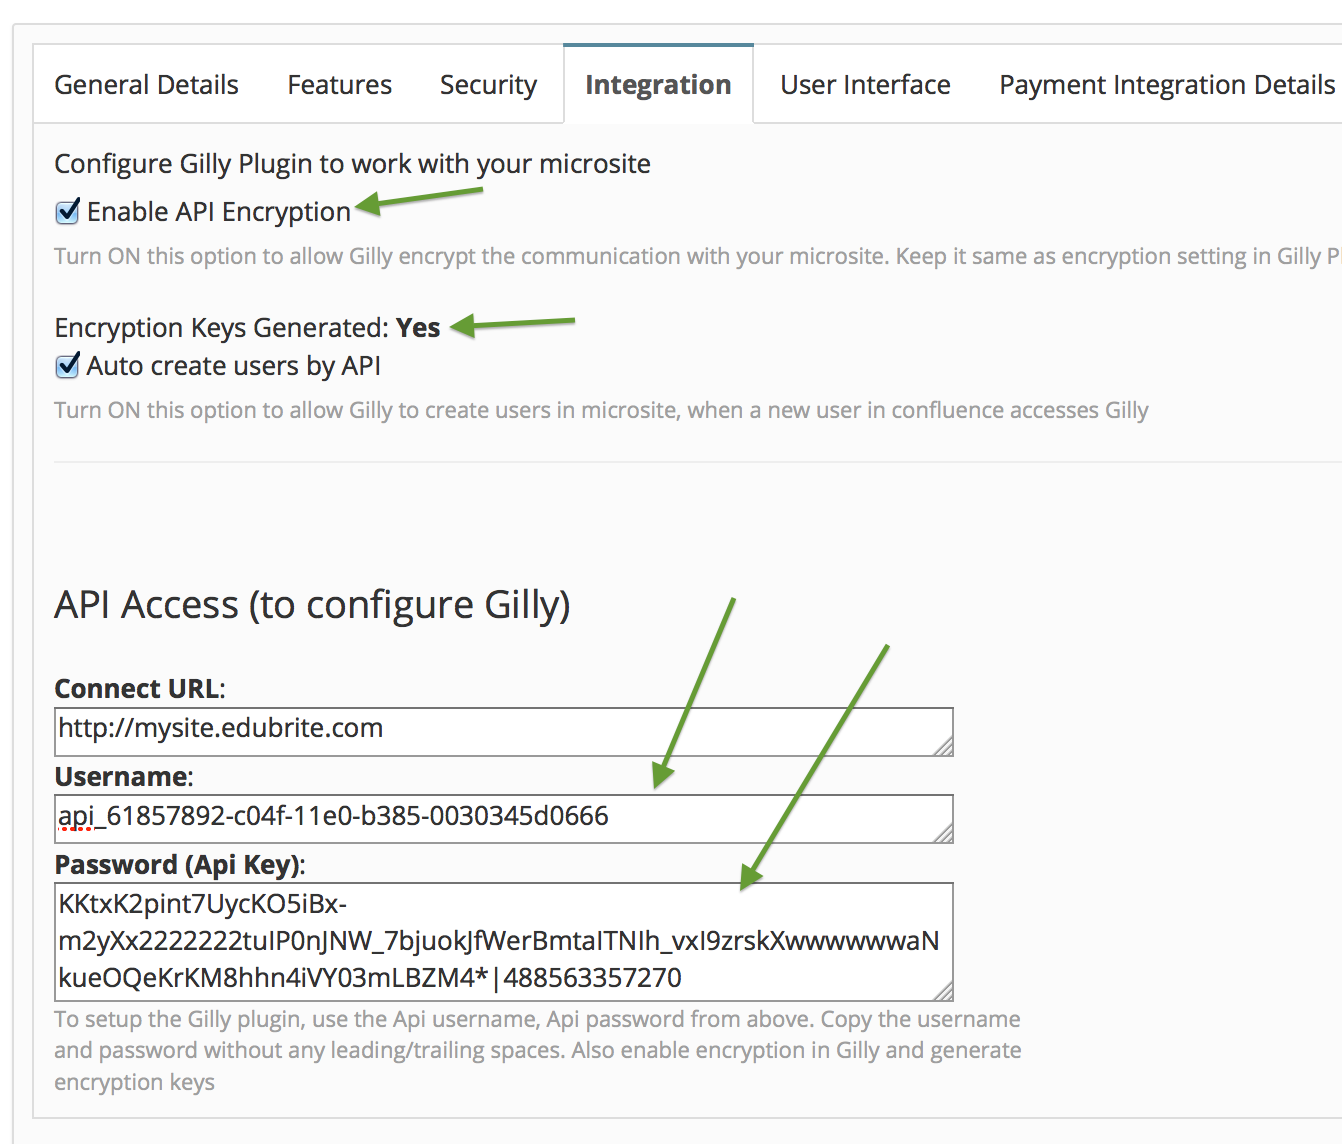
Step2: Once you complete the signup, you will be taken to your microsite url (e.g. mycompany.edubrite.com). Here you would be creating the learning content (courses, tests, surveys) which will be accessed by the trainees from confluence via Gilly plugin. First let's integrate this microsite with Gilly. To do this open Site Admin->Site Details->Integration.
- Click on Generate Api Key link, this will populate the API username and API password for the microsite
- Check the Enable Encryption checkbox and Save.
- Click on Generate Encryption Keys link
- Keep Auto Create Users by API checkbox checked (check and save, if its unchecked)
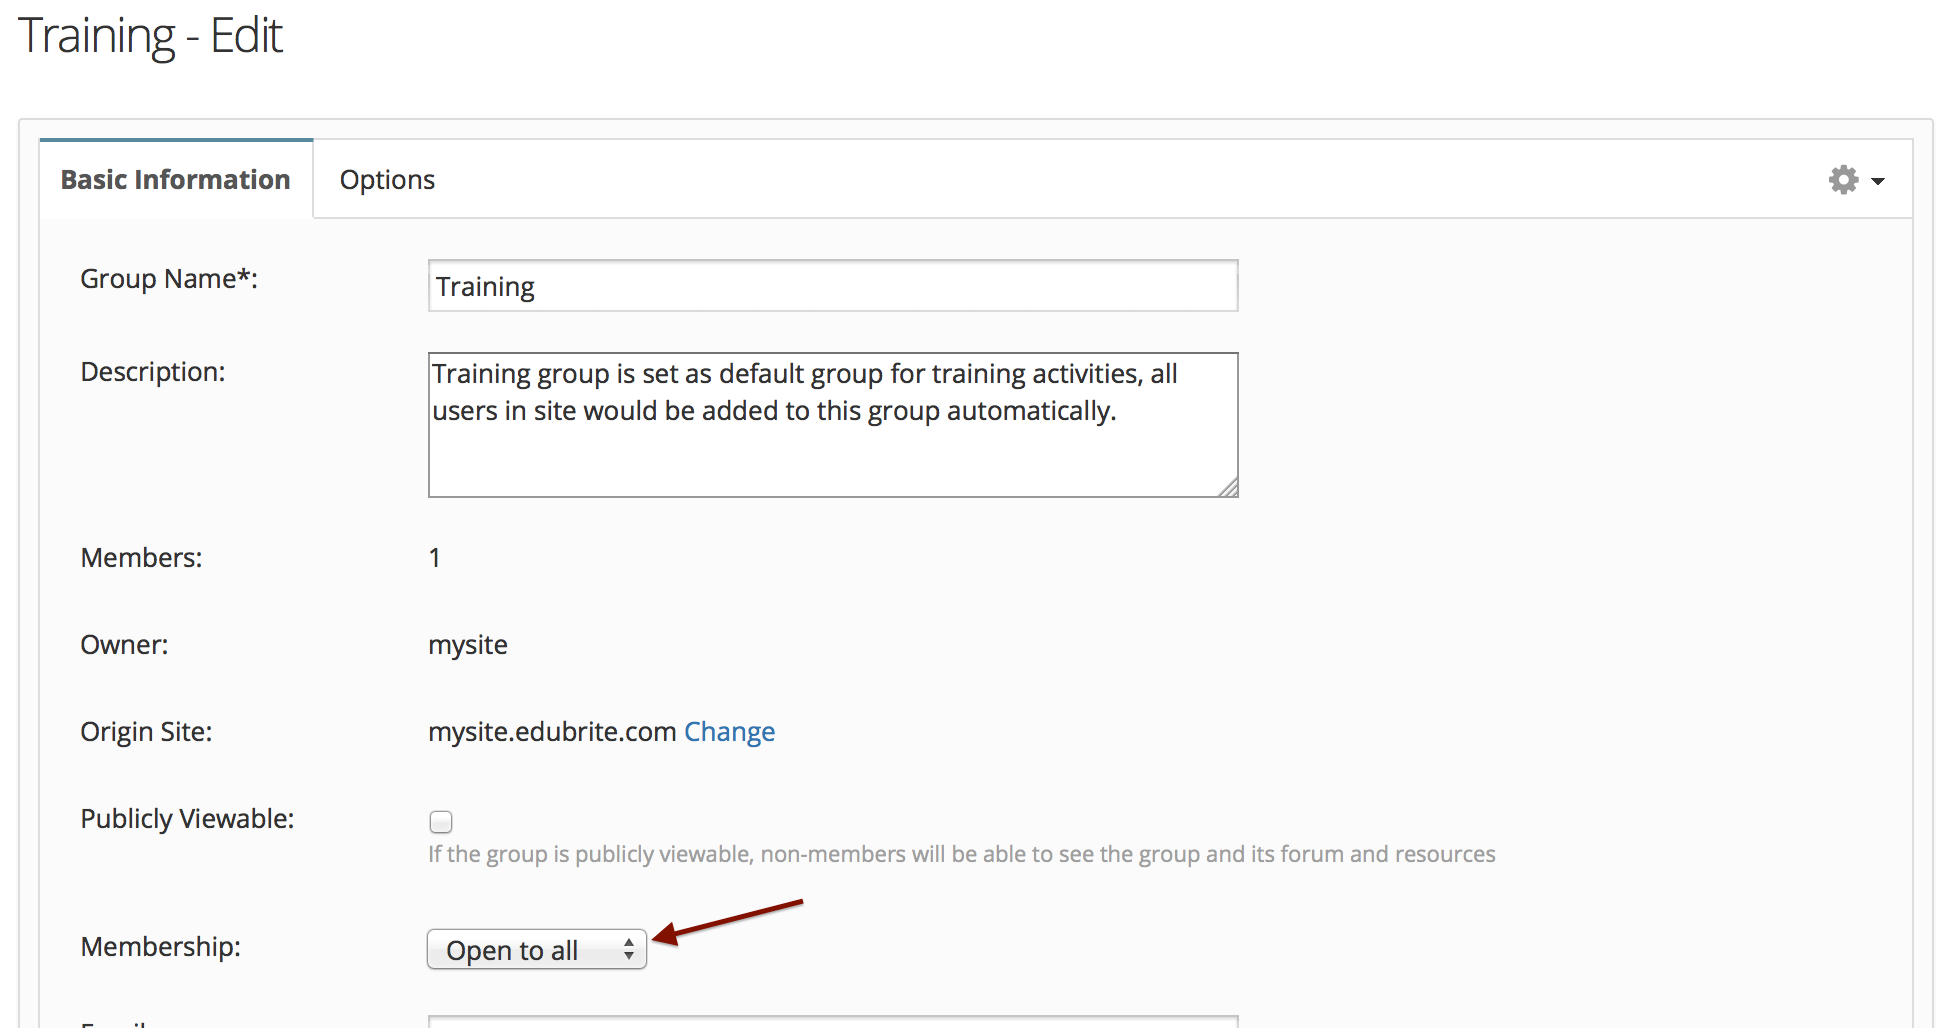
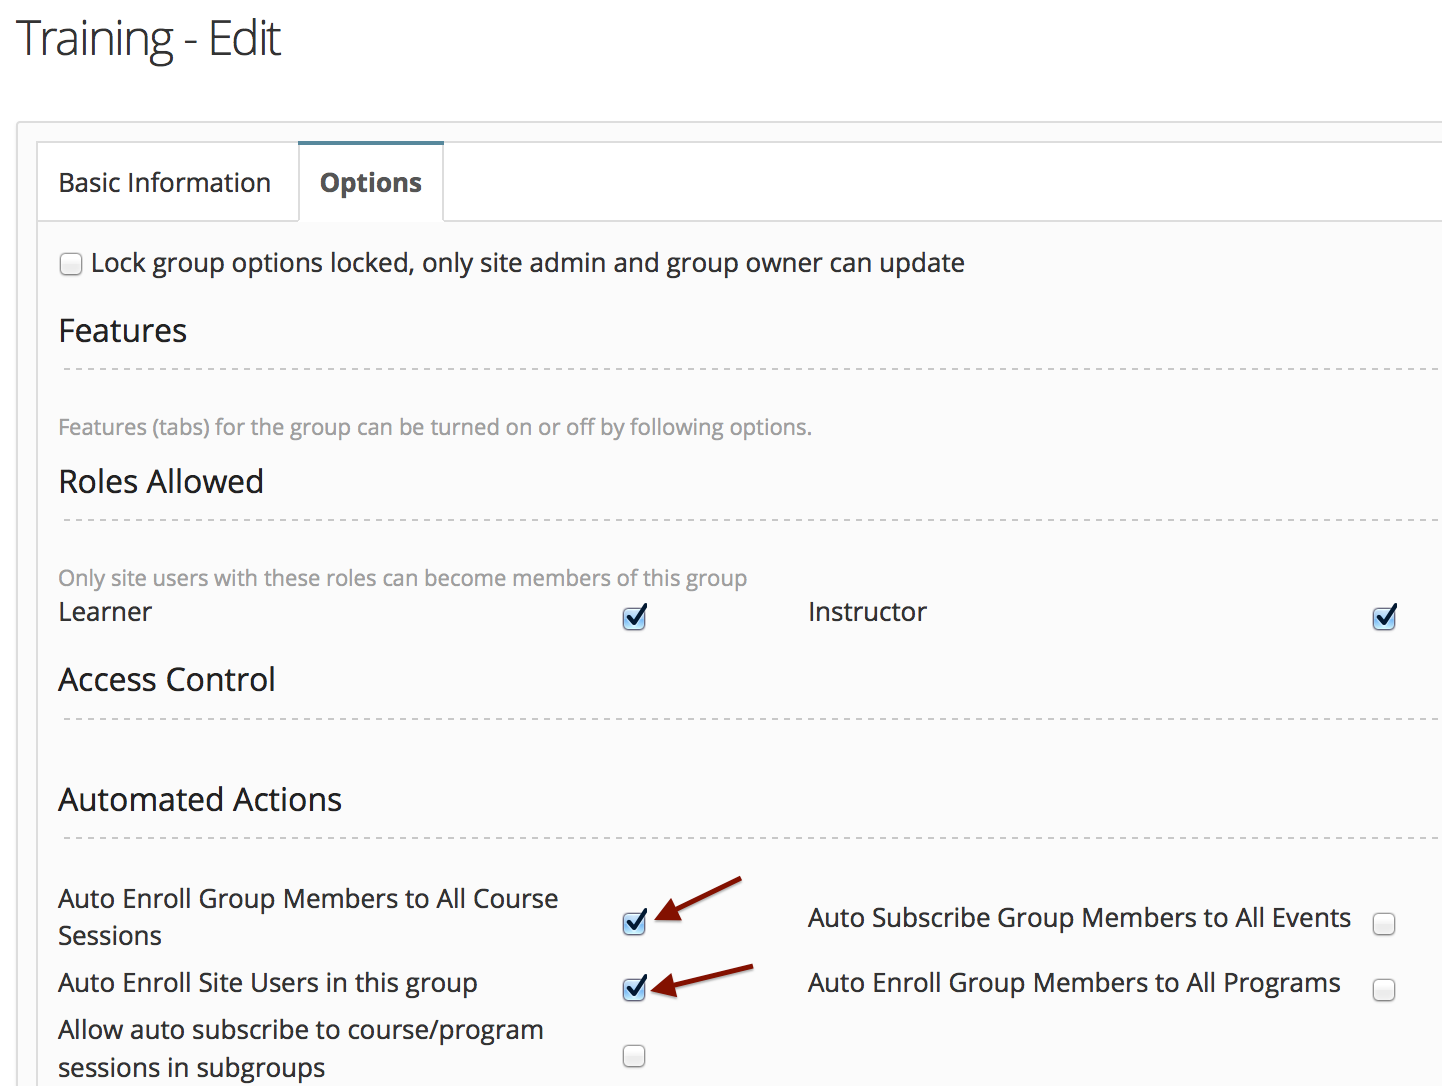
Step3: EduBrite by default creates Training group in your microsite. This is not required but is good for a quick start as it simplifies a number of things. This group has open membership and is also enabled to auto enroll site users in this group and all members get enrolled in all course session, upon becoming a member of this group. So in a way, any course session we create in Training group, will be assigned to all users in the site.
Optional -
You can enable Auto Subscribe to Events, flag in group options also.
And you can enable Send Confluence URLs in Emails, so enrollment emails have links that points to your confluence url rather than pointing to LMS directly.
 |
 |
Step4: EduBrite has also created a 'Authors' group by default. This group is also set as default owner for all tests and courses.
All the users involved in course/test authoring should be added in this group as an Group Admin or Instructor. They can have Instructor or Learner role at site. Site level instructors have authoring permission by default. In case you don't want to make authors an Instructor in site, then from Site Details->Security enable Authoring by all users option.
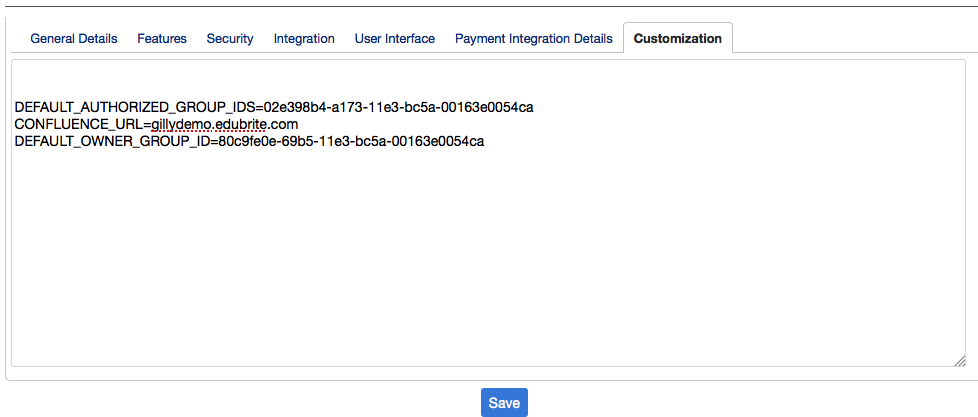
Step5: Site Setting customization -
Open the Site details again from Site Admin->Site Details and go to Customization tab. Enter following property, each on new line, and Save.
CONFLUENCE_URL=<Your confluence url> (e.g. gillydemo.edubrite.com)
Step6: Create a simple course, and publish it. Check the course authoring tutorial on support.edubrite.com for details. You will notice that the course is getting authorized in the Training group by default. (Later when you have tested the setup quickly, you can experiment with authorizing course to other groups also)
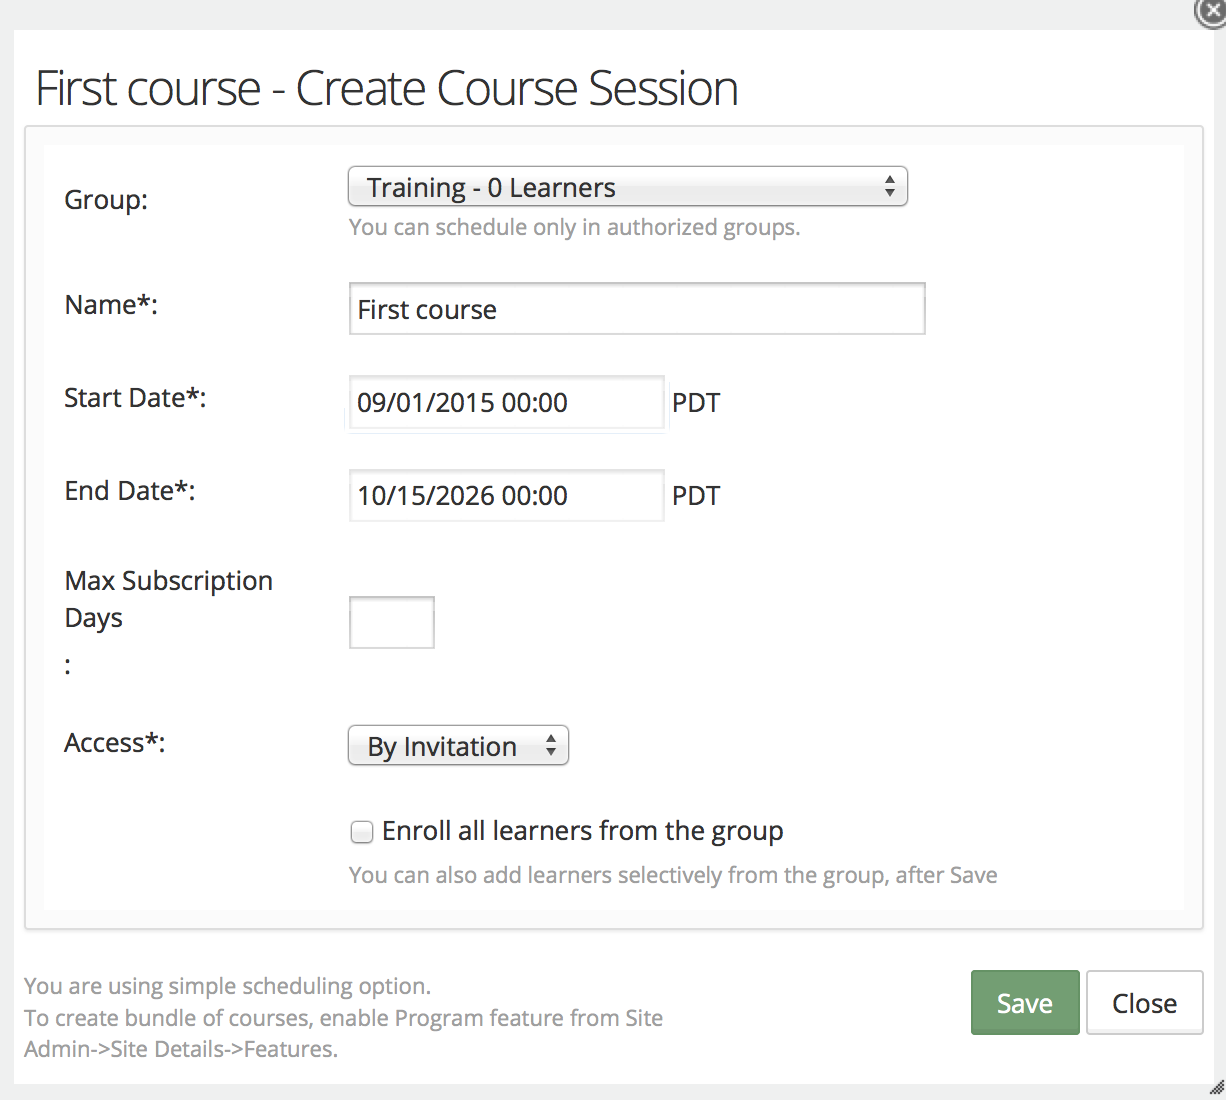
Step7: Schedule a course session for this course. Check the course scheduling tutorial on support.edubrite.com for details. Specify end date far in future for keeping things simple and not having to create multiple sessions.
Step8: Install and configure Gilly in confluence. Check this article and video tutorial for help on how to install the add-on in confluence
Now if any confluence user logs in and opens their training dashboard, they will auto enrolled in the above course session and they would be able to see it listed under Enrolled courses.
Hopefully this gives you a good starting point to try out Gilly/EduBrite in action. Read more Knowledgebase articles and tutorials to build upon simple use case and you can use features like groups, previewable courses and authorization to further fine tune as per your needs. For any questions contact support@edubrite.com
Gilly Articles
- Quick Start with Default Settings
- Getting Started
- Gilly for Confluence Cloud
- Gilly's Architecture
- Proxy Setting
- User Management inside Microsite
- User Management inside Gilly
- Access Control and UI Configuration
- Caching of Items
- Training Dashboard
- Managing default Training Dashboard
- User Profile Extension (Custom tabs)
- Visibility Control and UI configuration
- Course Player Macro
- Quiz / Survey Macro
- Creating Exams
- Survey Delivery
- Test Attempts Report
- Test Statistics Report
- Survey Report
- Upgrading Gilly to a new version
- Monitoring
- Logging in Gilly
- Gilly Releases & Downloads
Gilly Webinars
Gilly Demo
URL: http://gillydemo.edubrite.com
Username: demo1, demo2
Password: password
EduBrite Platform Demo
URL: http://learnzone.edubrite.com
