

To insert images in your online edited content (steps are applicable in every place the online editor is available E.g. - editing a lesson in a course, editing a site knowledgebase page, editing a resource in a group, course session, event, or program, editing banner content, etc).
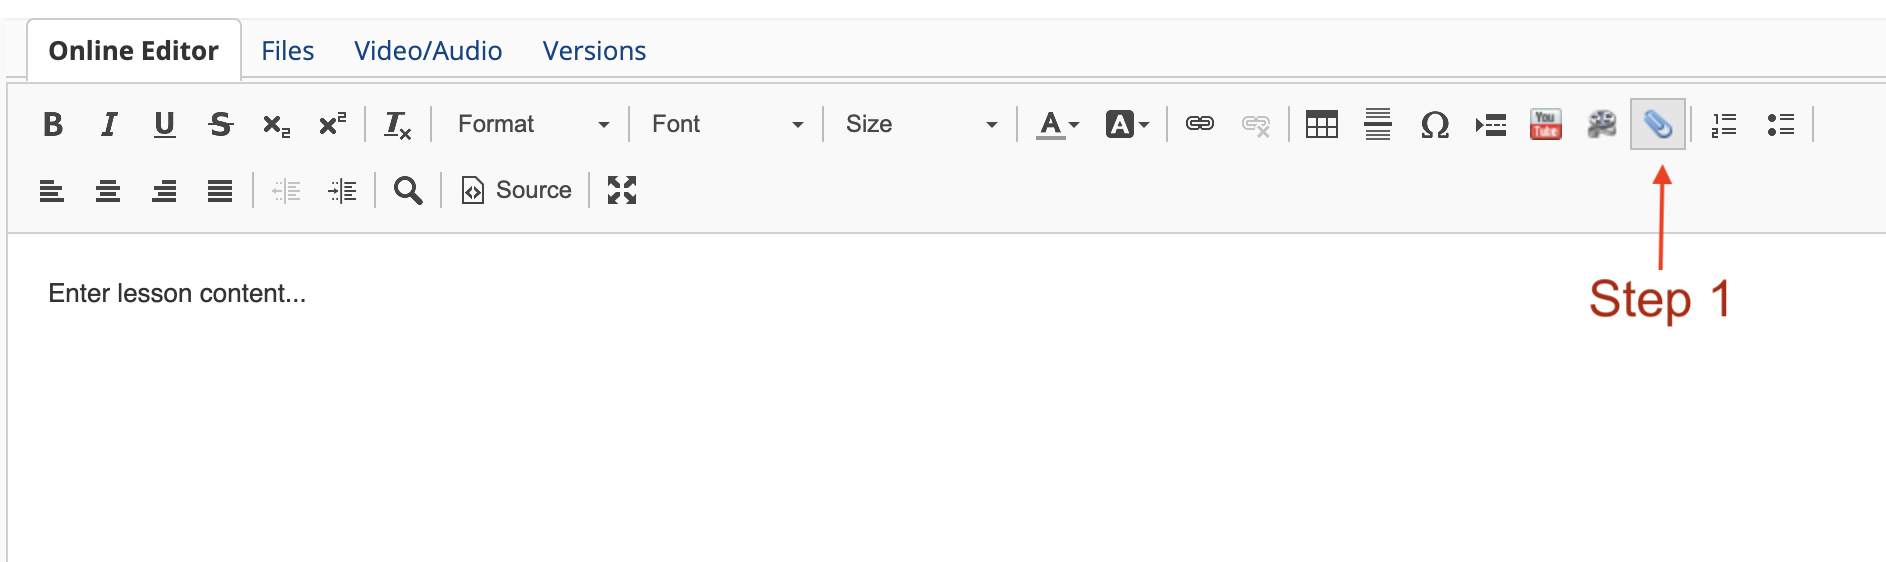
Step 1:
Click the paperclip icon.
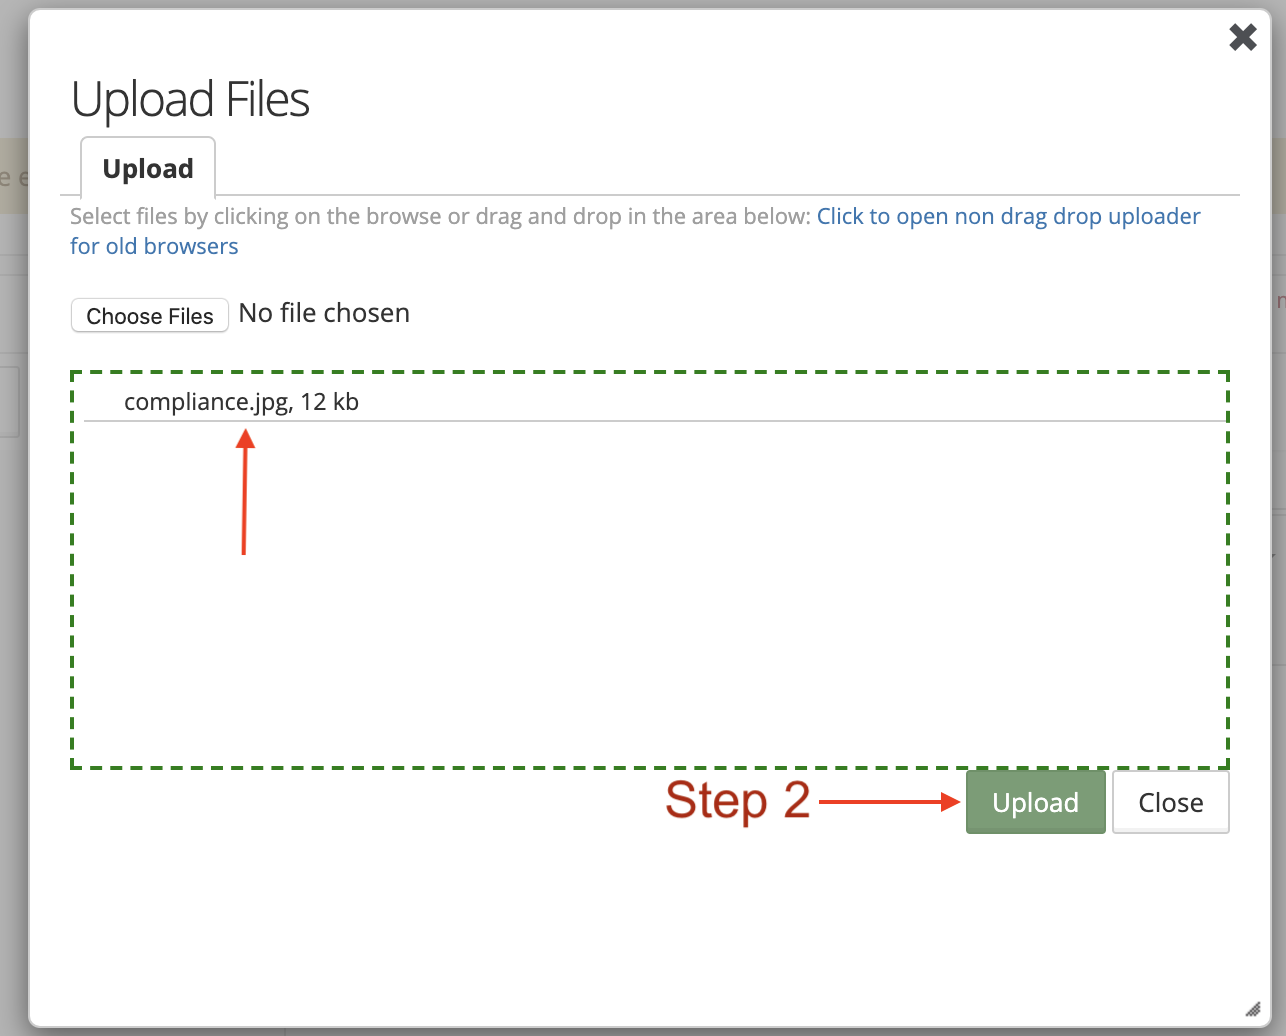
Step 2:
Drag and drop files, and click upload
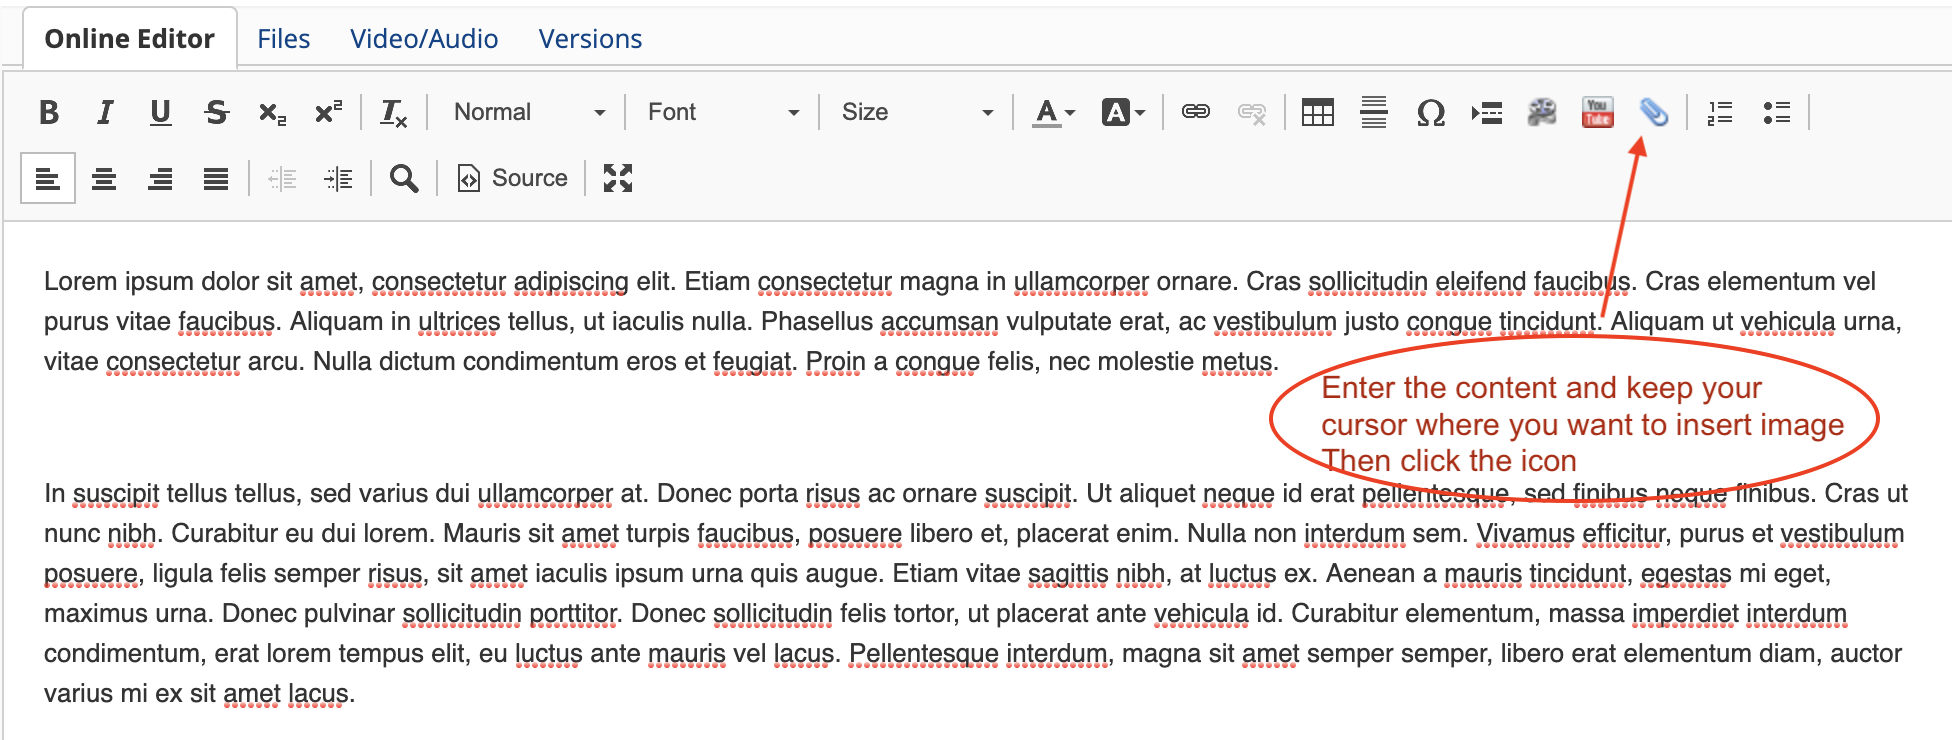
Step 3:
Edit the content and keep the cursor where you would like to insert the image.
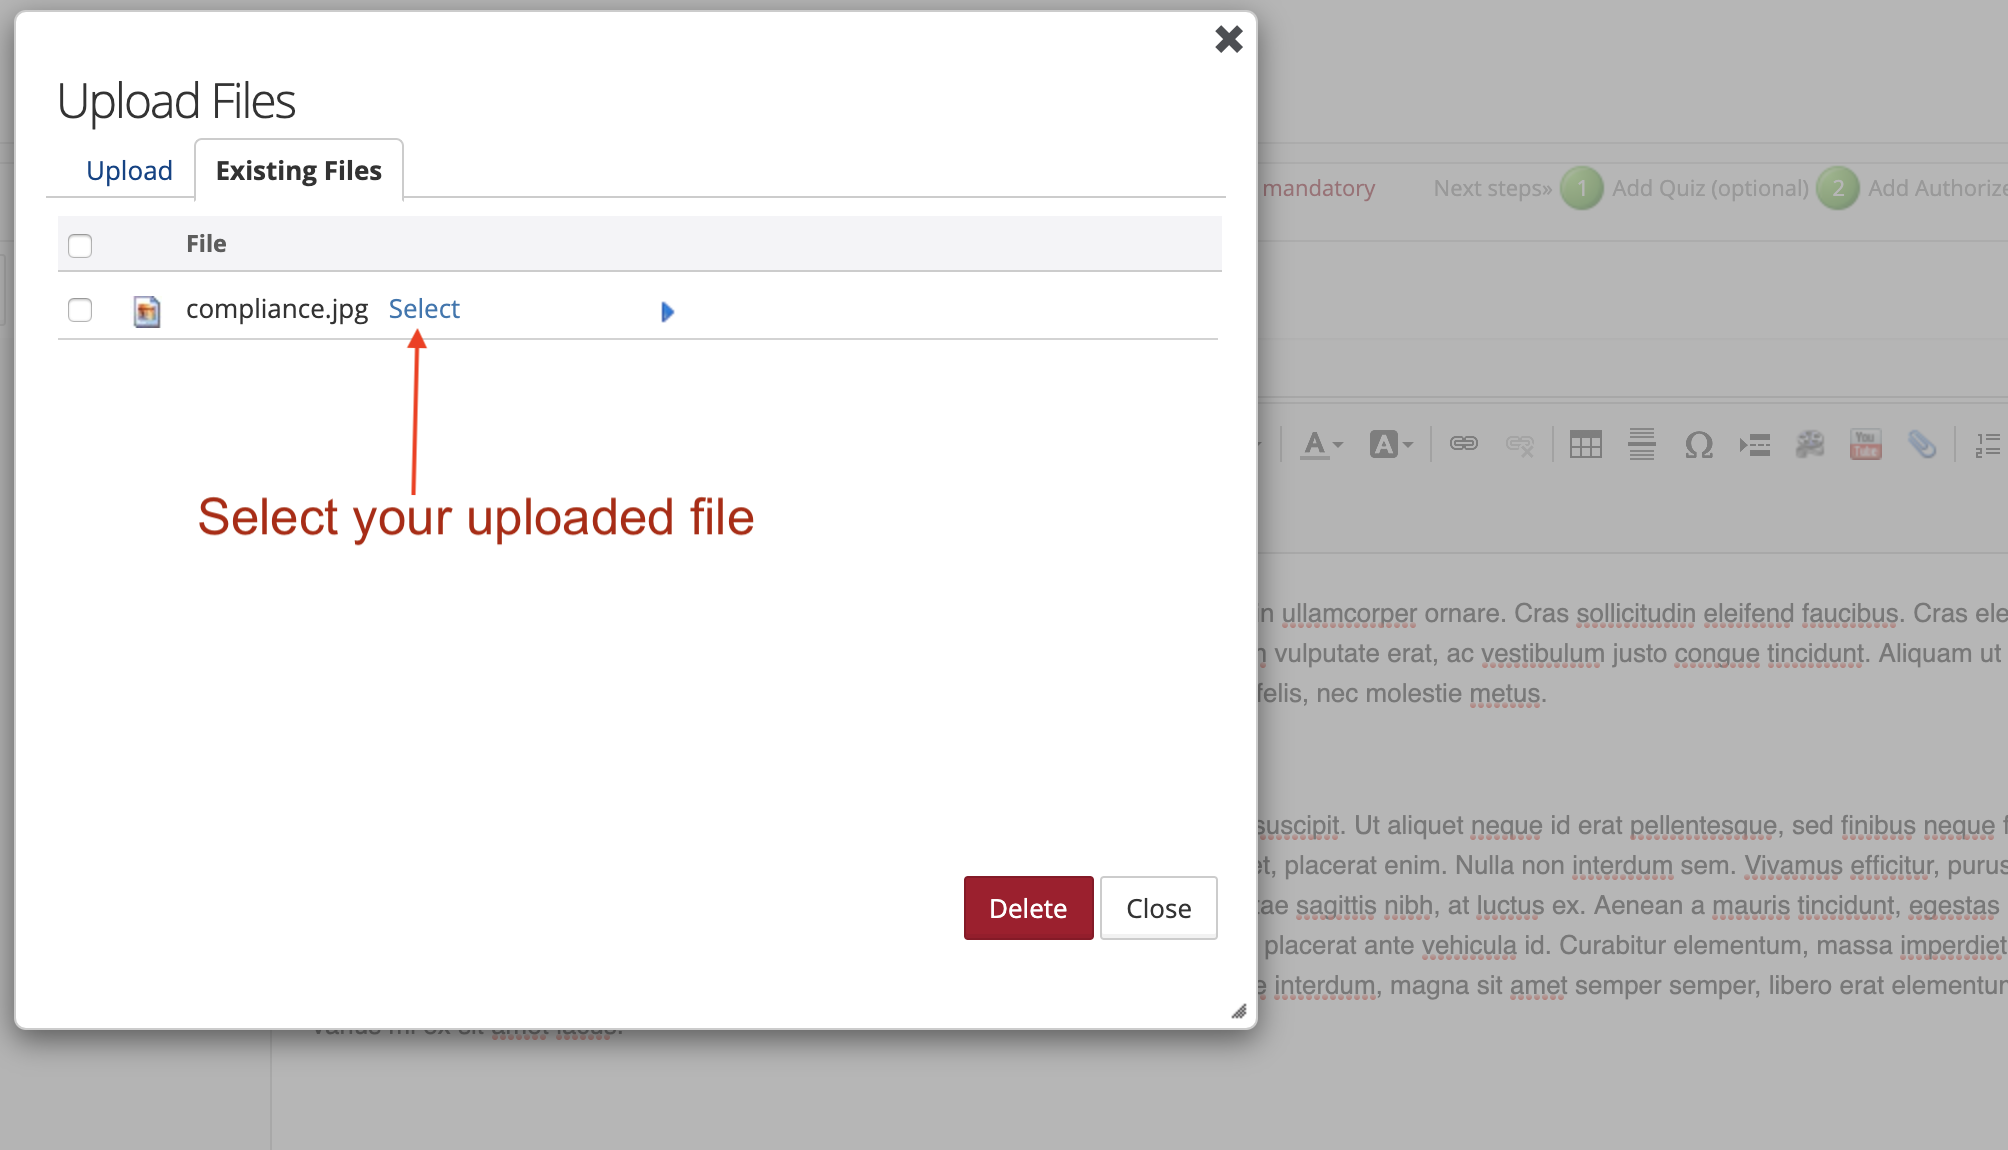
Step 4:
Click on the Existing Files tab and click the Select link for the image you want to insert.
Step 5:
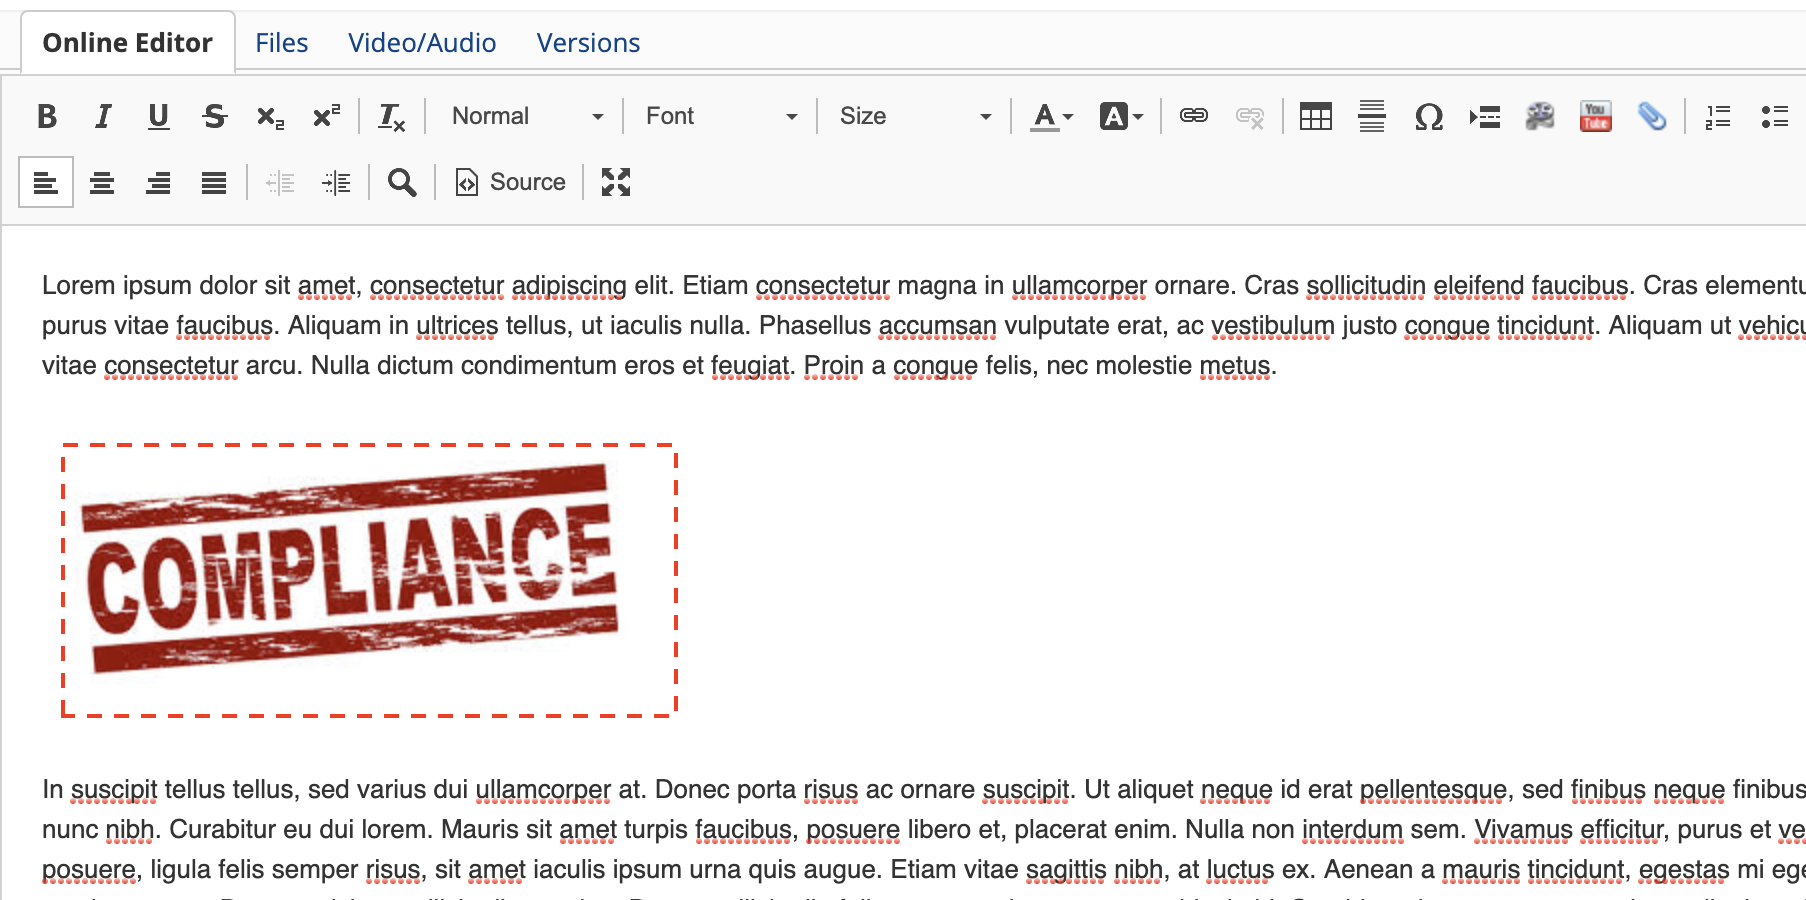
Your content will now have an inserted image.
Step 6:
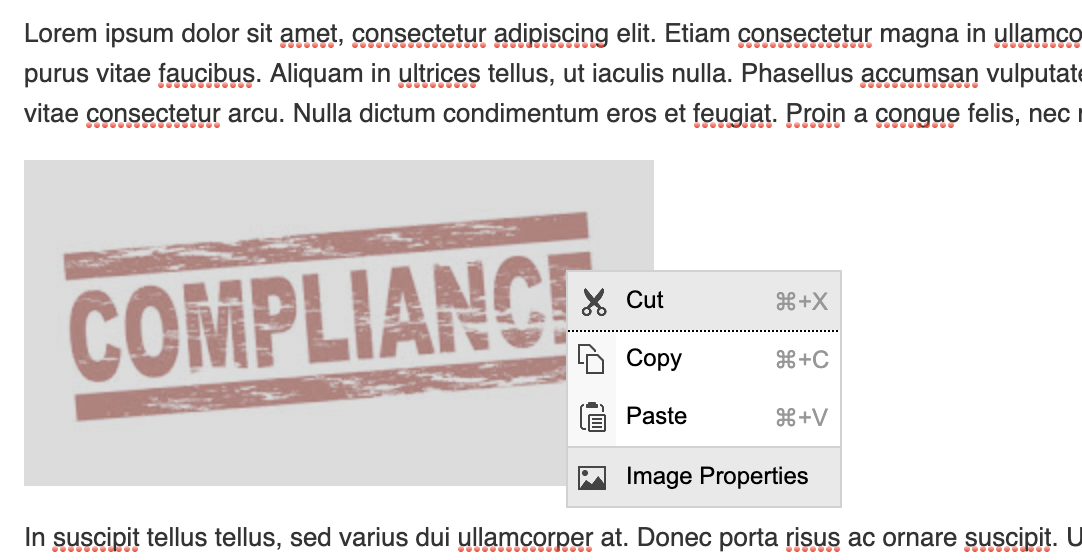
You can adjust the image's properties such as alignment, border, or size by right-clicking and selecting the Image Properties menu. You can resize the image.
Step 7:
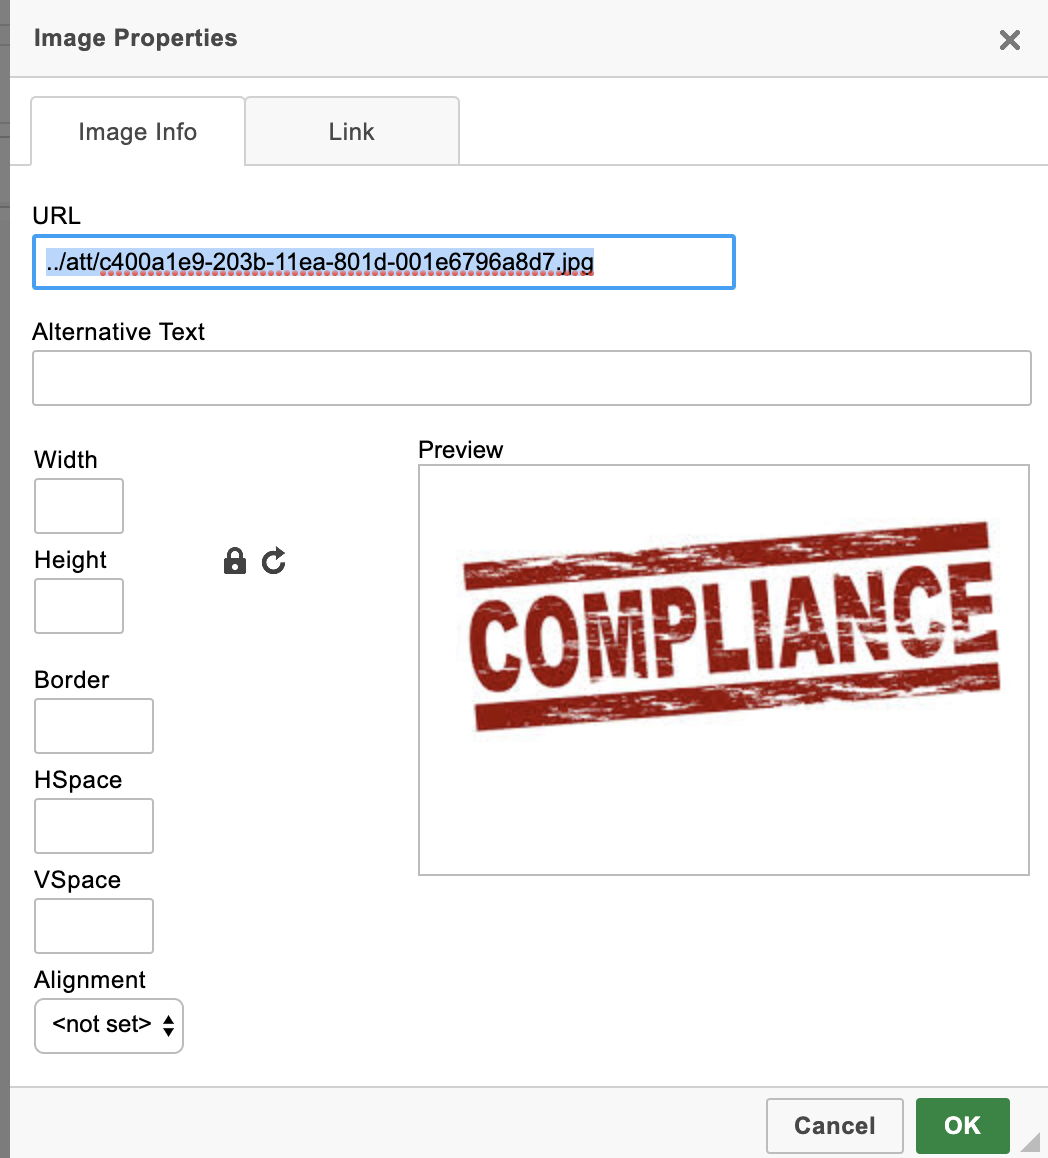
Adjust the image's properties.
Related Pages
all
Content Linking
Integration
Properties
Course Editor
- Video lessons with Captions and Subtitles
- Course Editor Overview
- Adding Images
- Course Ownership and Authorization
- Generating Test in Course
- Course Editor - Editing Content
- Adding Tests and Surveys (Evaluations) in Course
- Course Using Narrated and Animated PowerPoint
- Creating Lesson using Prezi
- Updating Voiced Presentation Lessons
- External Content in Lesson
- Rearranging Course Items
- Import Self Contained Html in course
Template
Other
Bulk Features
Quick Links
- Home
- Knowledgebase
- Video Tutorials
- Google Apps Integration
- Gilly (Plugin for Atlassian Confluence)
- EduBrite Mobile App for iPad
Gilly - EduBrite plugin for Confluence
Demo Url: http://gillydemo..edubrite.com
User: demo1, demo2
Password: password
EduBrite Mobile app for iPad
Download the app from app store
Demo Microsite: ipaddemo.edubrite.com
Signup from the app by selecting any username, and entering above demo url as training site url
EduBrite Business Edition
Demo Url: http://learnzone.edubrite.com
Signup as a user (trainee) and see the whole experience of enrolling and running the courses and tests
