Steps to be done in your EduBrite microsite
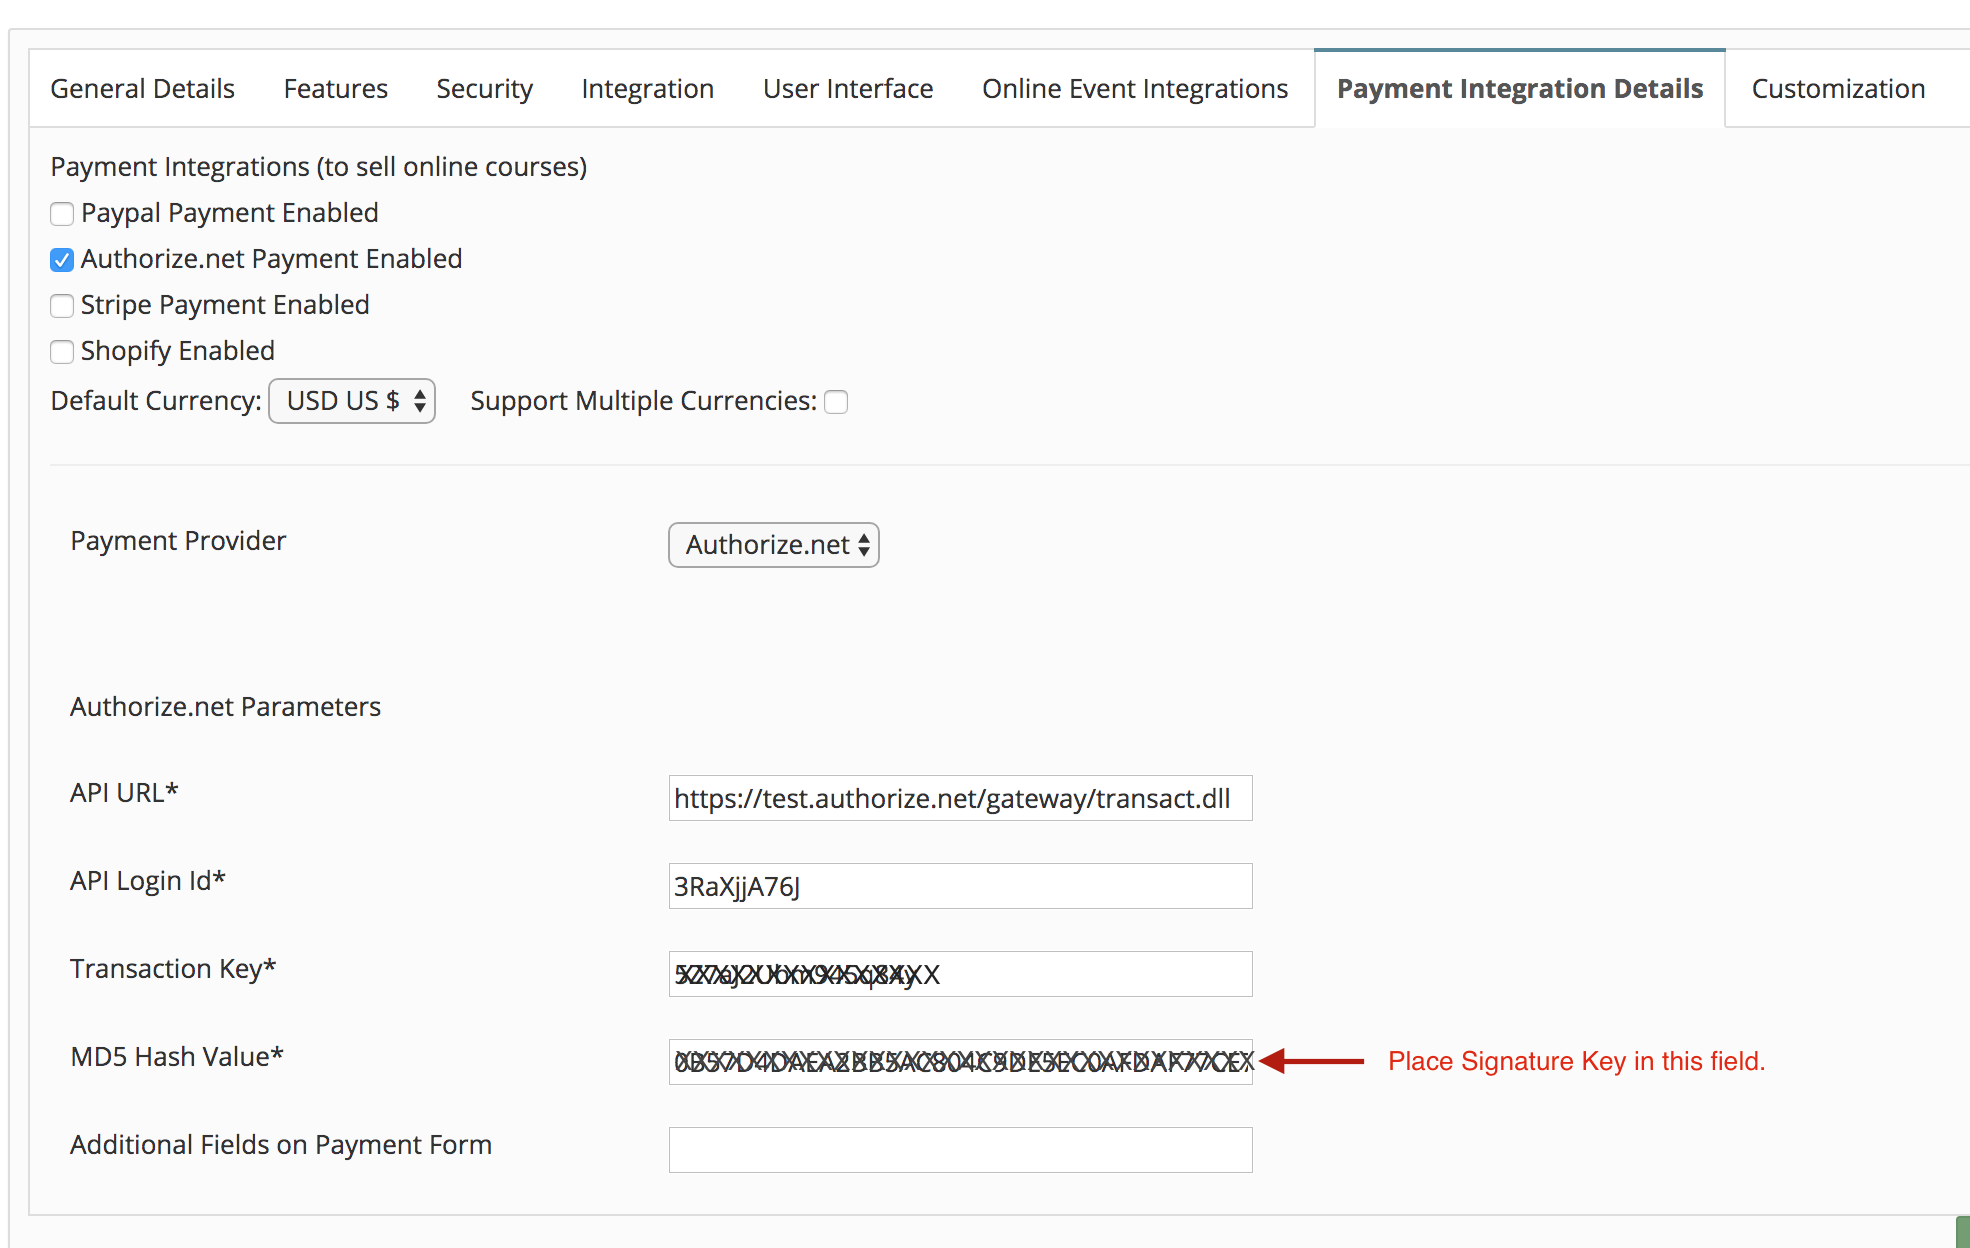
To setup Authorize.net integration information go to Site Admin --> Site Details and open Payment Integration Details tab:
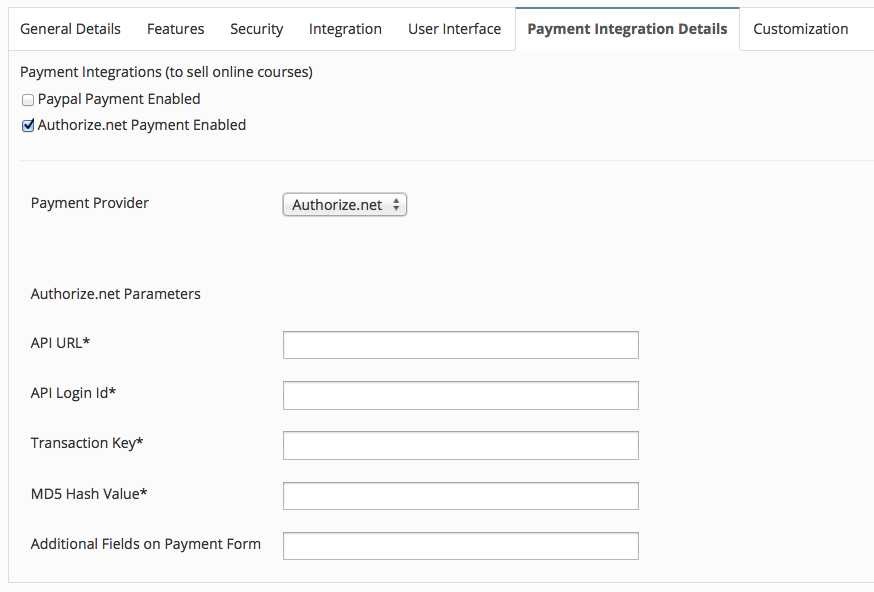
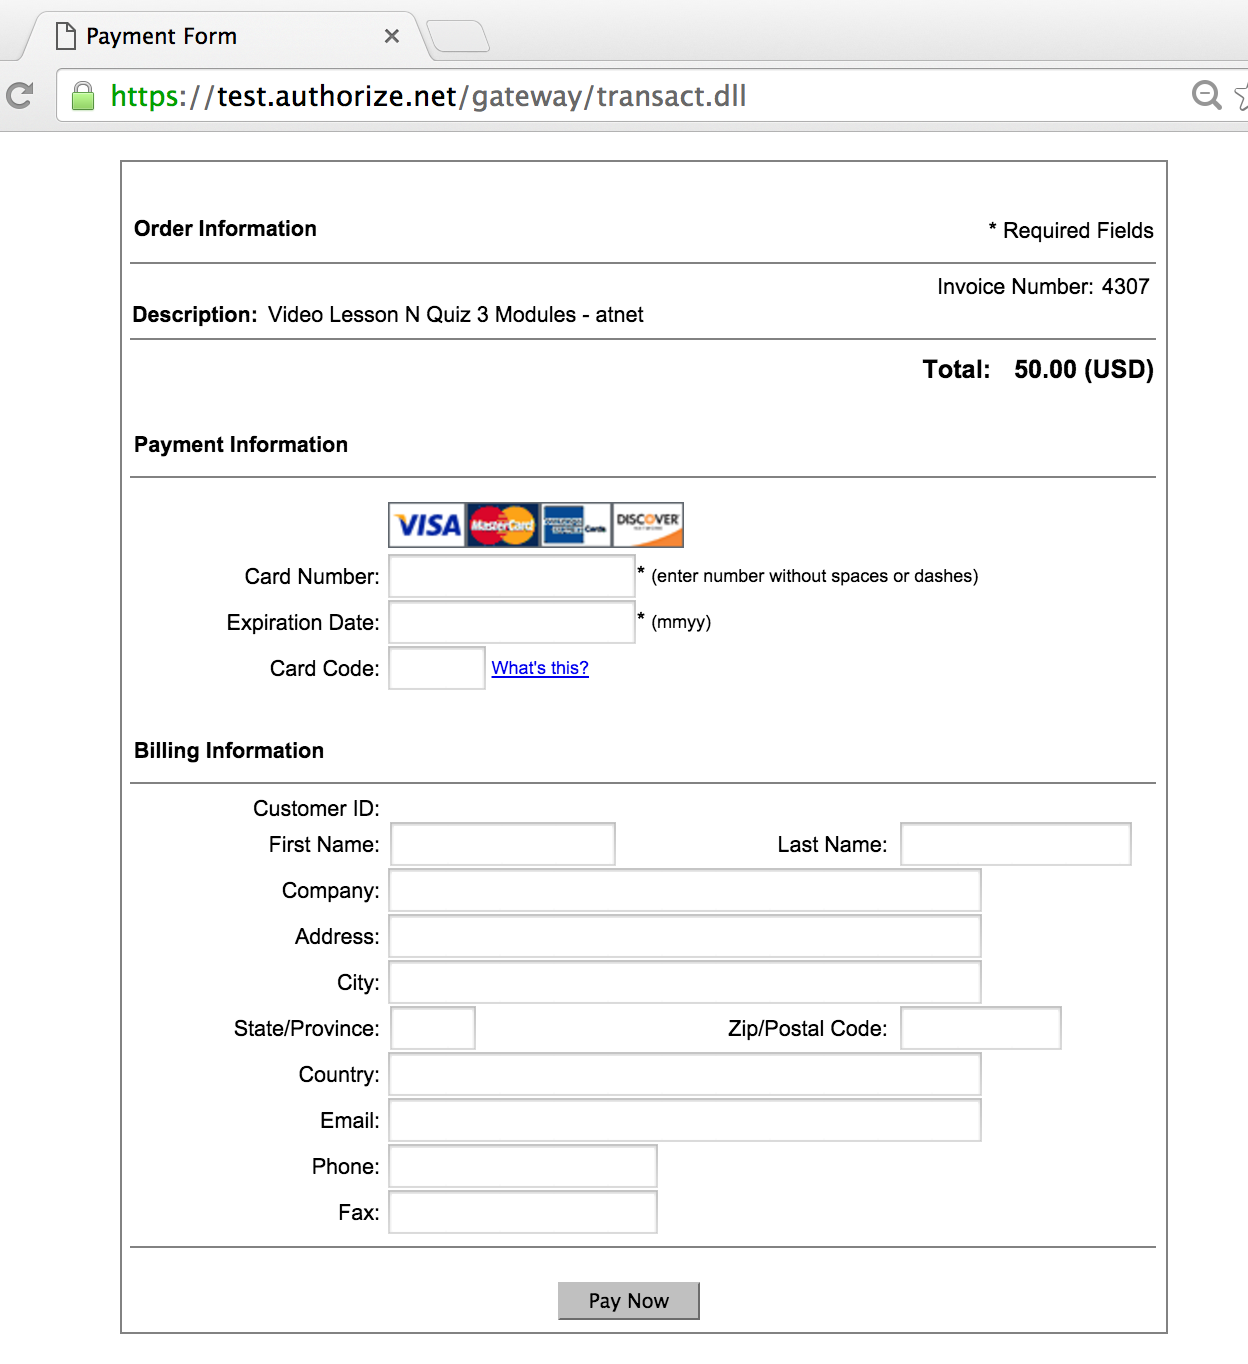
API Url would always be either https://test.authorize.net/gateway/transact.dll (for developer's sandbox) or https://secure.authorize.net/gateway/transact.dll (for production)
Security Settings
For other parameters login to your authorize.net merchant account and follow the below steps.
- Click Account from the main toolbar.
- Click Settings in the left side menu.
- Click API Credentials and Keys
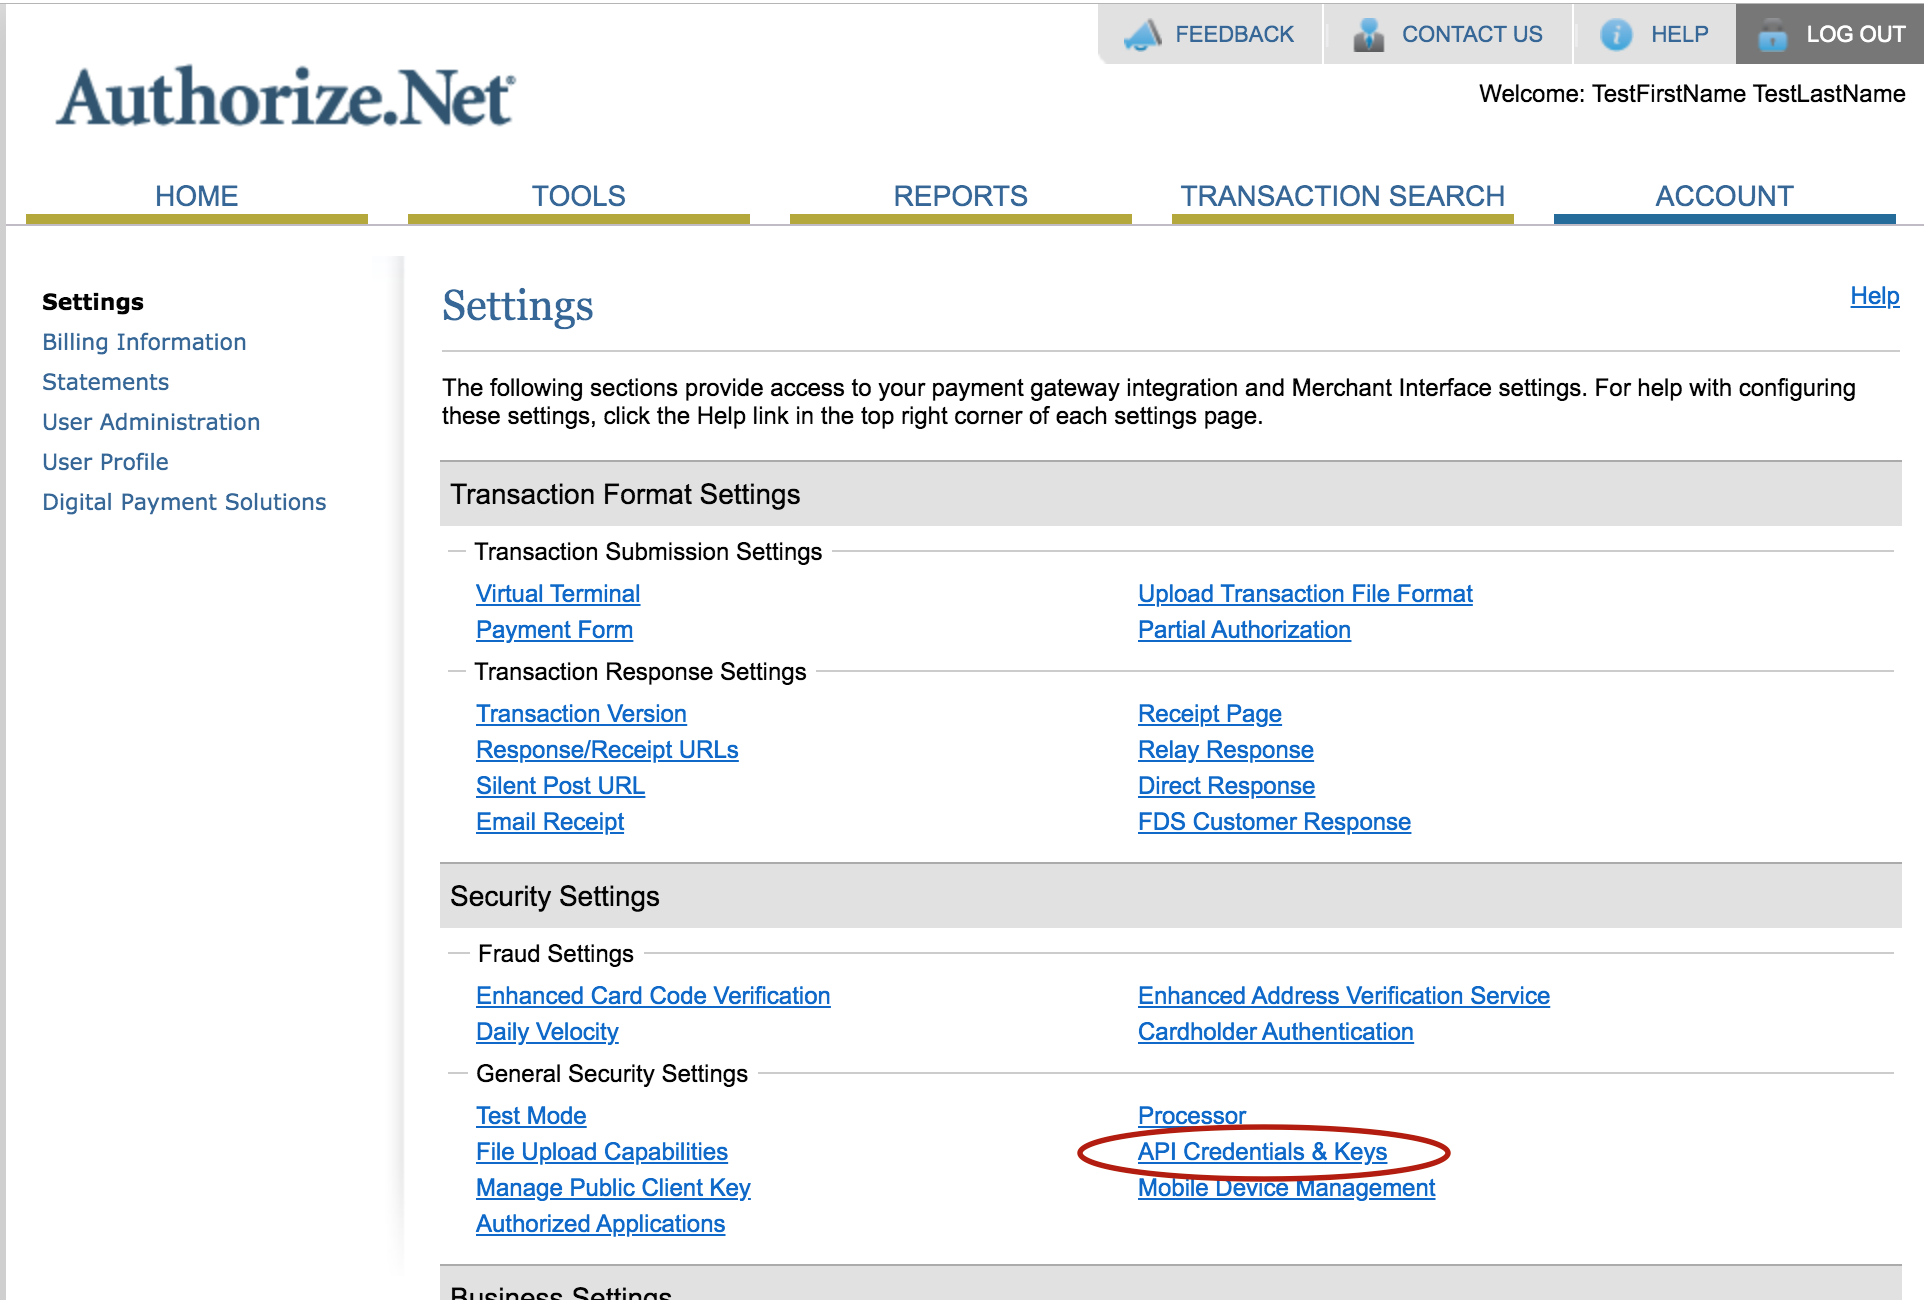
API login ID is present on next screen and options to generate Transaction key and Signature key are present.
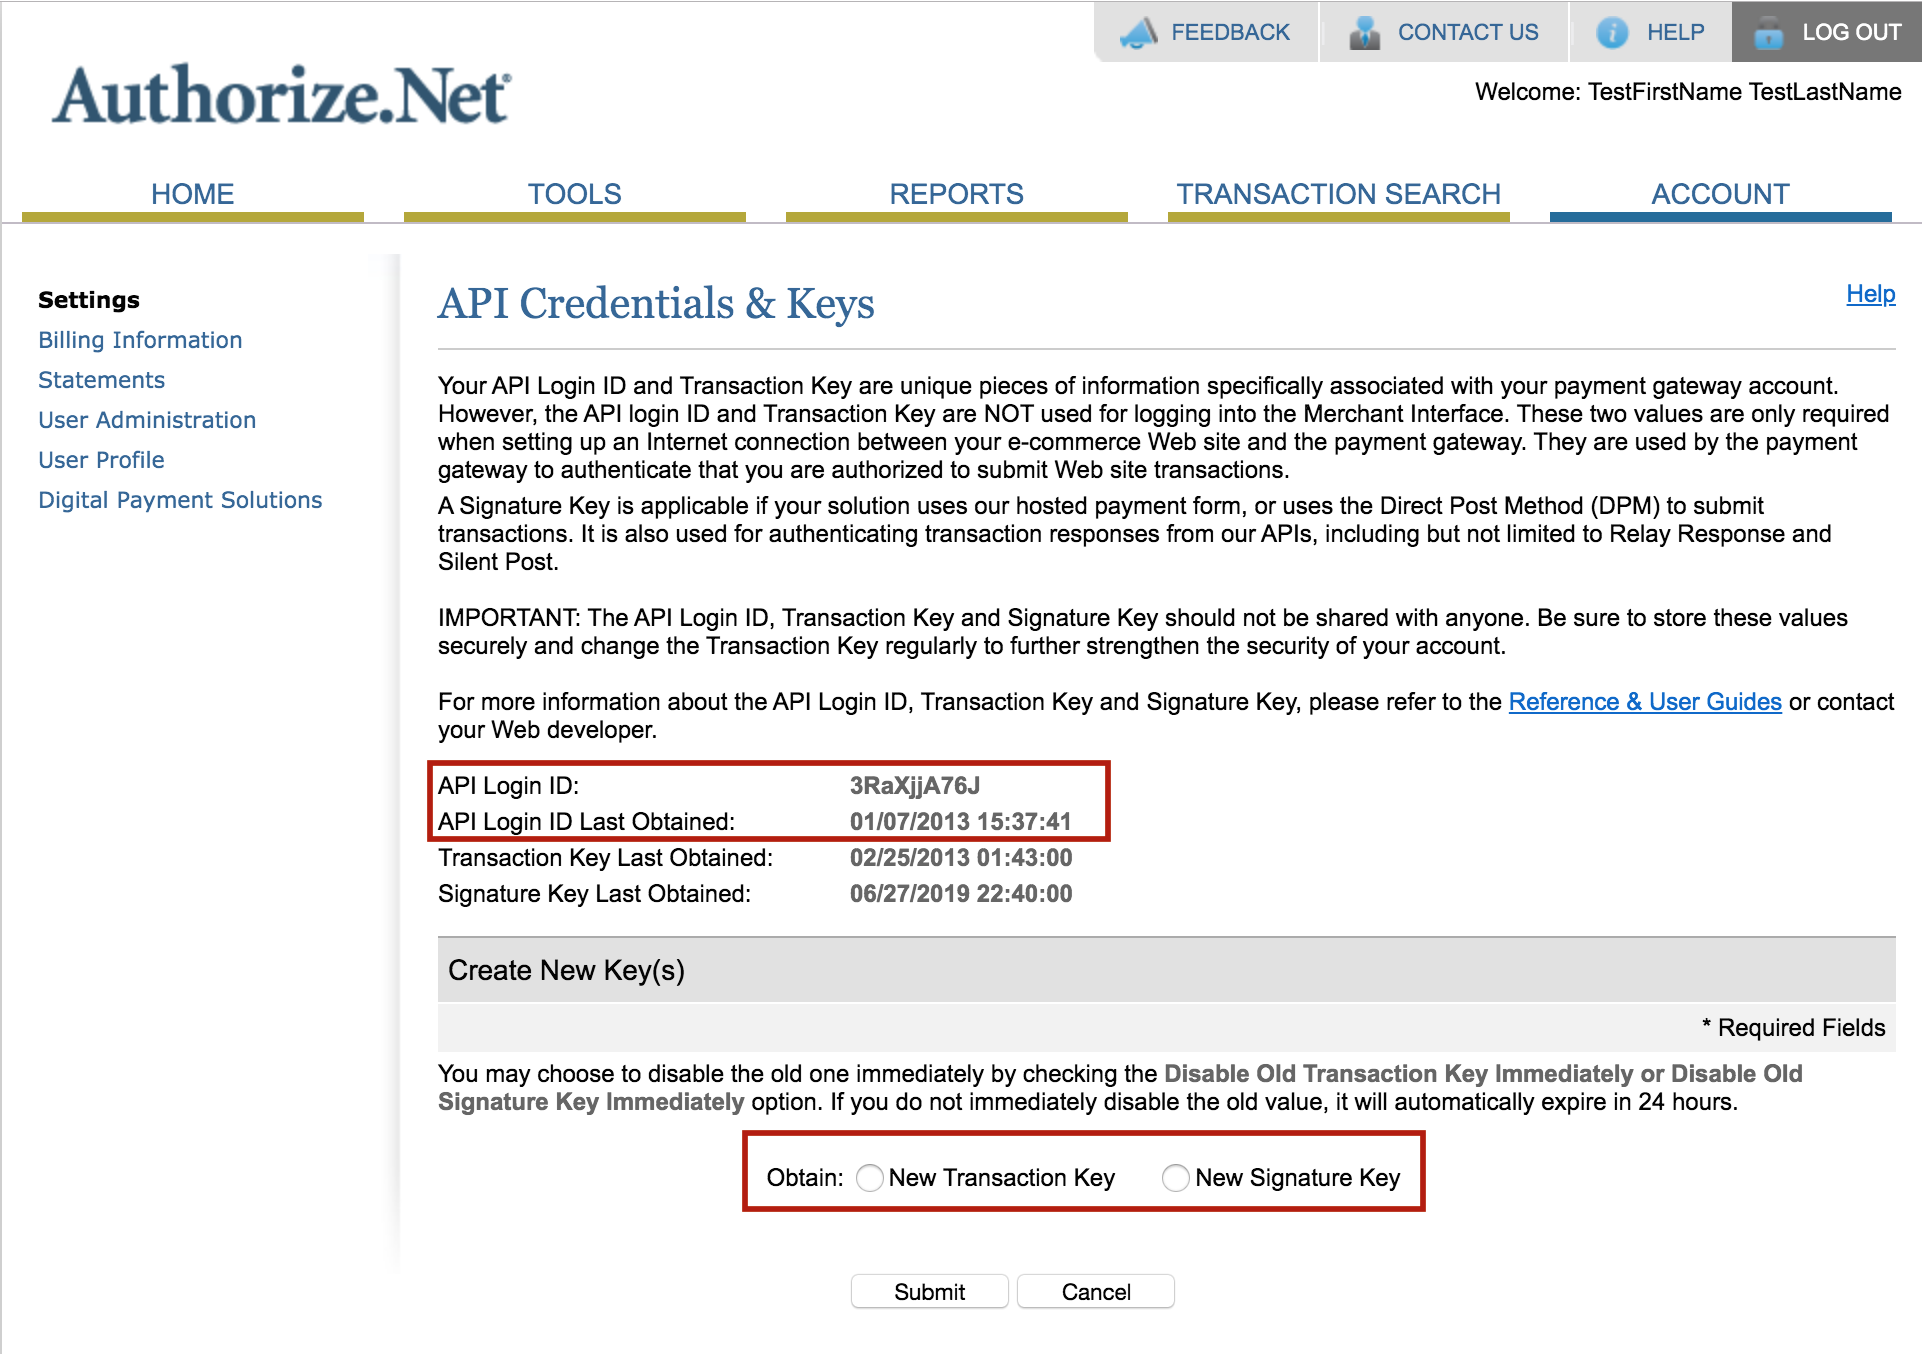
Transaction key and Signature key, if you haven't yet created it before, you can create a new key, once you create you would need to copy it right away as Auth.net doesn't show it to you next time again. So copy it and put it in the microsite payment parameters right away.
Microsite payment parameters - Please place Signature key in MD5 Hash Value field.
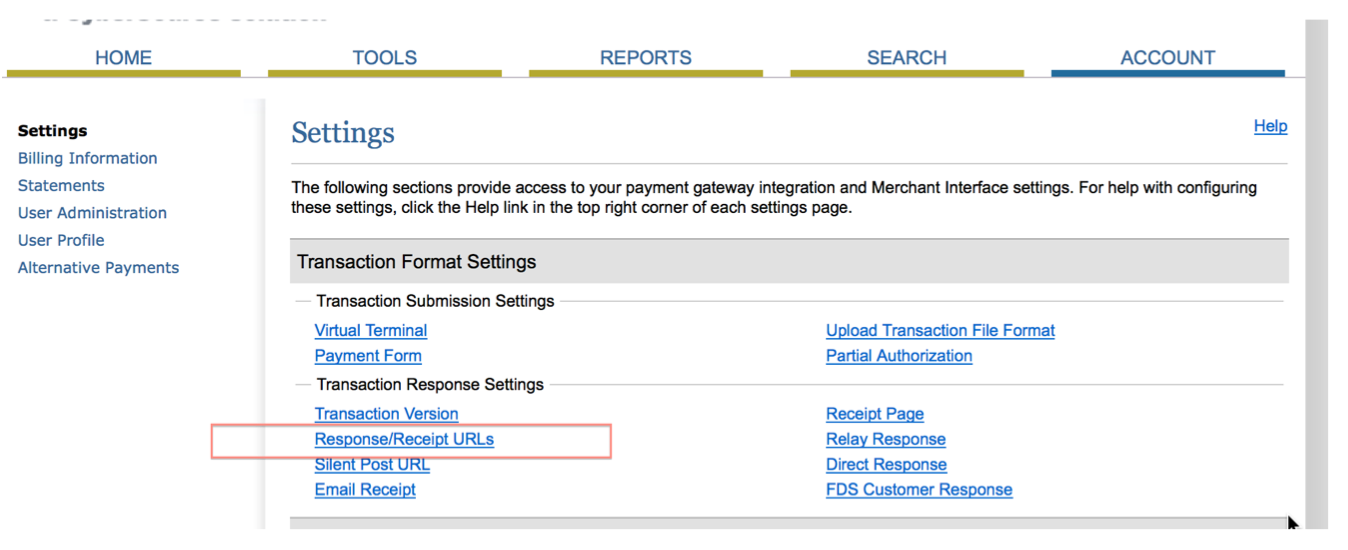
Steps to be done in Authorize.net Merchant Account
Open the accounts page in your merchant account and click on Response/Receipt ULRs
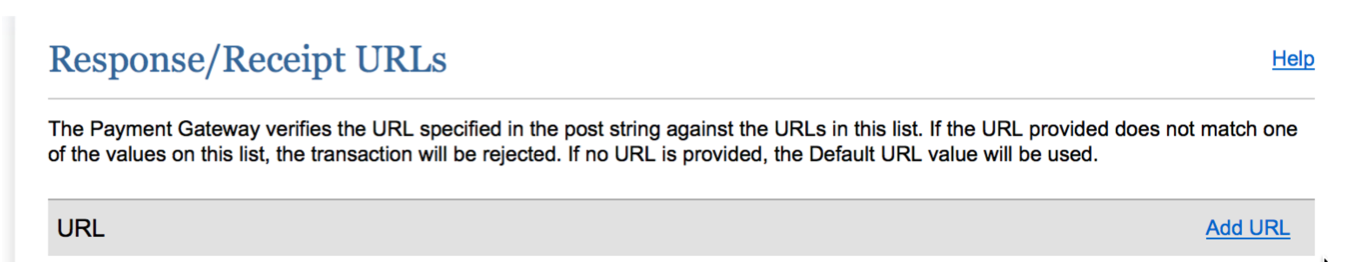
Click on Add URL
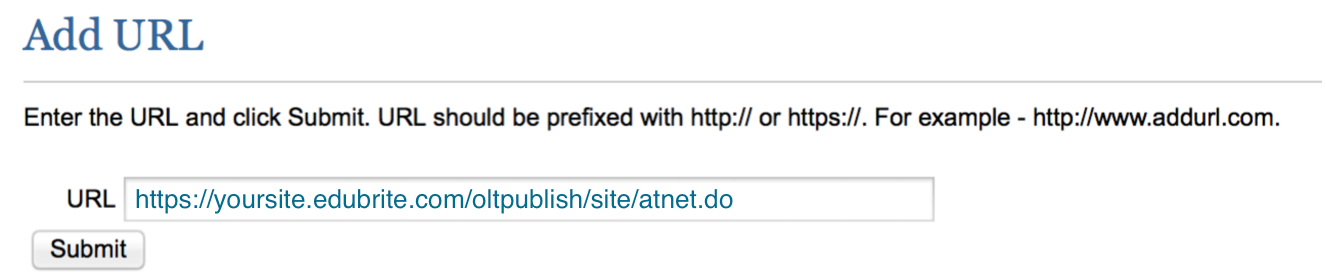
Enter the authorize.net url which corresponds to your microsite.
The url format is is always https://<<yoursite>>.edubrite.com/oltpublish/site/atnet.do . Please change the <<yoursite>> with actual url prefix of your microsite. In case you are not using edubrite.com domain for your microsite, then use the microsite domain e.g. lms.mycompany.com but keep the /oltpublish/site/atnet.do as-is
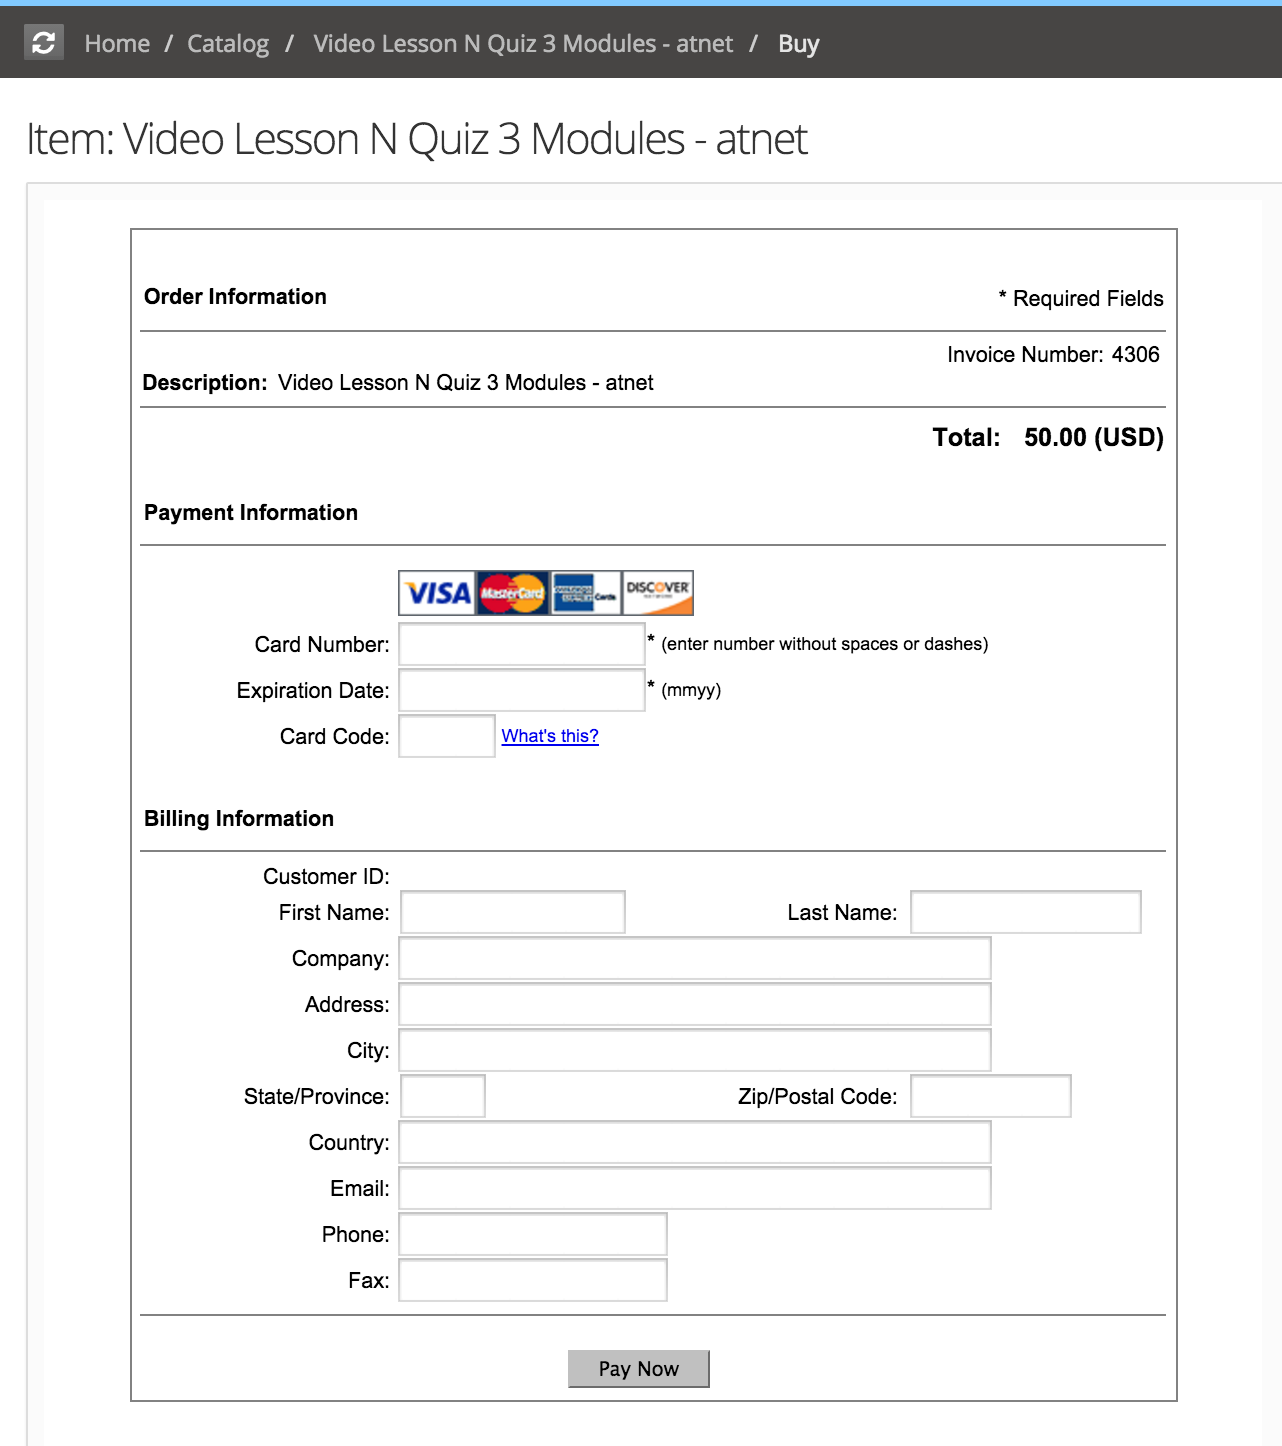
Additional Fields on Payment Form :
To enable CVV field on payment form add following custom property in Site Admin->Site Details->Customizations
ENABLE_CVV=true
Few additional fields can be added to capture and pass information to Auth.net.
Supported fields - address,phone,fax,company
To add these field on the form - specify these comma separated fields in 'Additional field on payment form' field.
To configure any of these as mandatory in the form, specify field as address*, phone* etc.
PCI Compliance
EduBrite has taken following steps to handle the PCI compliance requirements
EduBrite's integration is based on Authorize.net's Direct Post Method. The developer guide (Page 10 on http://www.authorize.net/content/dam/authorize/documents/SIM_guide.pdf) of Authorize.net states following details about this method.
"The Direct Post Method (DPM) is a hosted payment option that enables the developer to customize while still relying on Authorize.Net for help with PCI compliance. DPM uses a unique fingerprint to authenticate transactions, so developers customize a secure hosted payment form without needing an SSL/TLS certificate. The Authorize.Net Payment Gateway handles all the steps in the secure transaction process—payment data collection, data submission, and the response to the customer—while keeping Authorize.Net virtually transparent."
Further details about this method
- In this method, the credit card information is captured on a web form in browser that is securely posted directly to secure url (https) of Authorize.net without sending the data to EduBrite servers.
- The authorize.net servers handles the payment processing and returns the response to EduBrite
- The payment page in LMS should ideally be on a https url but is not technically required because the Form data is posted to Authorize.net rather than EduBrite servers
- If you are using any *.edubrite.com domain for your microsite, then you already have Https enabled
- If you have customized the domain for your microsite which is different from edubrite.com suffix, then although you are not technically required to have Https enabled on the payment page, it would still be suggested that you obtain a SSL (Https) certificate and get it installed for your microsite by working with EduBrite support team. Note that Custom Domain with https enabling does have extra charges because EduBrite needs to allocate a fixed IP and install your SSL certificate.
Authorize.net Hosted Payment Form
The integration described in the beginning of this article is an example of custom form hosted in the LMS itself, however the information collected is directly posted to Authorize.net. EduBrite also supports forms that are hosted on Authorize.net. In such case you would use Authorize.net merchant interface to select fields to be shown on payment form. EduBrite supports this method in three ways mentioned below. The payment page of LMS in this case doesn't show the credit card related fields. It only shows options to enter coupon codes.
EduBrite supports this method in three ways mentioned below.
- Embedded Iframe - in this case, the payment form is embedded as iframe in the payment page on LMS. To enable this method, you need to set AT_NET_IFRAME=true in site details->customization
-
API URL - https://apitest.authorize.net/xml/v1/request.api (for developer sandbox env.)
https://api2.authorize.net/xml/v1/request.api - (for production env.)
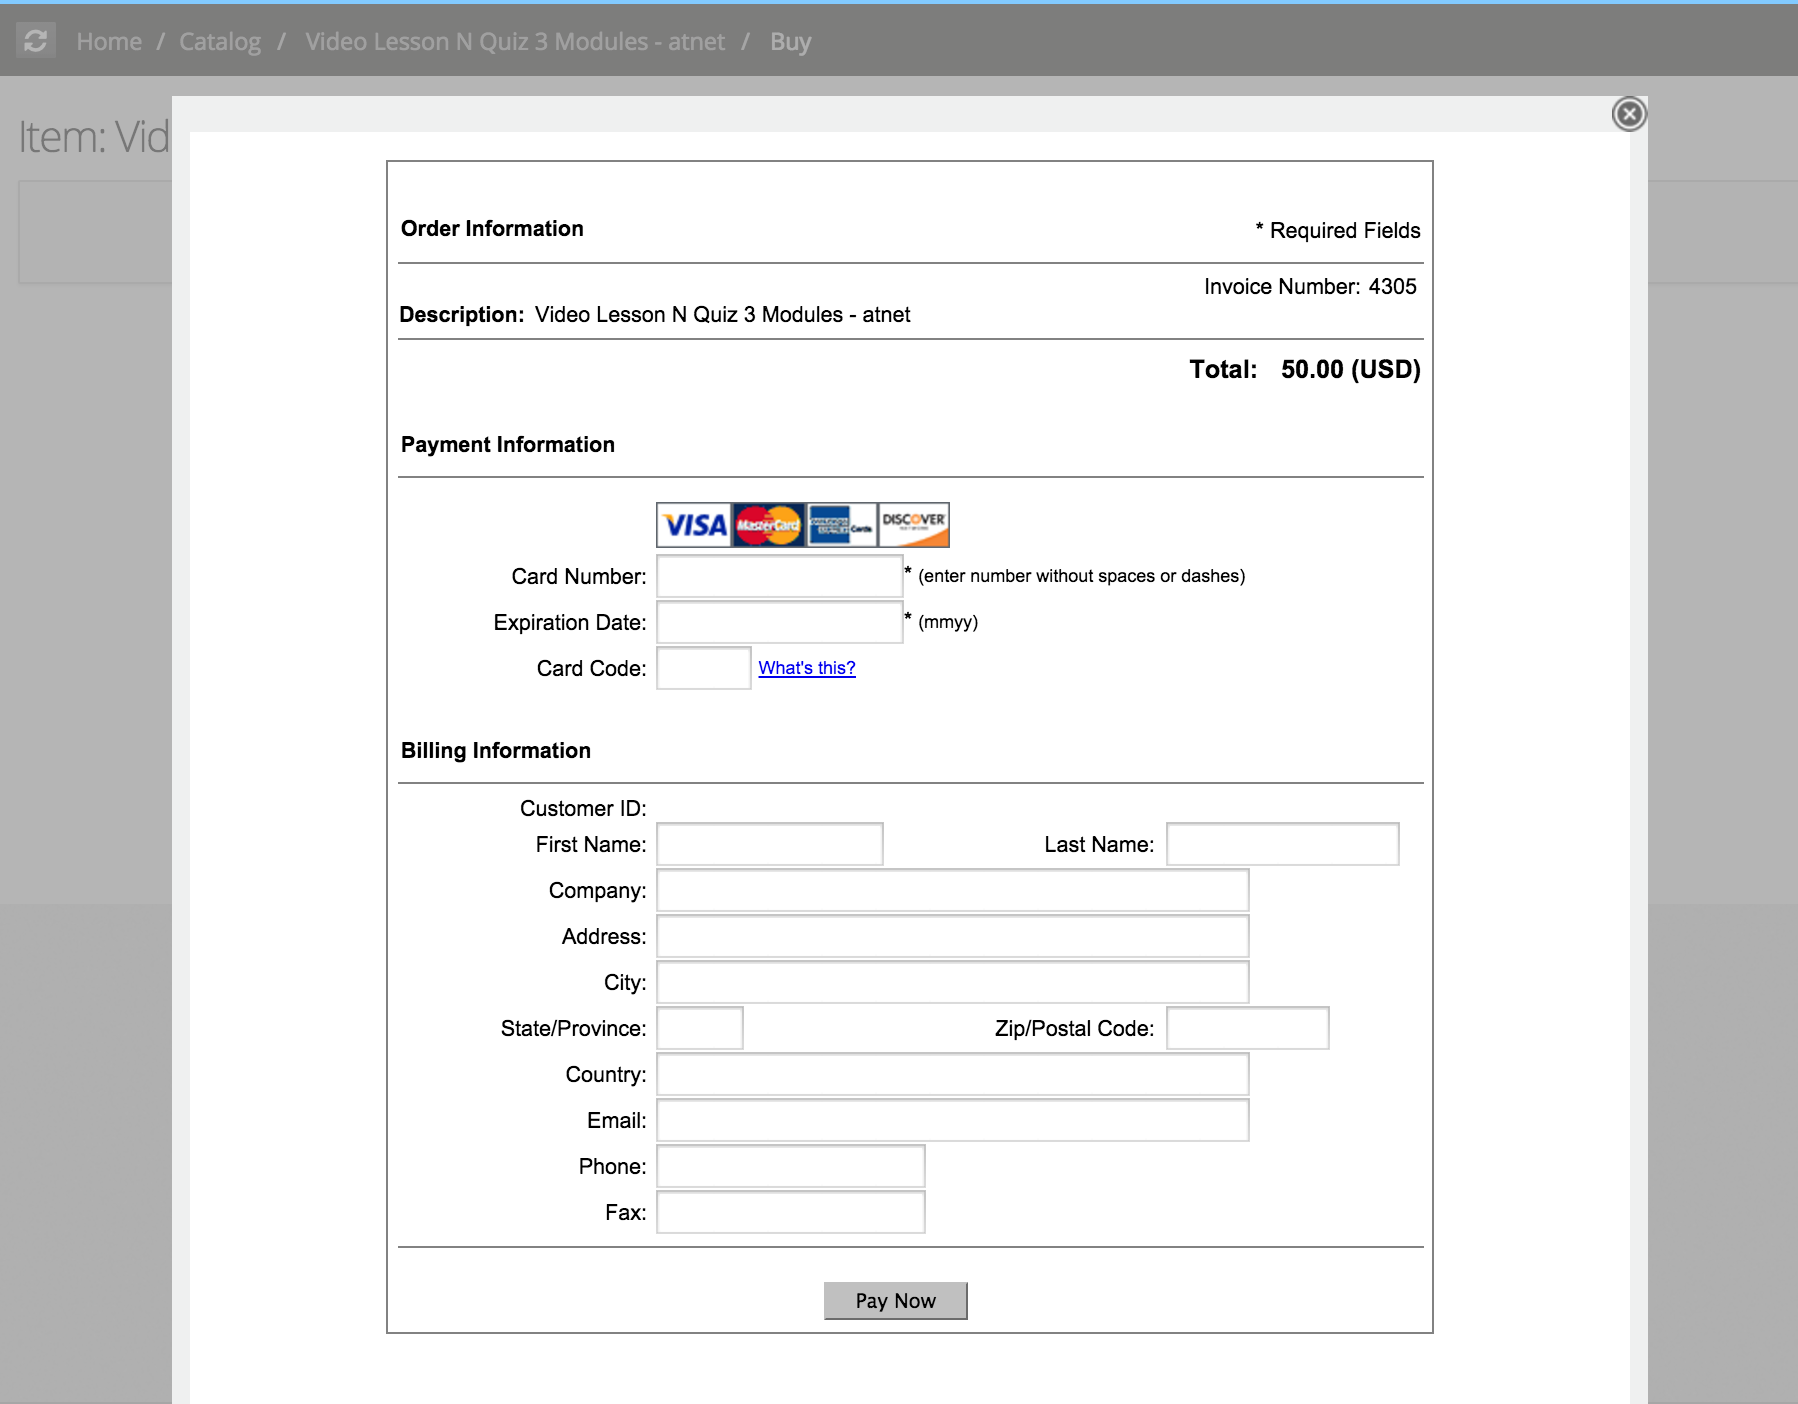
- Popup dialog - in this case payment form is shown in a popup dialog (without leaving the LMS buy page). To enable this method, you need to set AT_NET_POPUP=true in site details->customization
- New window (redirect) - in this case, browser redirects to the payment form hosted on Authorize.net. To enable this method, you need to set AT_NET_NEW_WIN=true in site details->customization