

Reports pages provides a schedule option to schedule a custom report, Report can be scheduled using customized option for report data (using report filters) and custom format (using selective columns), report will be generated as per specified schedule and emailed to specified users.
Options available for scheduled report -
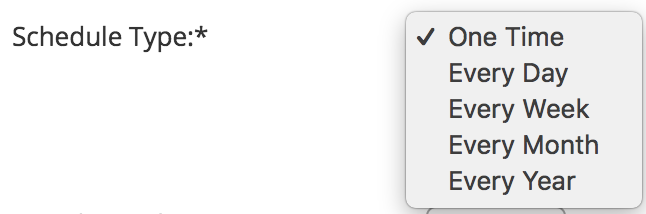
- You can specify the frequency at which this report needs to be generated like daily, weekly, monthly, yearly or one-time.
- You can specify the columns you want in your report.
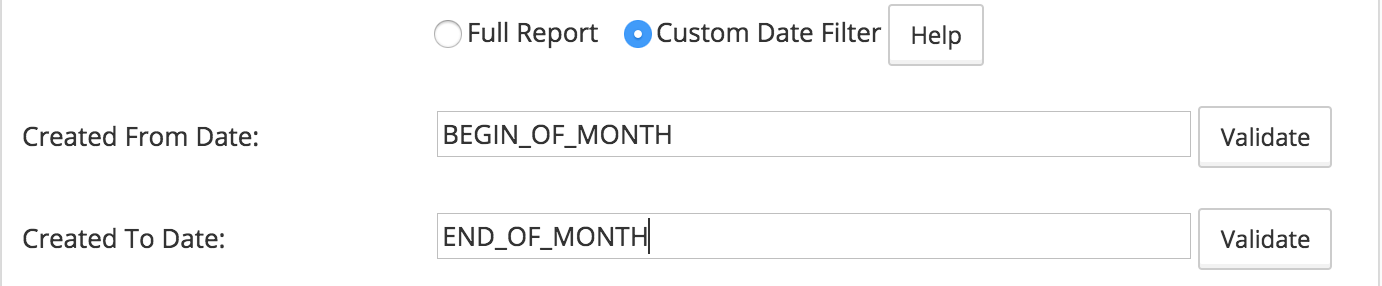
- You can specify the custom dates for the date filters using some predefined tokens.
- You can specify the filters for the report by selecting one of the saved searches.
- You can specify the users to whom the report needs to be sent via email on generation.
Reports with scheduling option
Schedule option is available in following reports.
- User List
- Course Enrollments Report
- Program Enrollments Report
- Event Enrollmens Report
- Grades Report
- Scorm Pkg Attempts Report
- Scorm Activity Attempts Report
- Test Scores Report
- Test Scores Summary Report
- All Test Scores Report
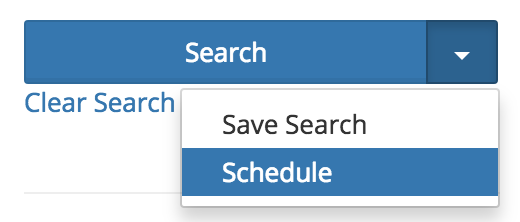
1. Where to Schedule?
Custom reports can be scheduled by going to a specific report and clicking on the schedule option under search button on that page.
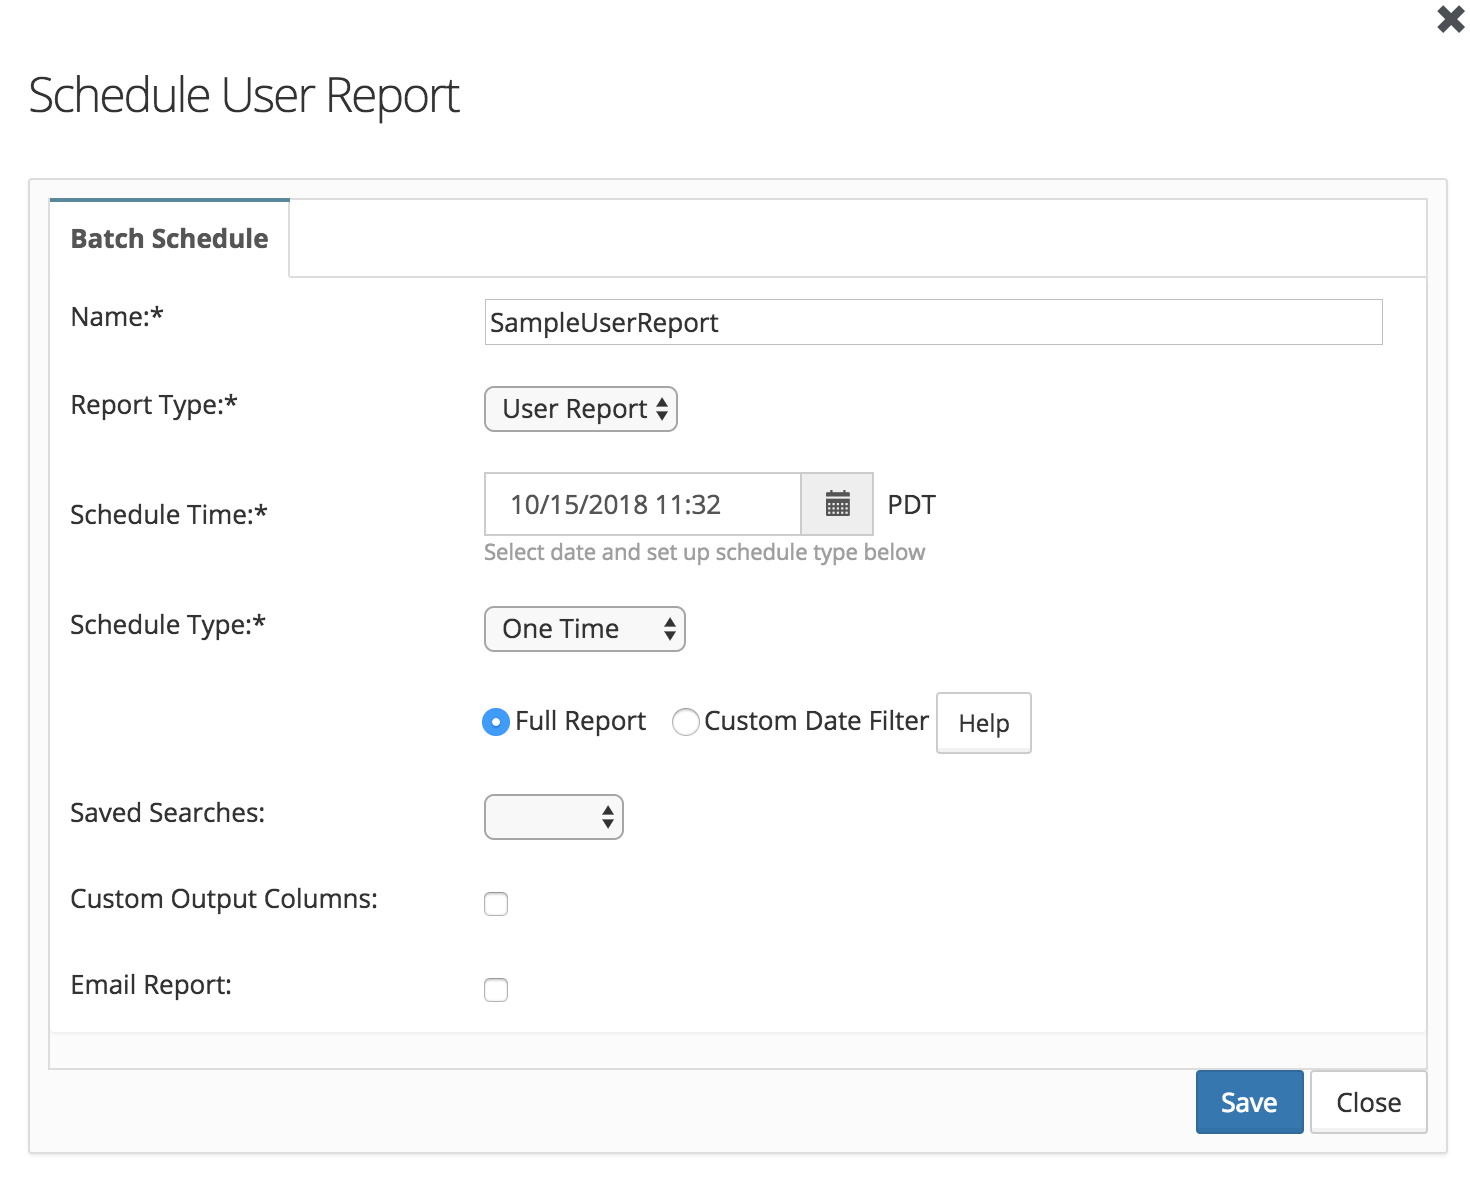
2. How to Schedule?
You can schedule a report by :
- Specifying a name (Required)
- Selecting the date when the report needs to be generated (Required)
- Selecting the schedule type, by default "One Time" is selected, you can choose your required frequency (Required)
- Selecting Full Report or Custom Date Filter, by default Full Report is selected (Optional)
- Selecting the custom output columns if needed, if it's not selected, then all the default columns of the report will be part of the generated report (Optional)
- Selecting any saved search whose filters will be used for the report generation (Optional)
- Selecting the email report option which will provide you with the ability to specify the recipients of the report via email (Optional)
(a) Schedule Frequency:
(b) Custom Date Filter: You can refer the article for details on how to set up the custom date rules.
(c) Saved Searches: This option is available if you have already created some saved searches. If anyone of the saved searches is selected, then all its filters will be used for the report generation. This is an optional field.

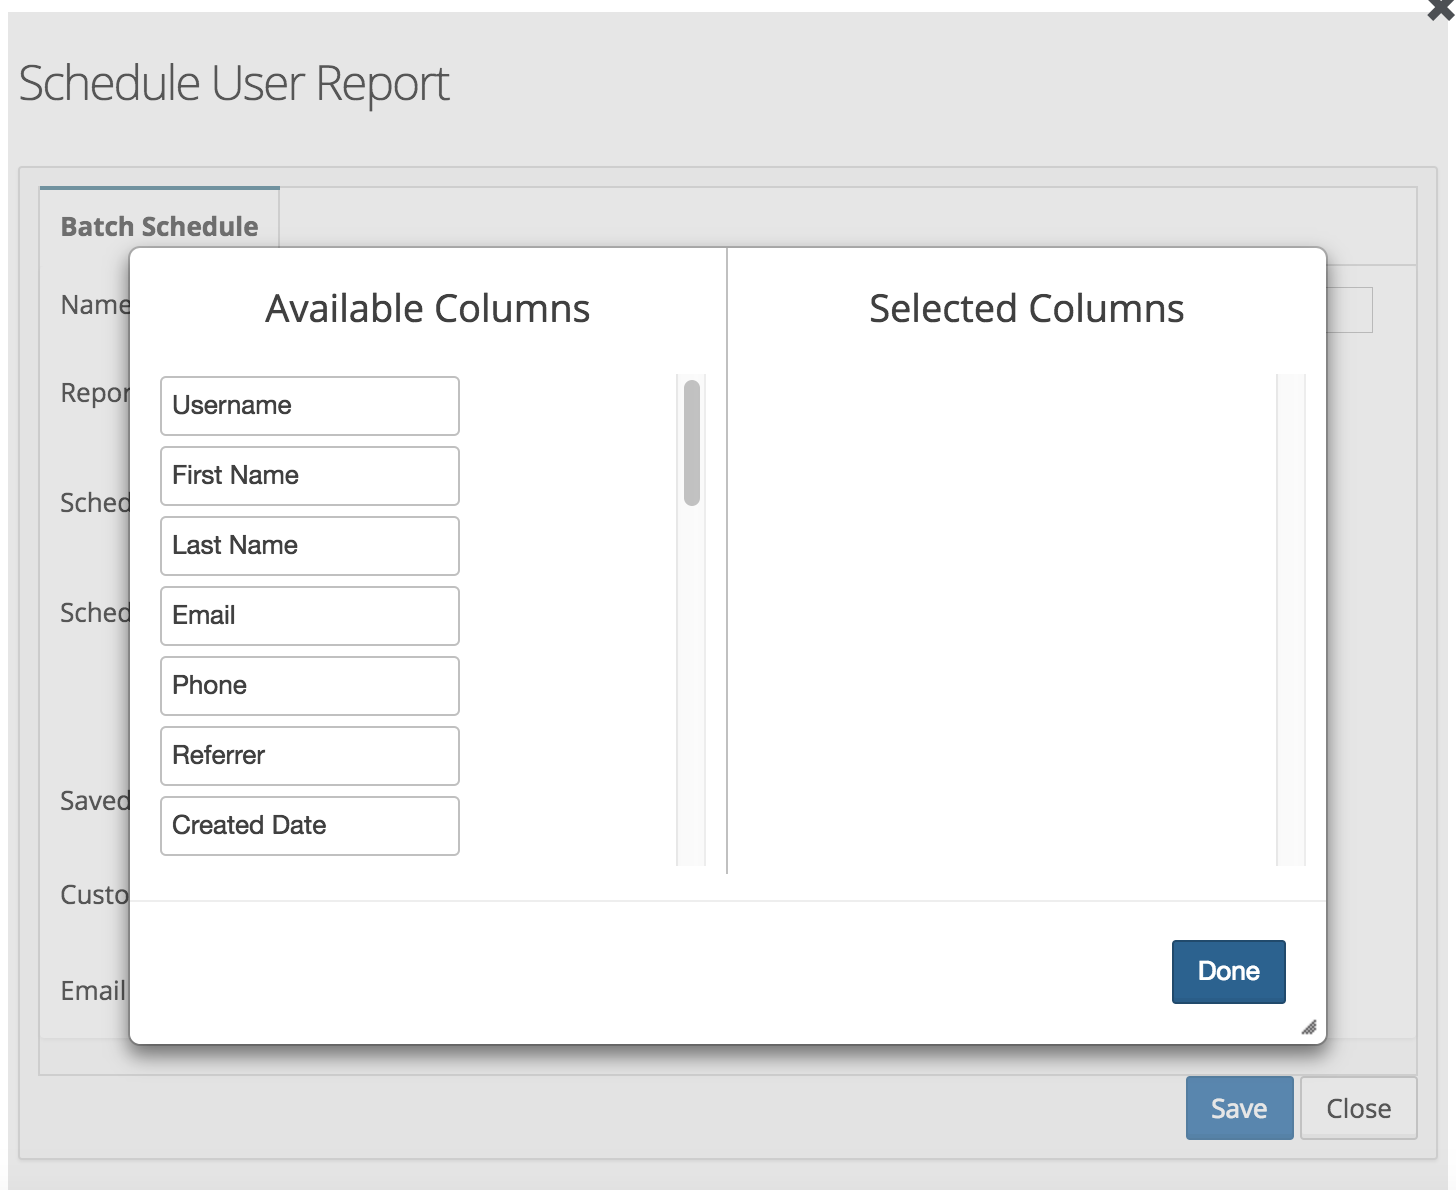
(d) Custom Output Columns: If Custom output columns option is selected, you will be provided with a button to select columns for your report. On clicking on it you will be presented with the UI to select the columns by drag and drop, you can also rearrange the columns on the selected columns side. If no columns are selected then all the default columns will be part of the generated report. This is an optional field.

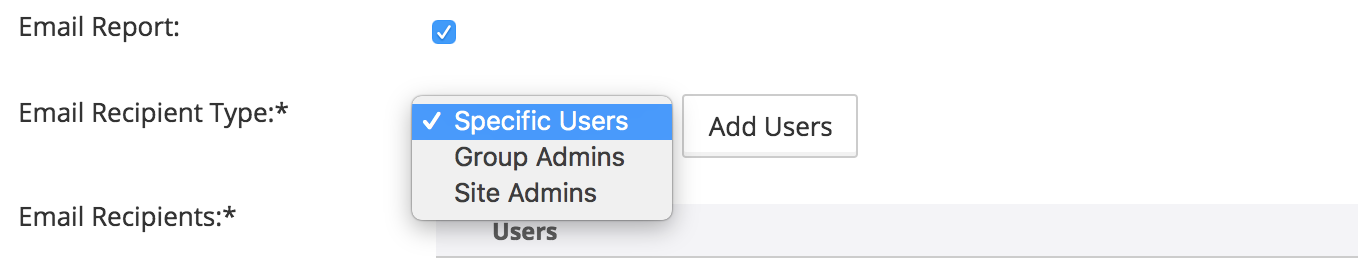
(e) Email Report: If this option is selected, you will be presented with the option to select the email recipient type.
There are three types of recipients supported:
-
Specific users (You can select users to whom the report needs to be sent via email)
-
Group admins (You can select the groups, whose admins needs to receive the report via email)
-
Site Admins (All site admins will receive the report via email).
NOTE: Site Report option in Email Settings > System Notification should be enabled to receive emails.
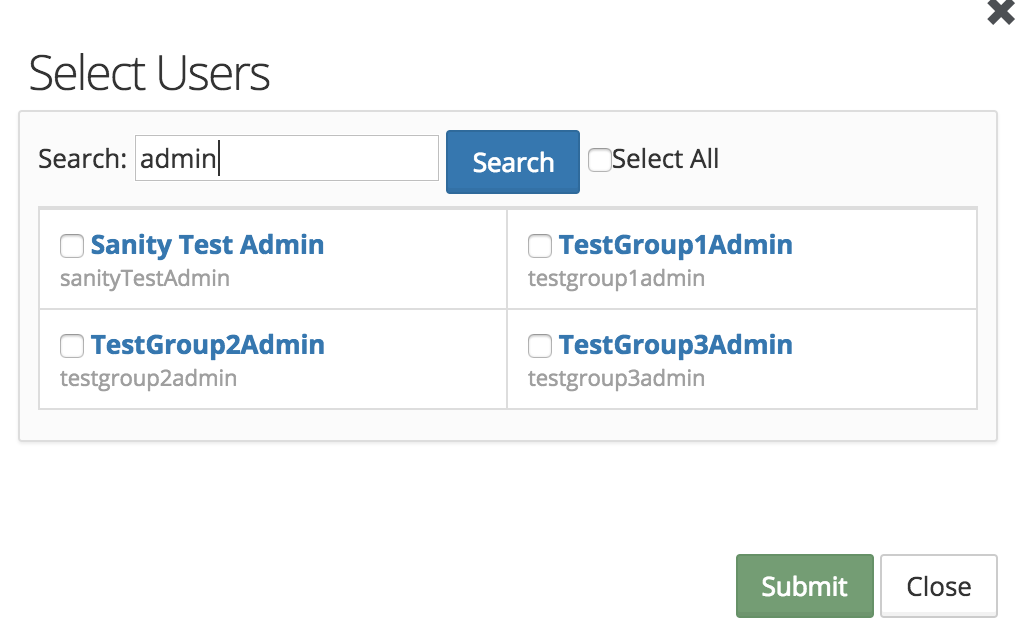
Click on the "Add Users" button will present you with the UI to select the recipient users.
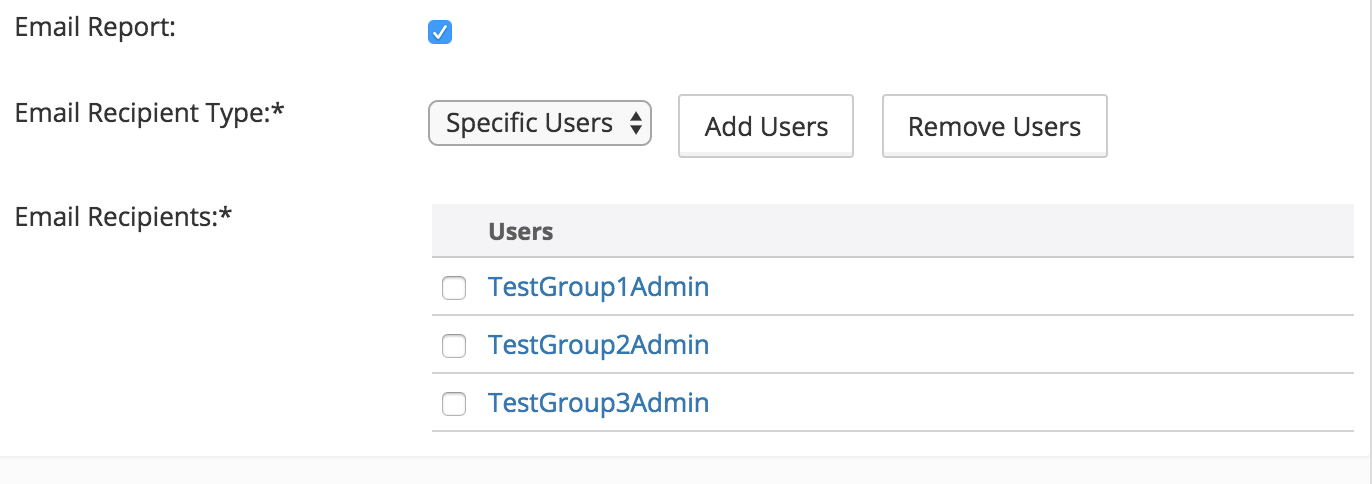
Selected Email Recipients list:
3. Where to find all the schedules?
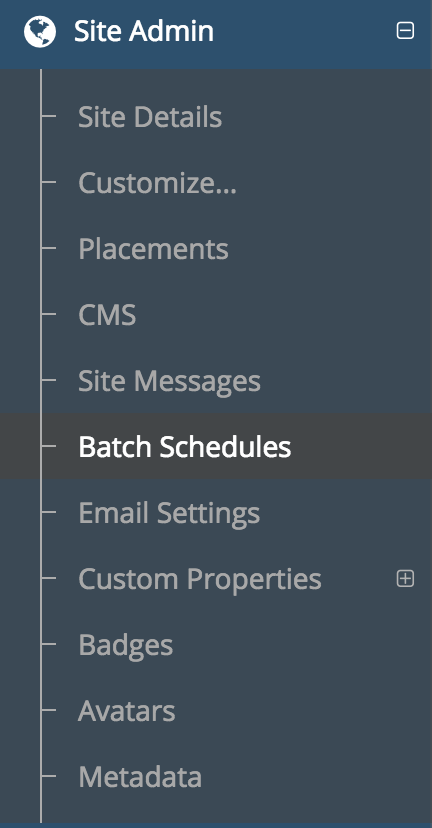
You can get the list of schedules by clicking on "Batch Schedules" menu under "Site admin".
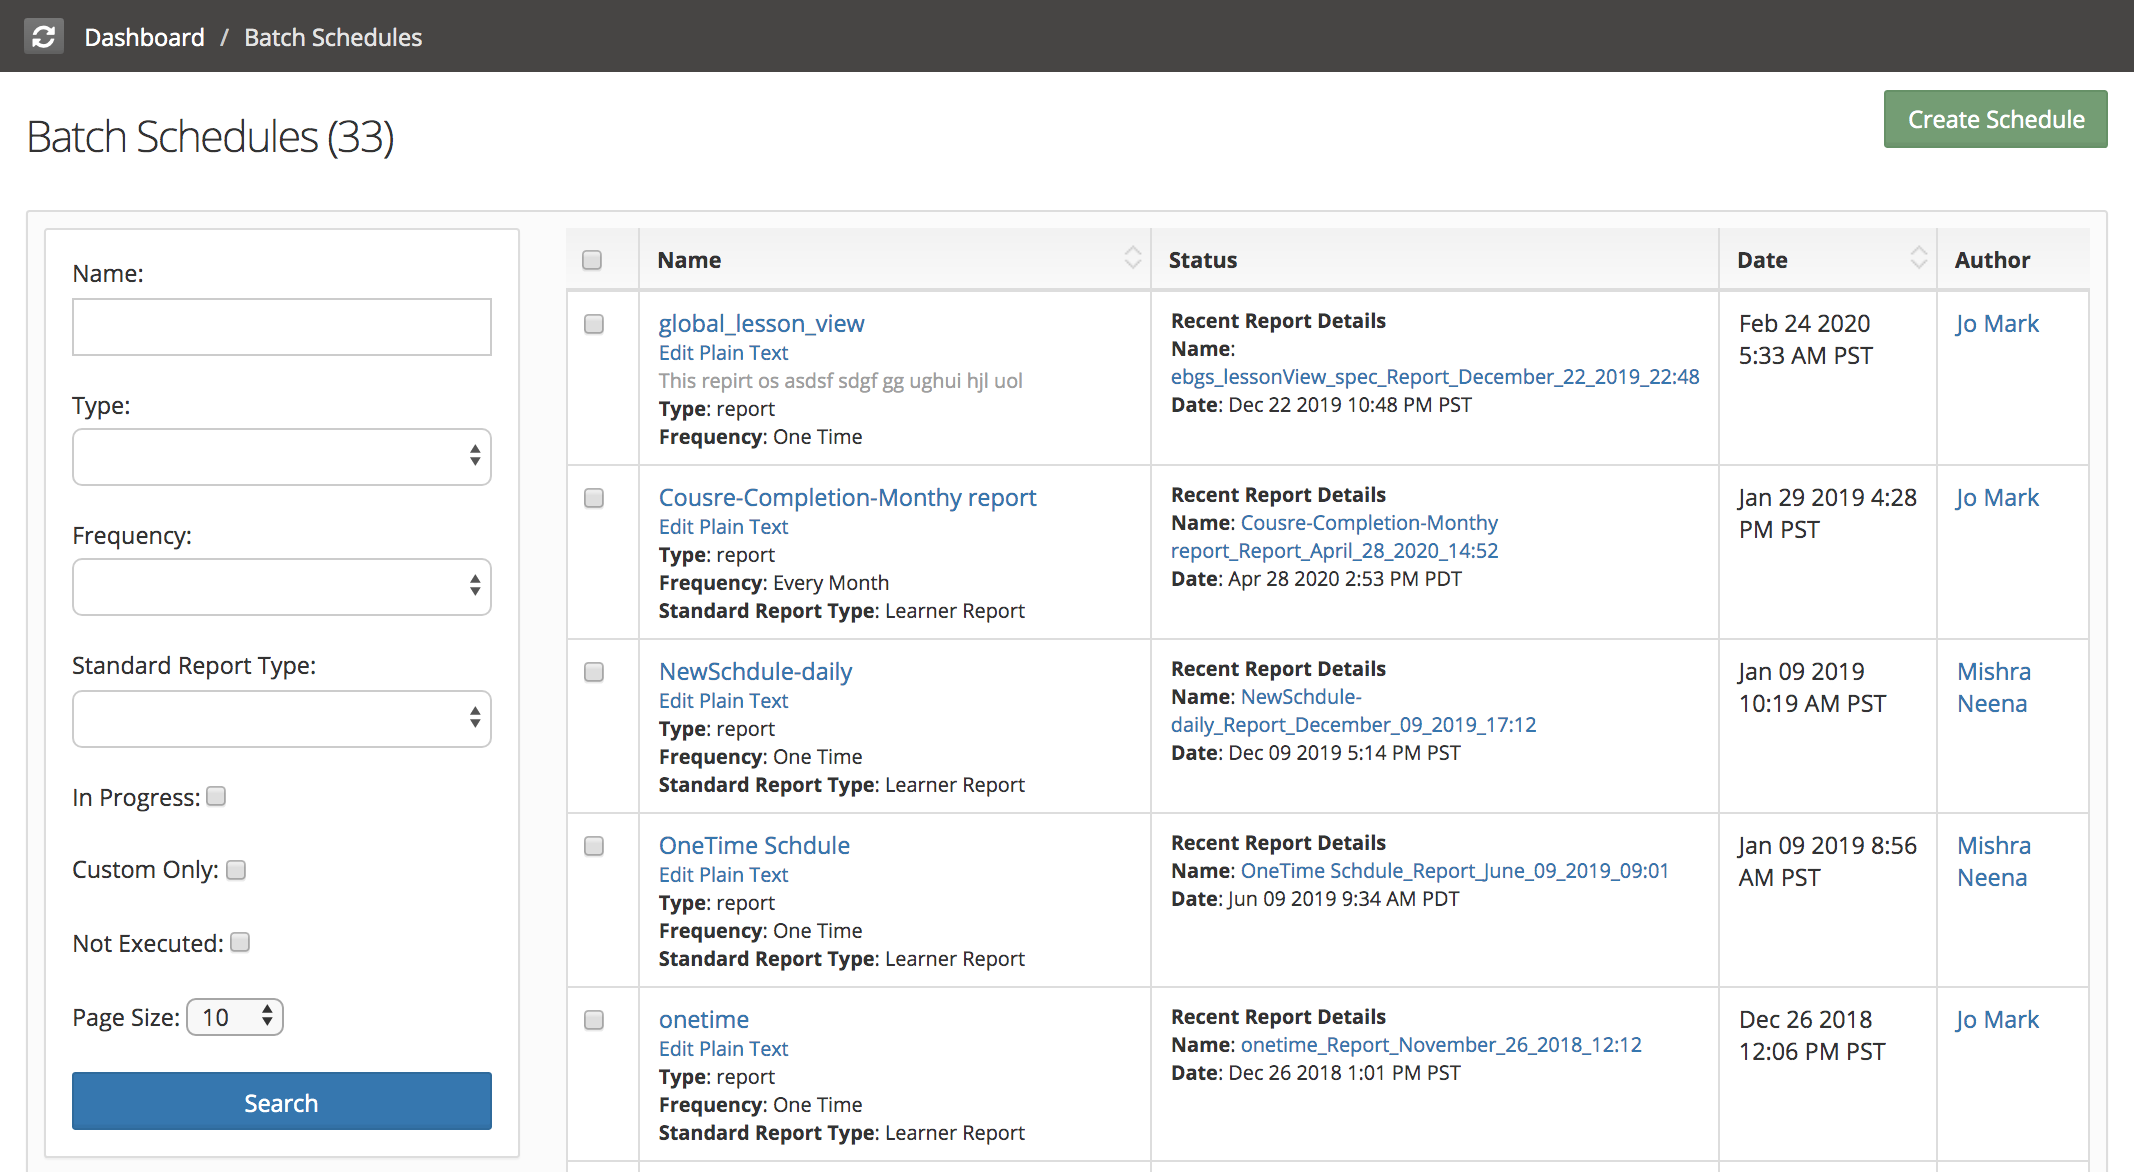
4. Where to find the generated report?
Head to 'Site Admin' -> 'Batch Schedules' to select the schedule for which you want to check the report. This will open the page with the batch schedule details. Once the report is generated, it will be listed under the "Reports" tab. The report list contains the link to the CMS page containing the report as its attachment.

